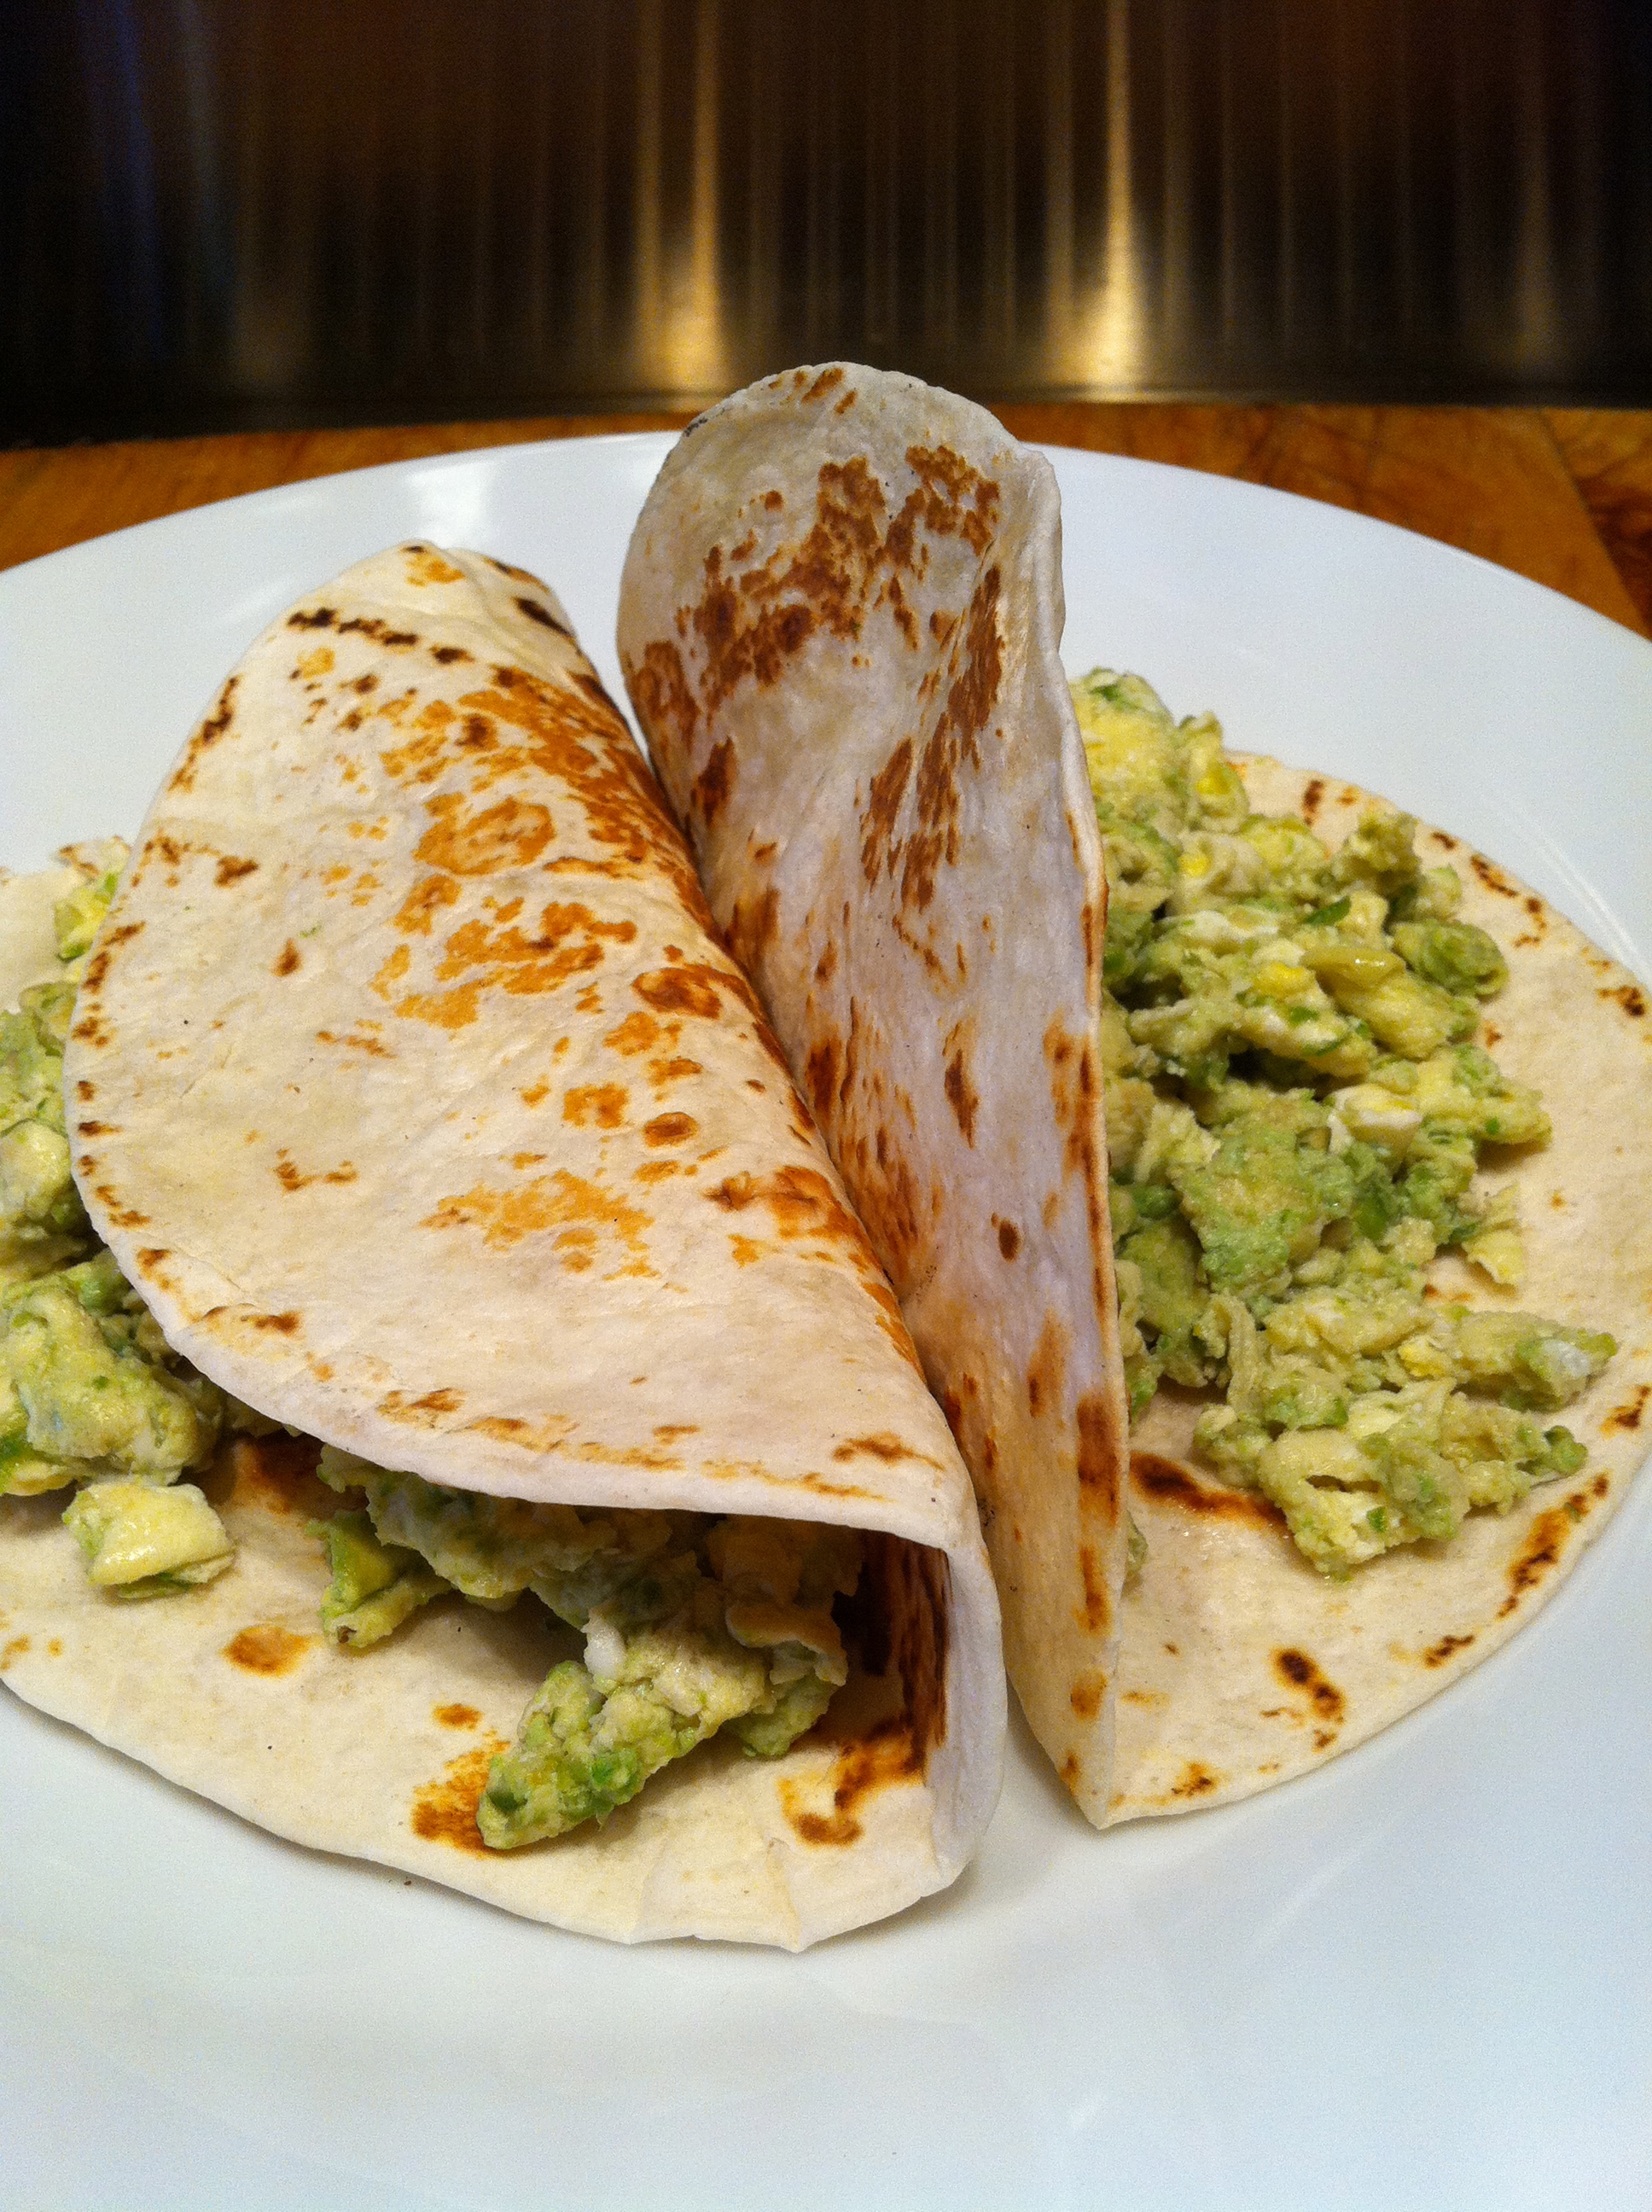
In Texas gaucamole is omnipresent. There are as many recipes as there are bragging-prone machos. 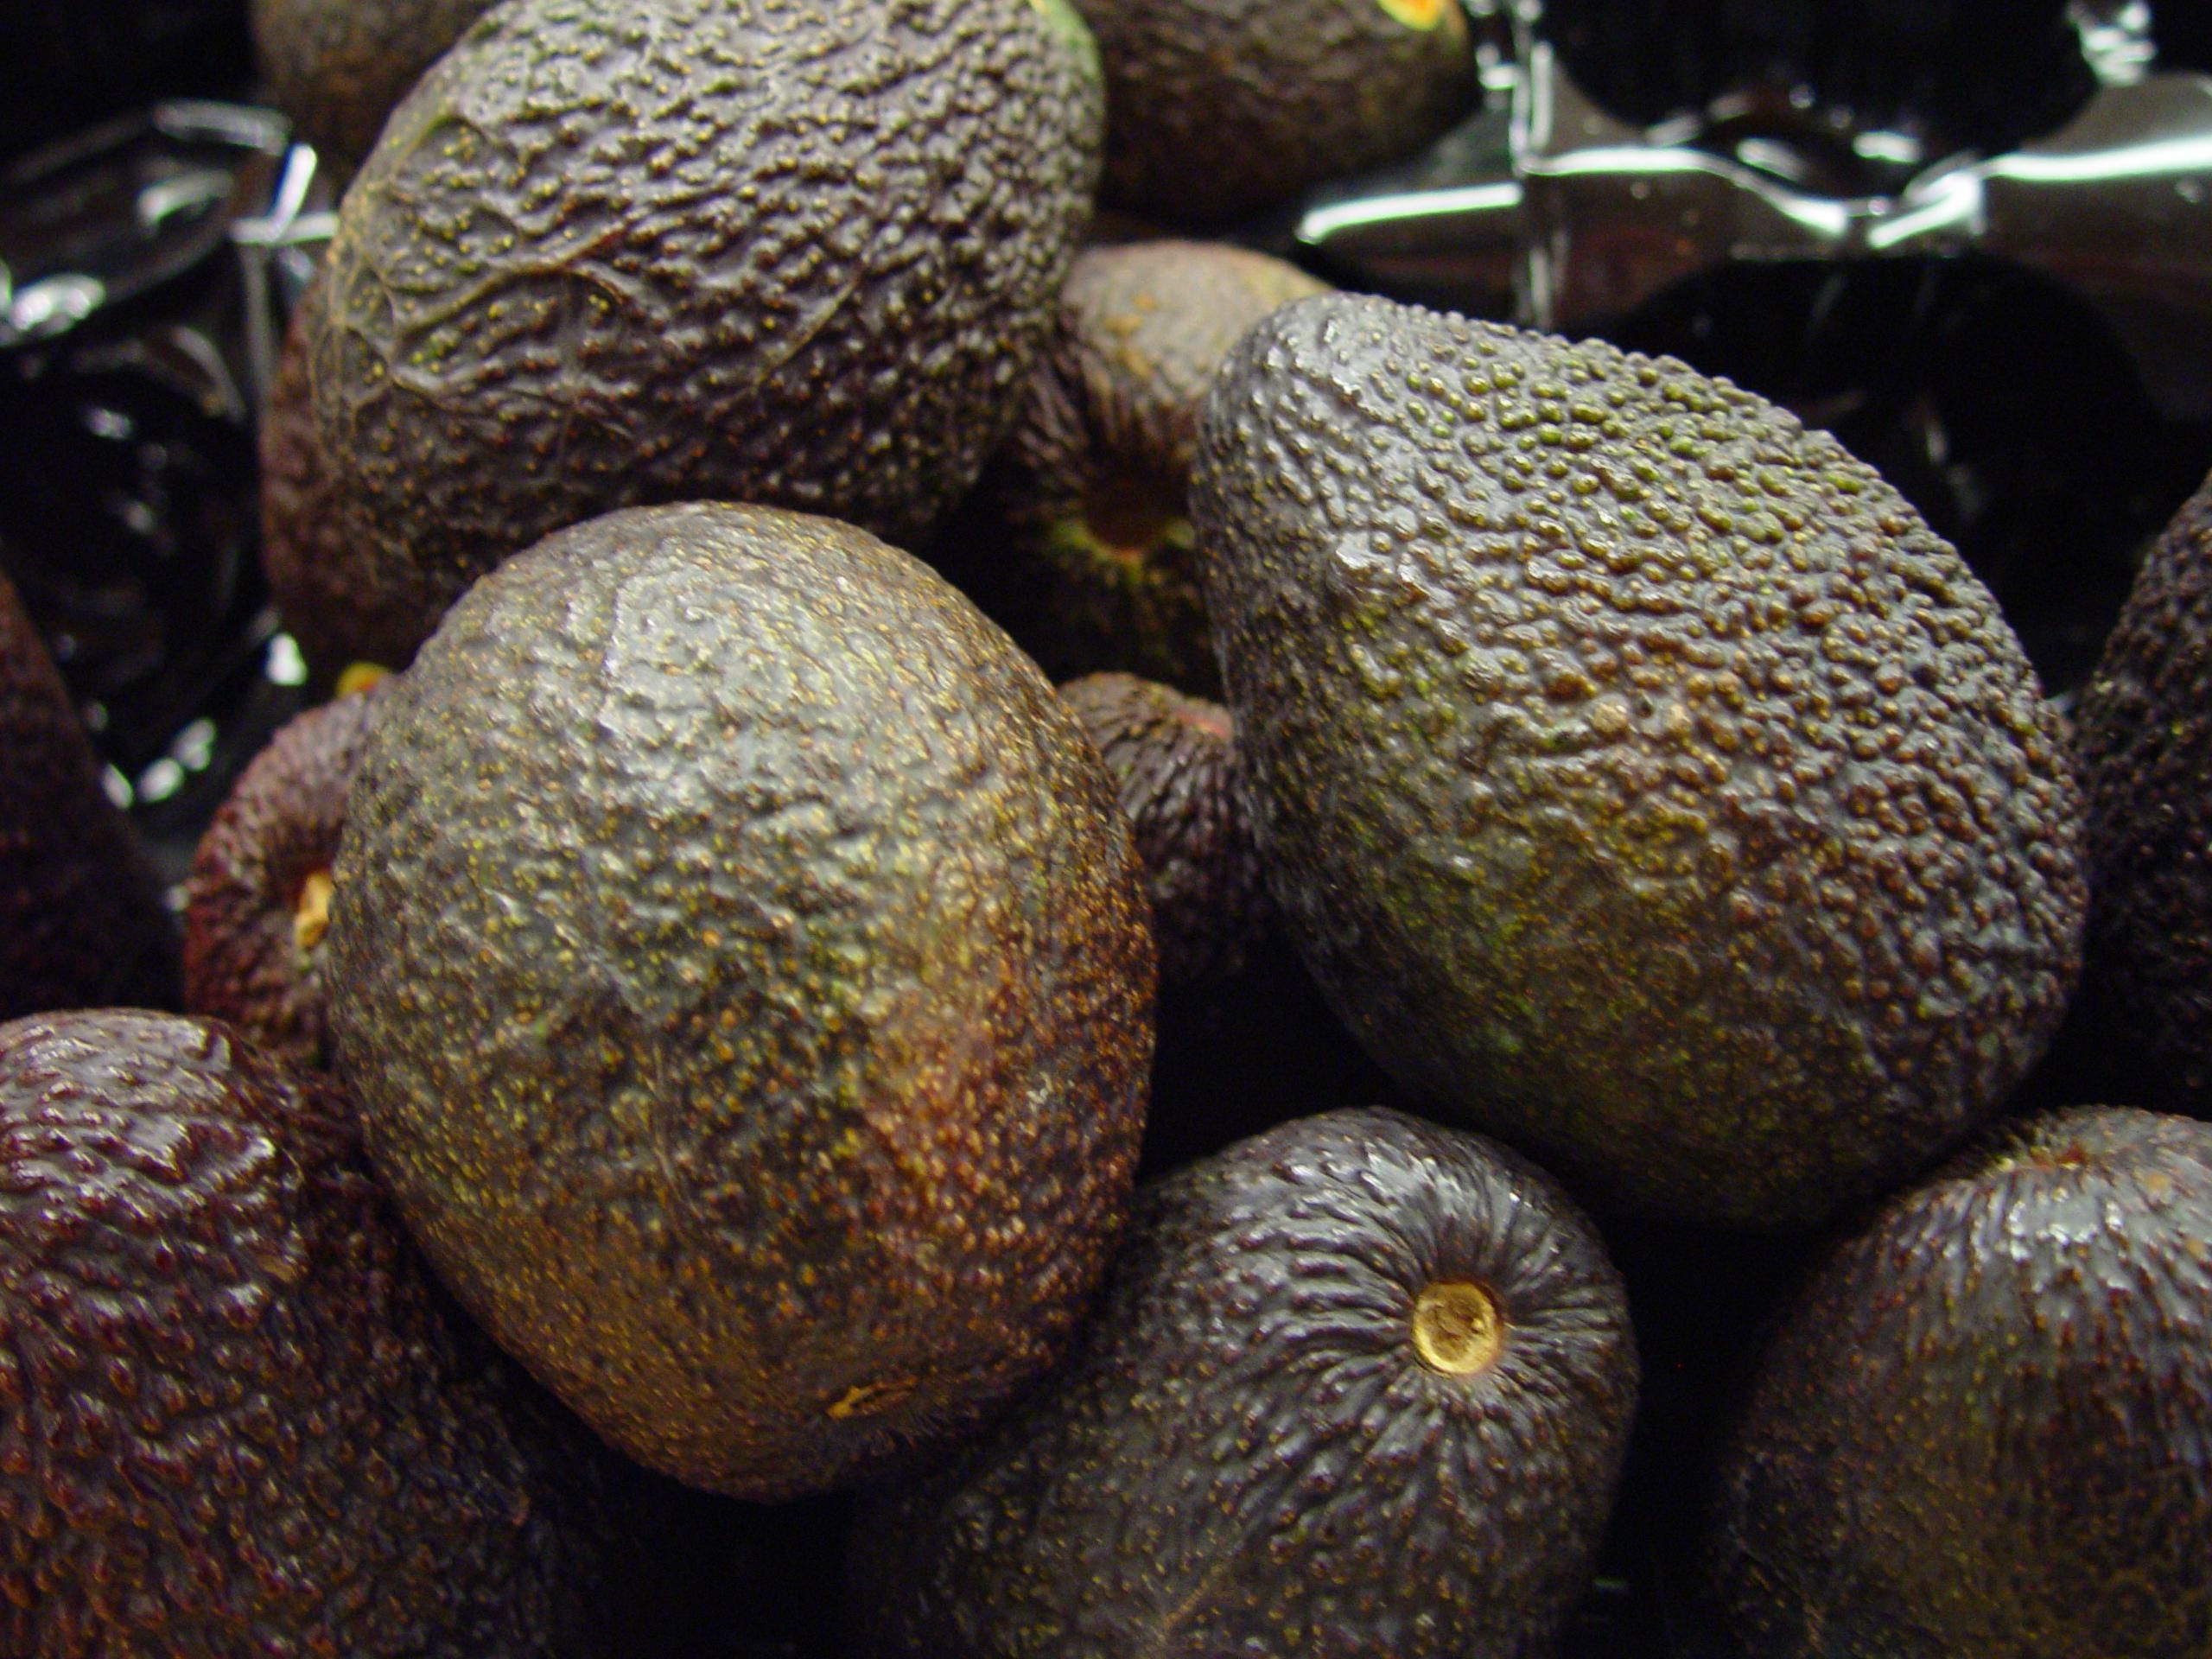 I myself not being one to brag,, Ahem.., my recipe is based on 3 simple rules.
1. Purchase them Green and Hard.
Rodolfo Fernandez is the top Avocado expert in our region. For many years he provided the best-tasting avocados to Mexican restaurants throughout San Antonio. I follow his advice. At the produce section, purchase Haas aguacates while they are still green and very firm. Store them in a bag, plastic or paper, and wait two days, maybe three, at which time they'll begin to ripen and soften. It is then that they are at their peak of flavor. There is no substitute for this direct, natural taste. You'll say, wow.
2. No Masks.
The fresh, full flavor of the avocado takes nicely to complementary seasonings and accompaniments but be judicious. At all costs do not mask the texture or flavor of the aguacate.
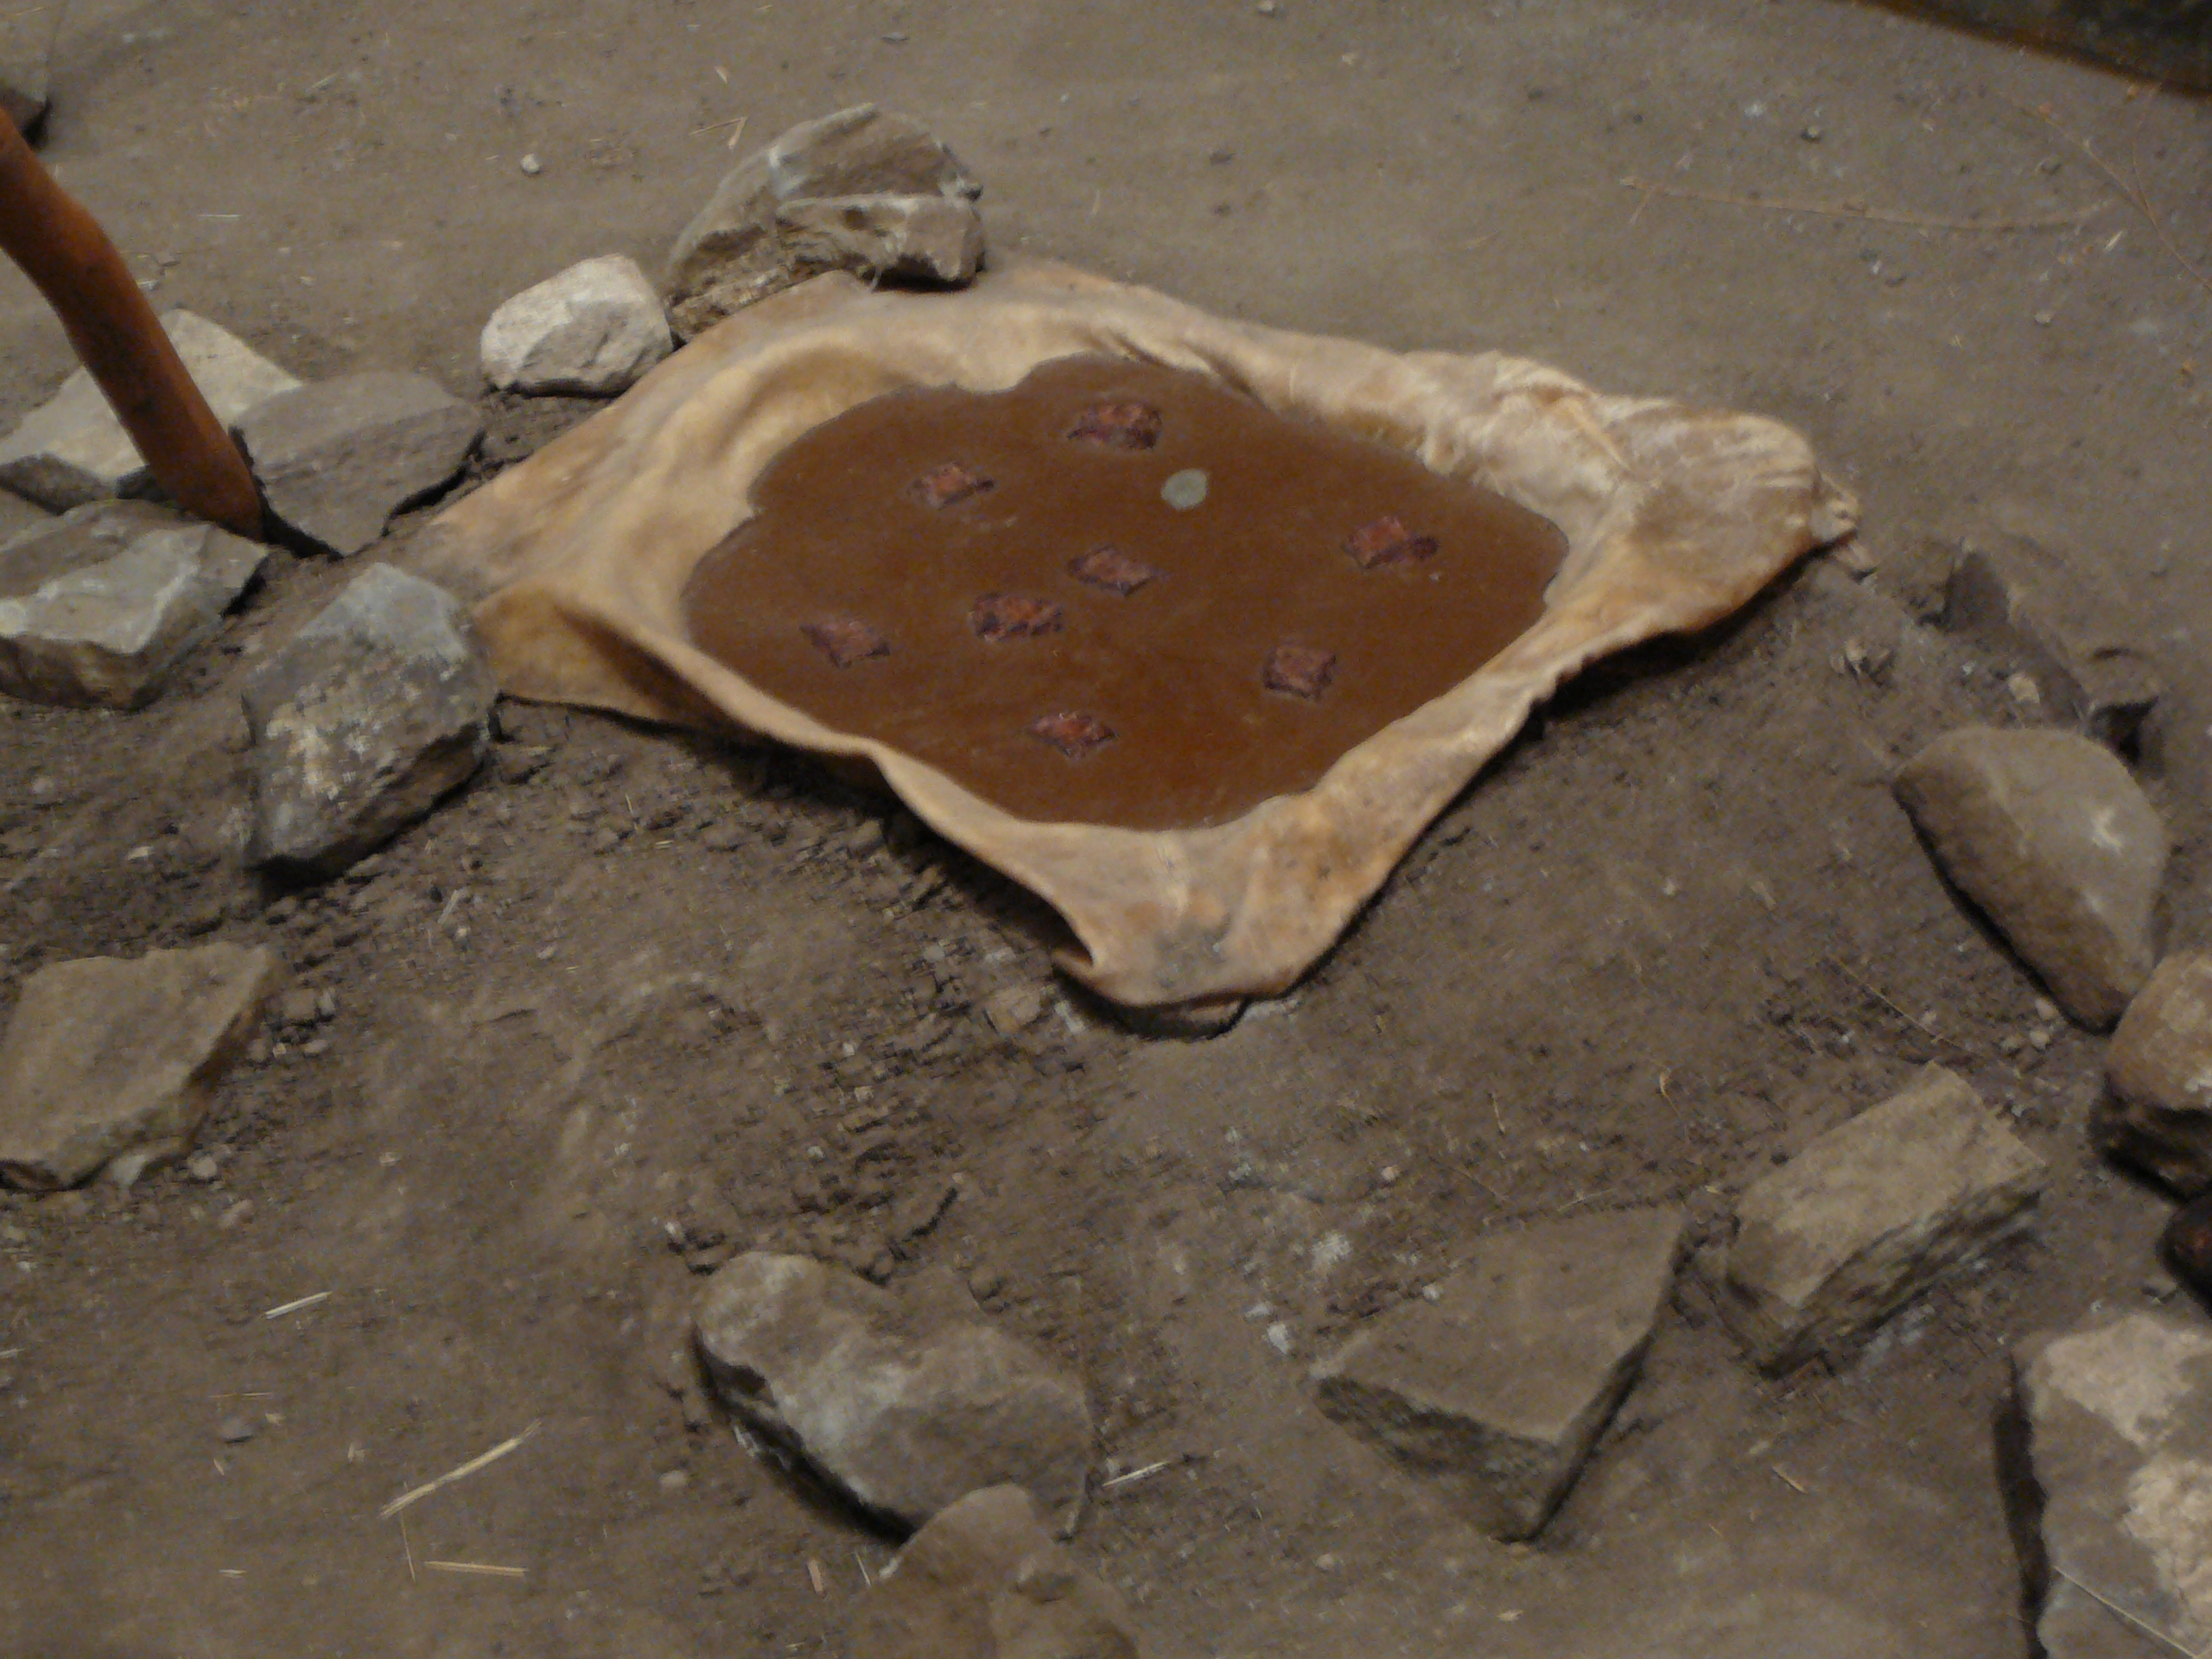
3. Use a Molcajete.
In the recipe below I explain how the foundational flavor is developed in a molcajete.
Avocado is aguacate in Spanish and aguacate is derived from the original Nahuatl name, "Ahucacahuitl."
The name appears in early writings, MesoAmerican hieroglyphs, documenting that the Avocado is native to Puebla, Mexico. Here is an original glyph of an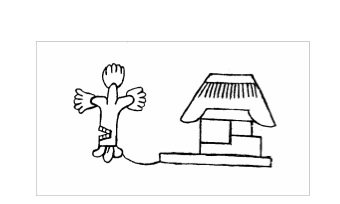 avocado tree linked to the place where the tree originates, the town of "Ahuacatlán." (1) The earliest remains of avocado consumption, 8,000-7,000 BCE, have been found in a cave in what is currently Coxcatlán in the state of Puebla, Mexico. From there the little lush fruit travelled and developed. There are three botanical types of avocados, Mexican, Guatemalan and Antillean.
  This map (2) lists where the origins of each of the types may have developed. Notice that the Mexican avocado is within the current TexMex area.
So enjoy this recipe knowing, again, that for millenia our land has nurtured us with delicious fruits and wonderful cooks. Hmmmmm!
Recipe: serves 6 -- thanks to Chef Roberto Santibañez whom I met in San Antonio and on whose book this is based.
Ingredients:
2 Haas avocados
1/2 Tbsp Green Serrano chile, sliced
1/2 Tbsp fresh cilantro, finely chopped
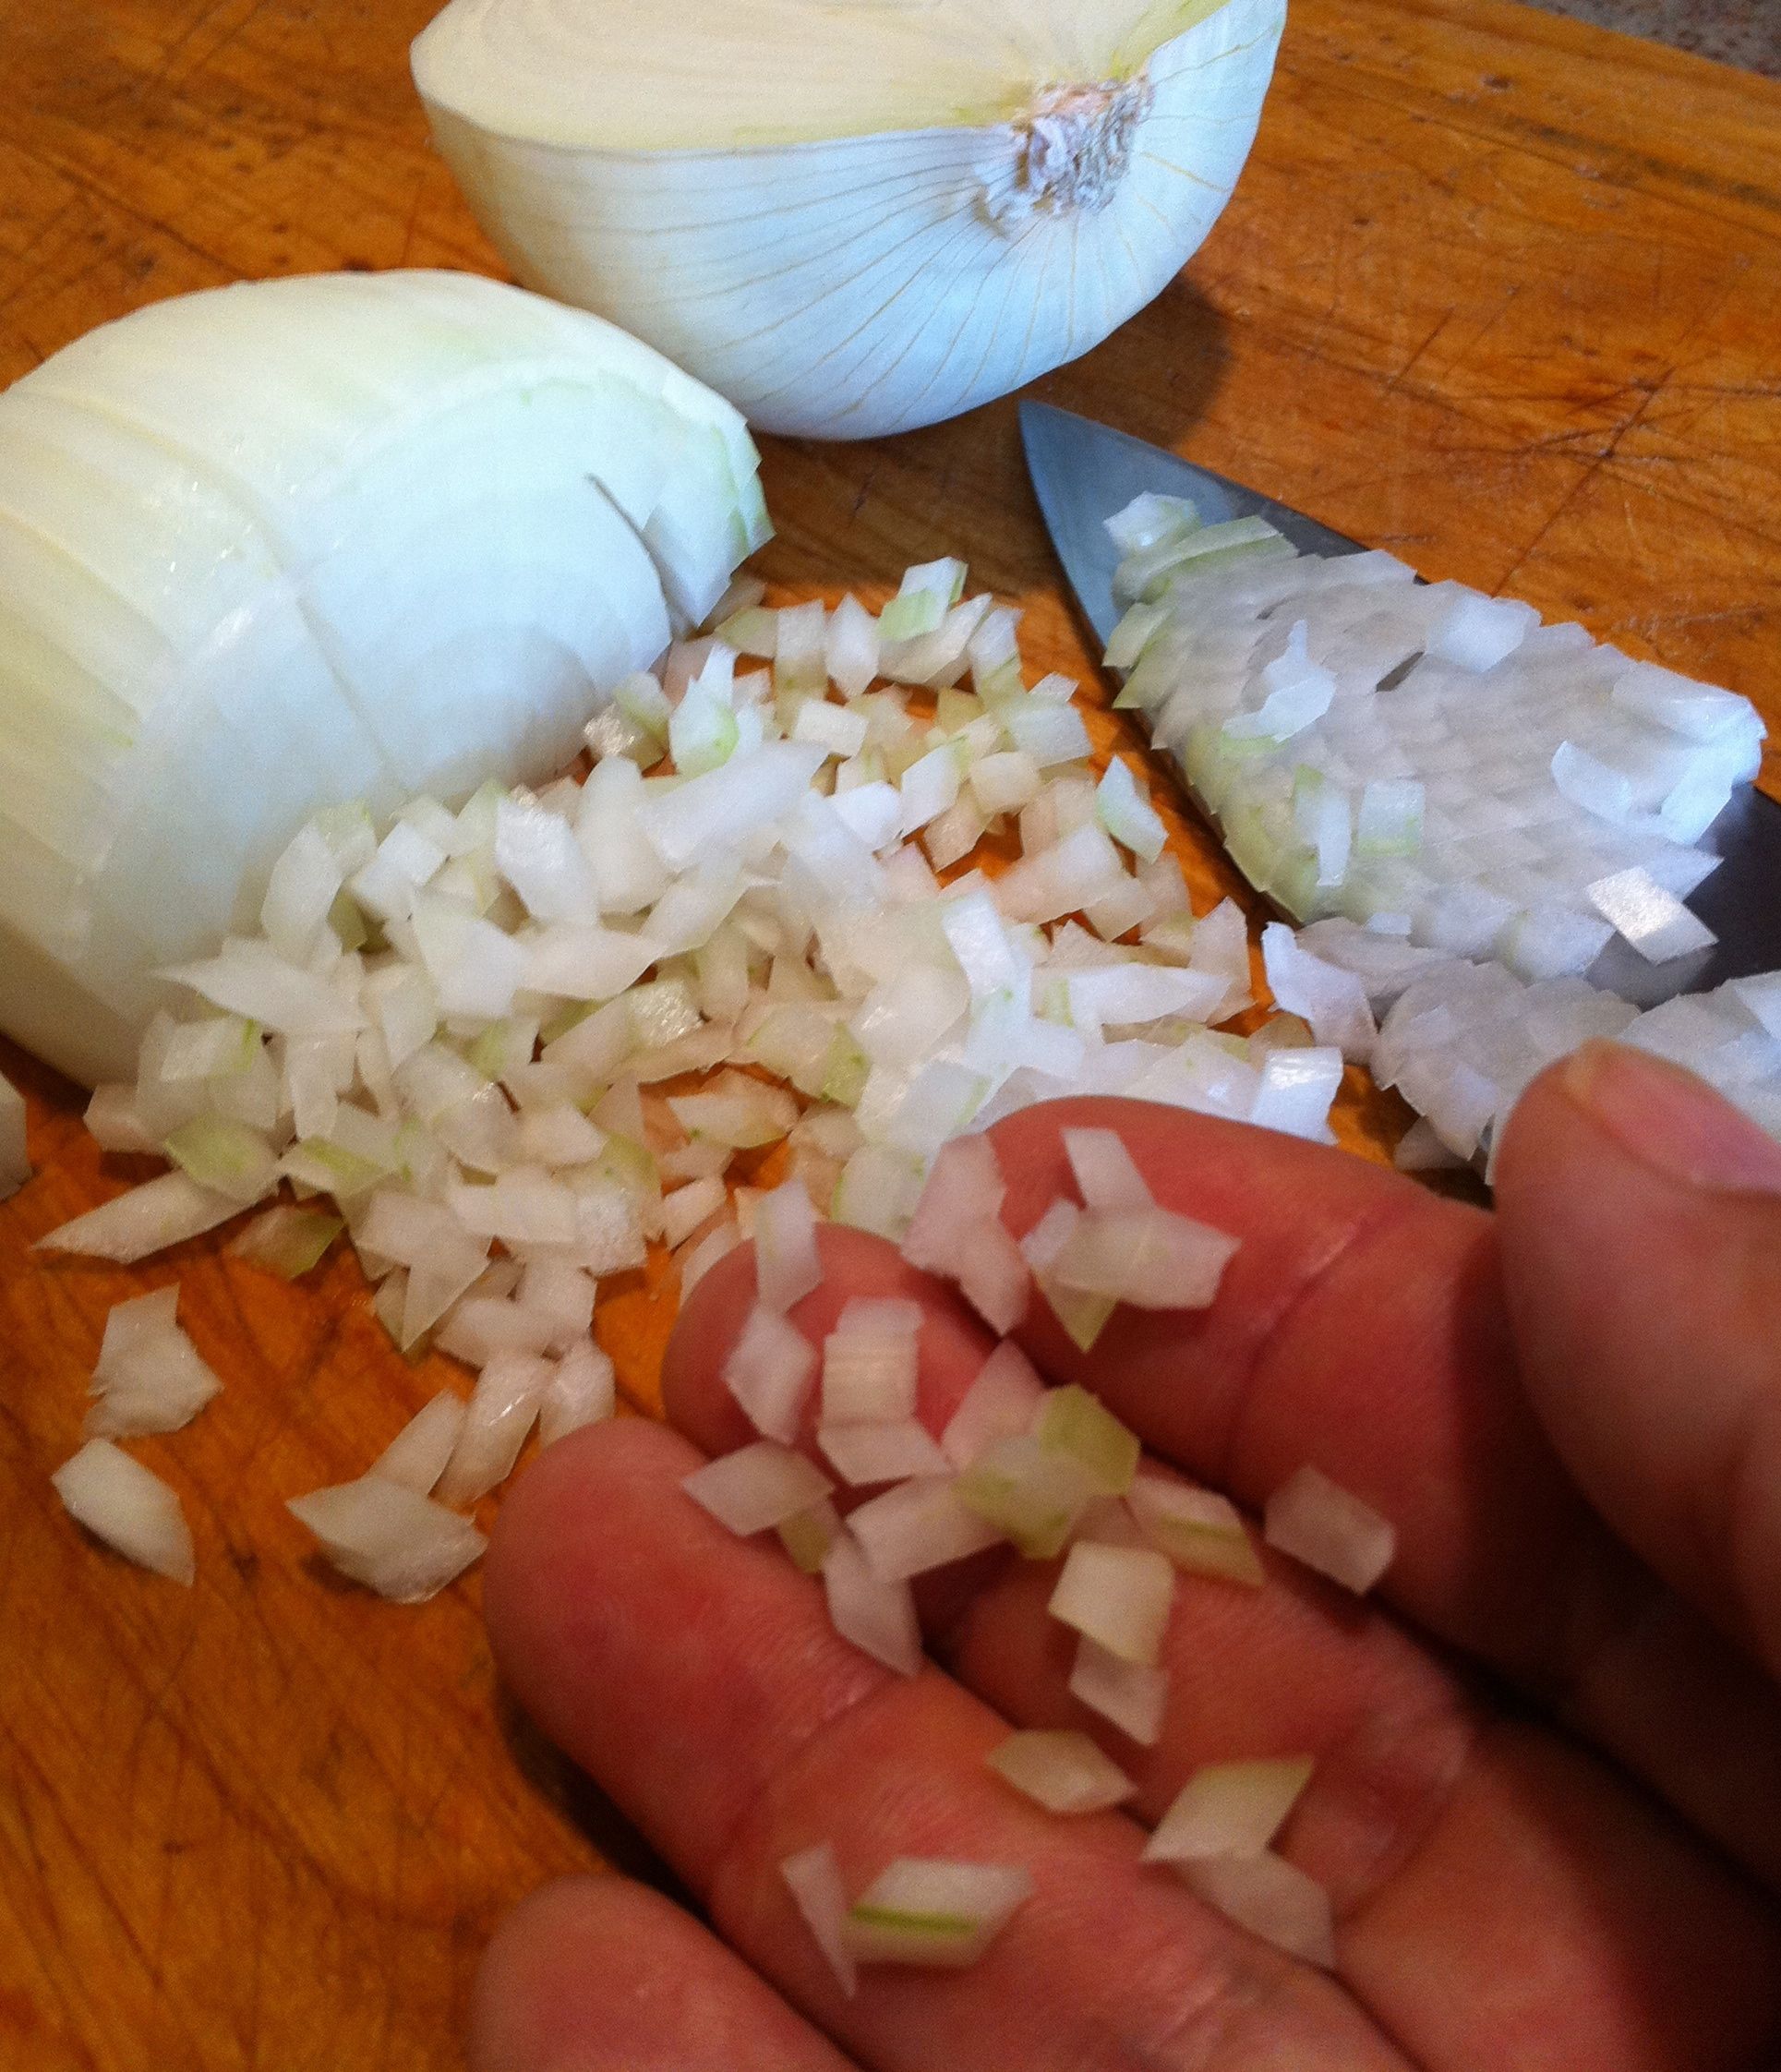
1 tspn white onion, small dice
1 tspn salt
1/4 cup tomato, small dice
2 Tbsp white onion, small dice
2 Tbsp fresh cilantro, coarsely chopped
Method:
1. Using a molcajete, make a fine paste of the onion, chile, cilantro and salt.
Here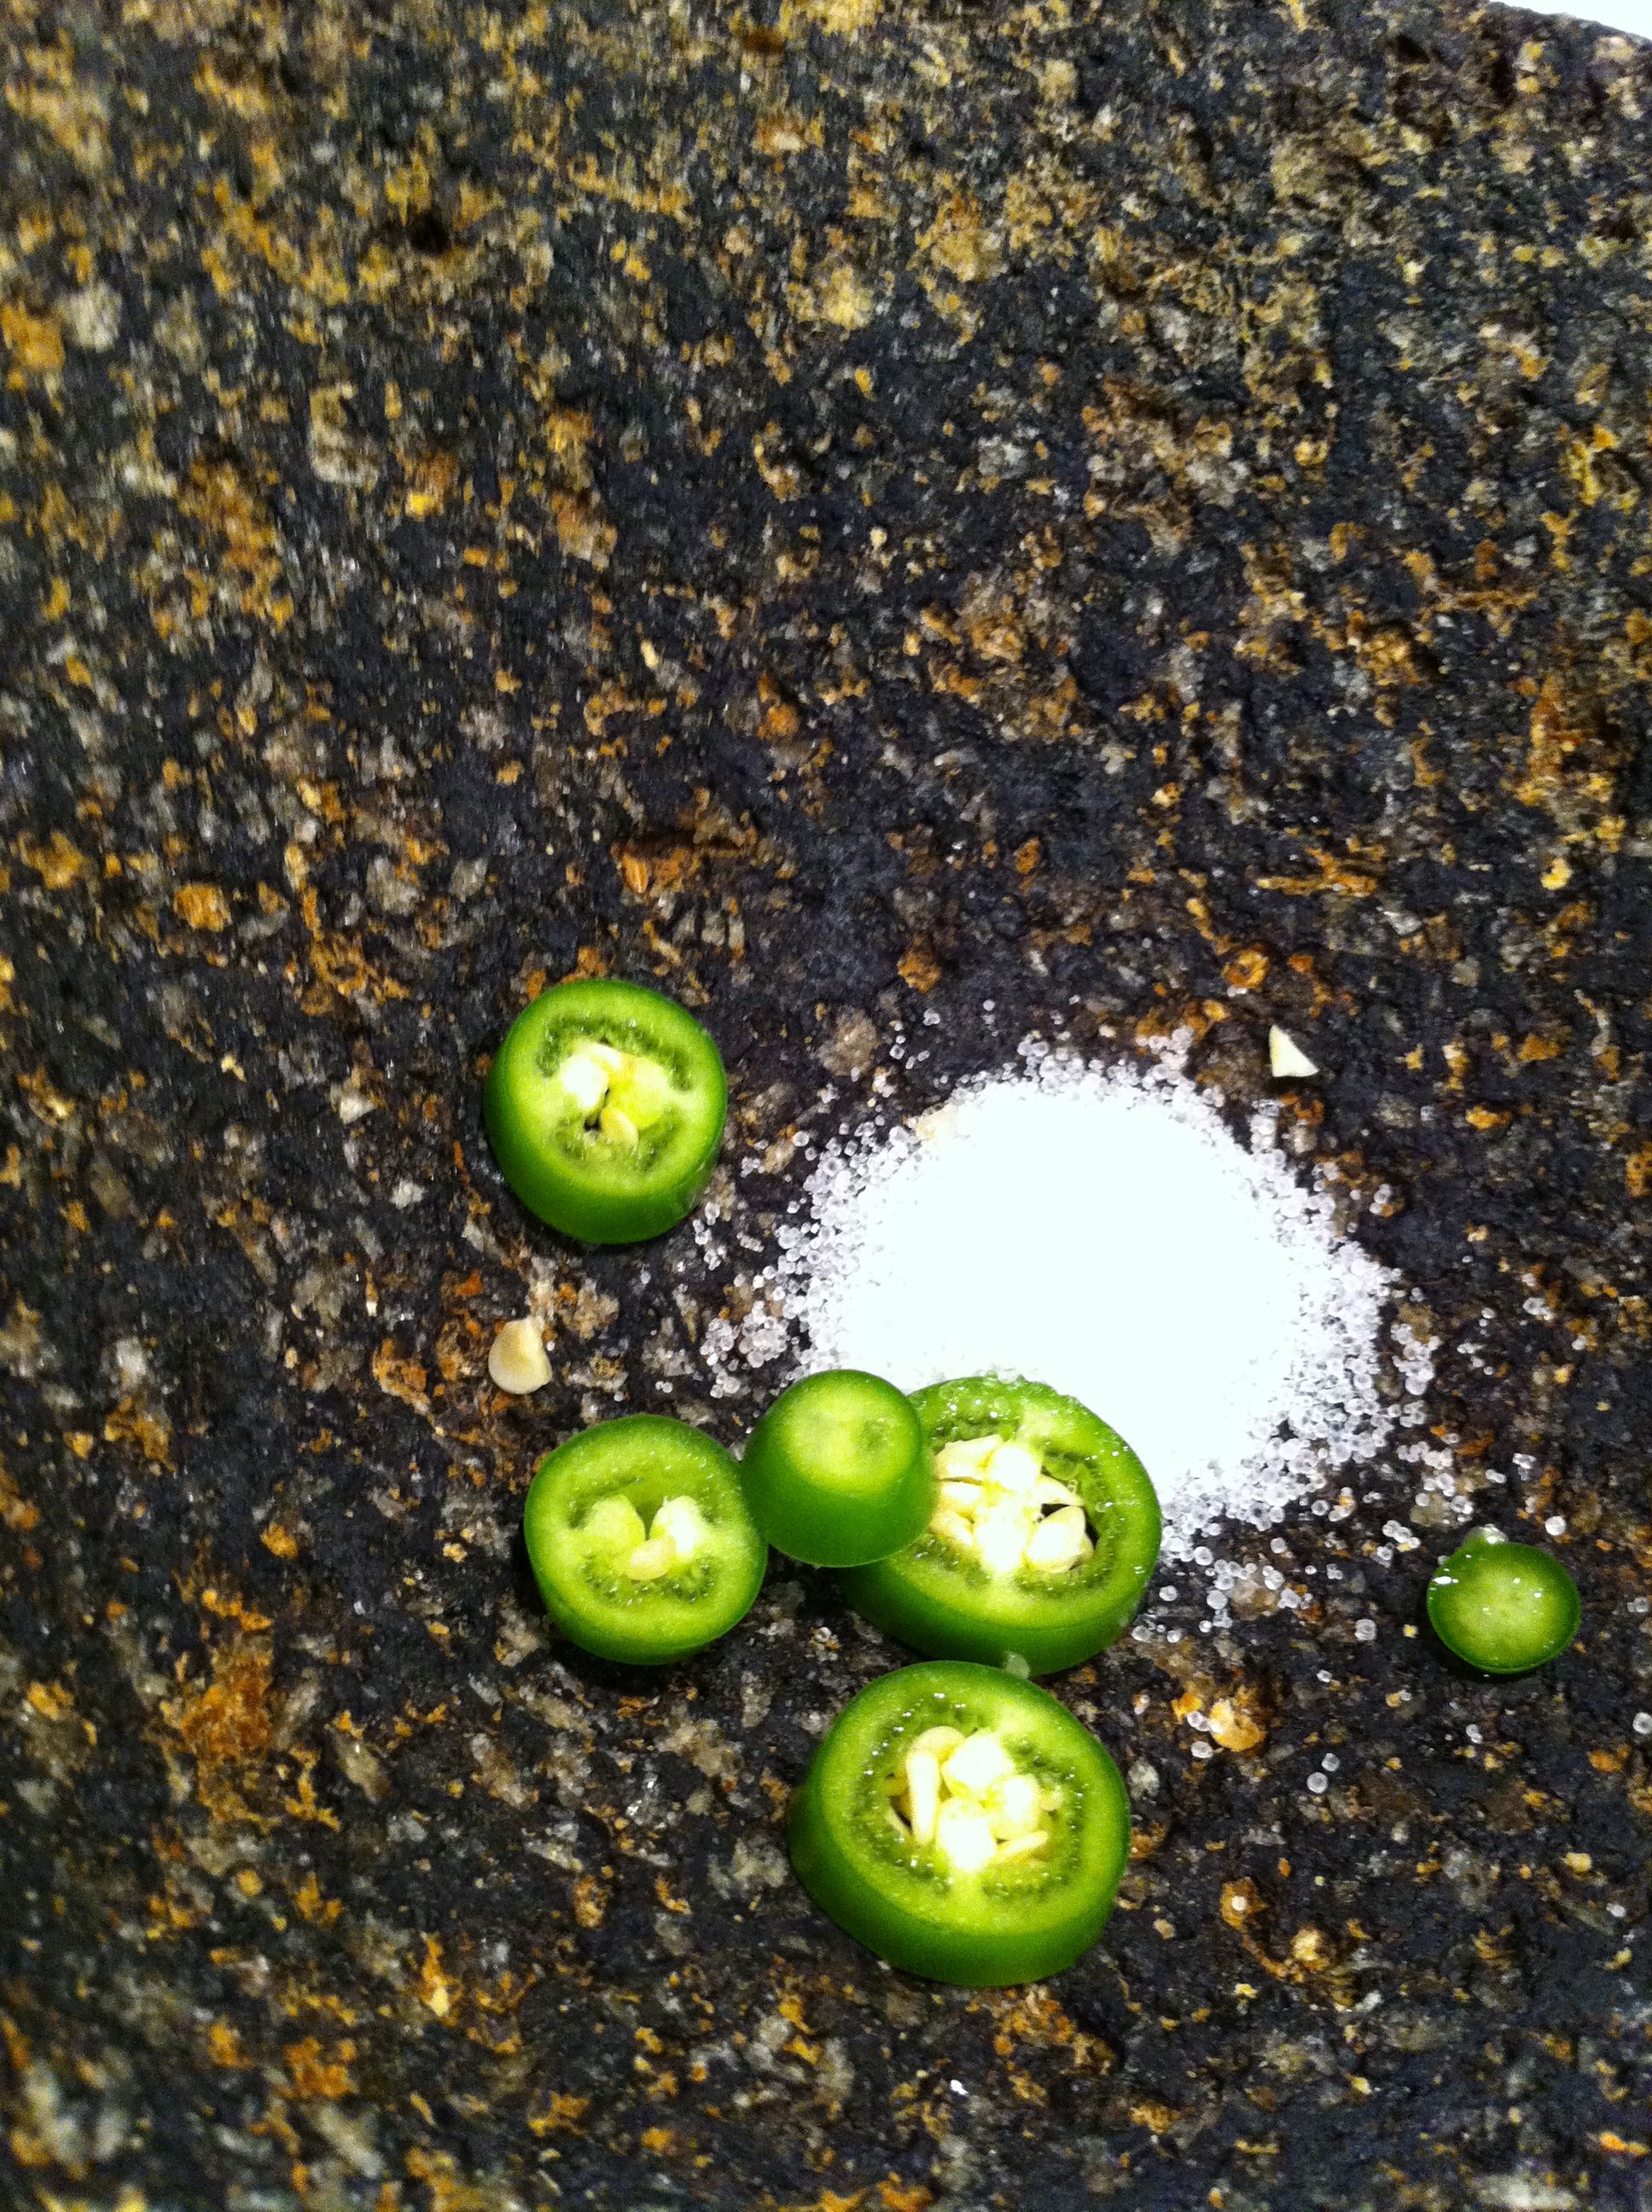 is where
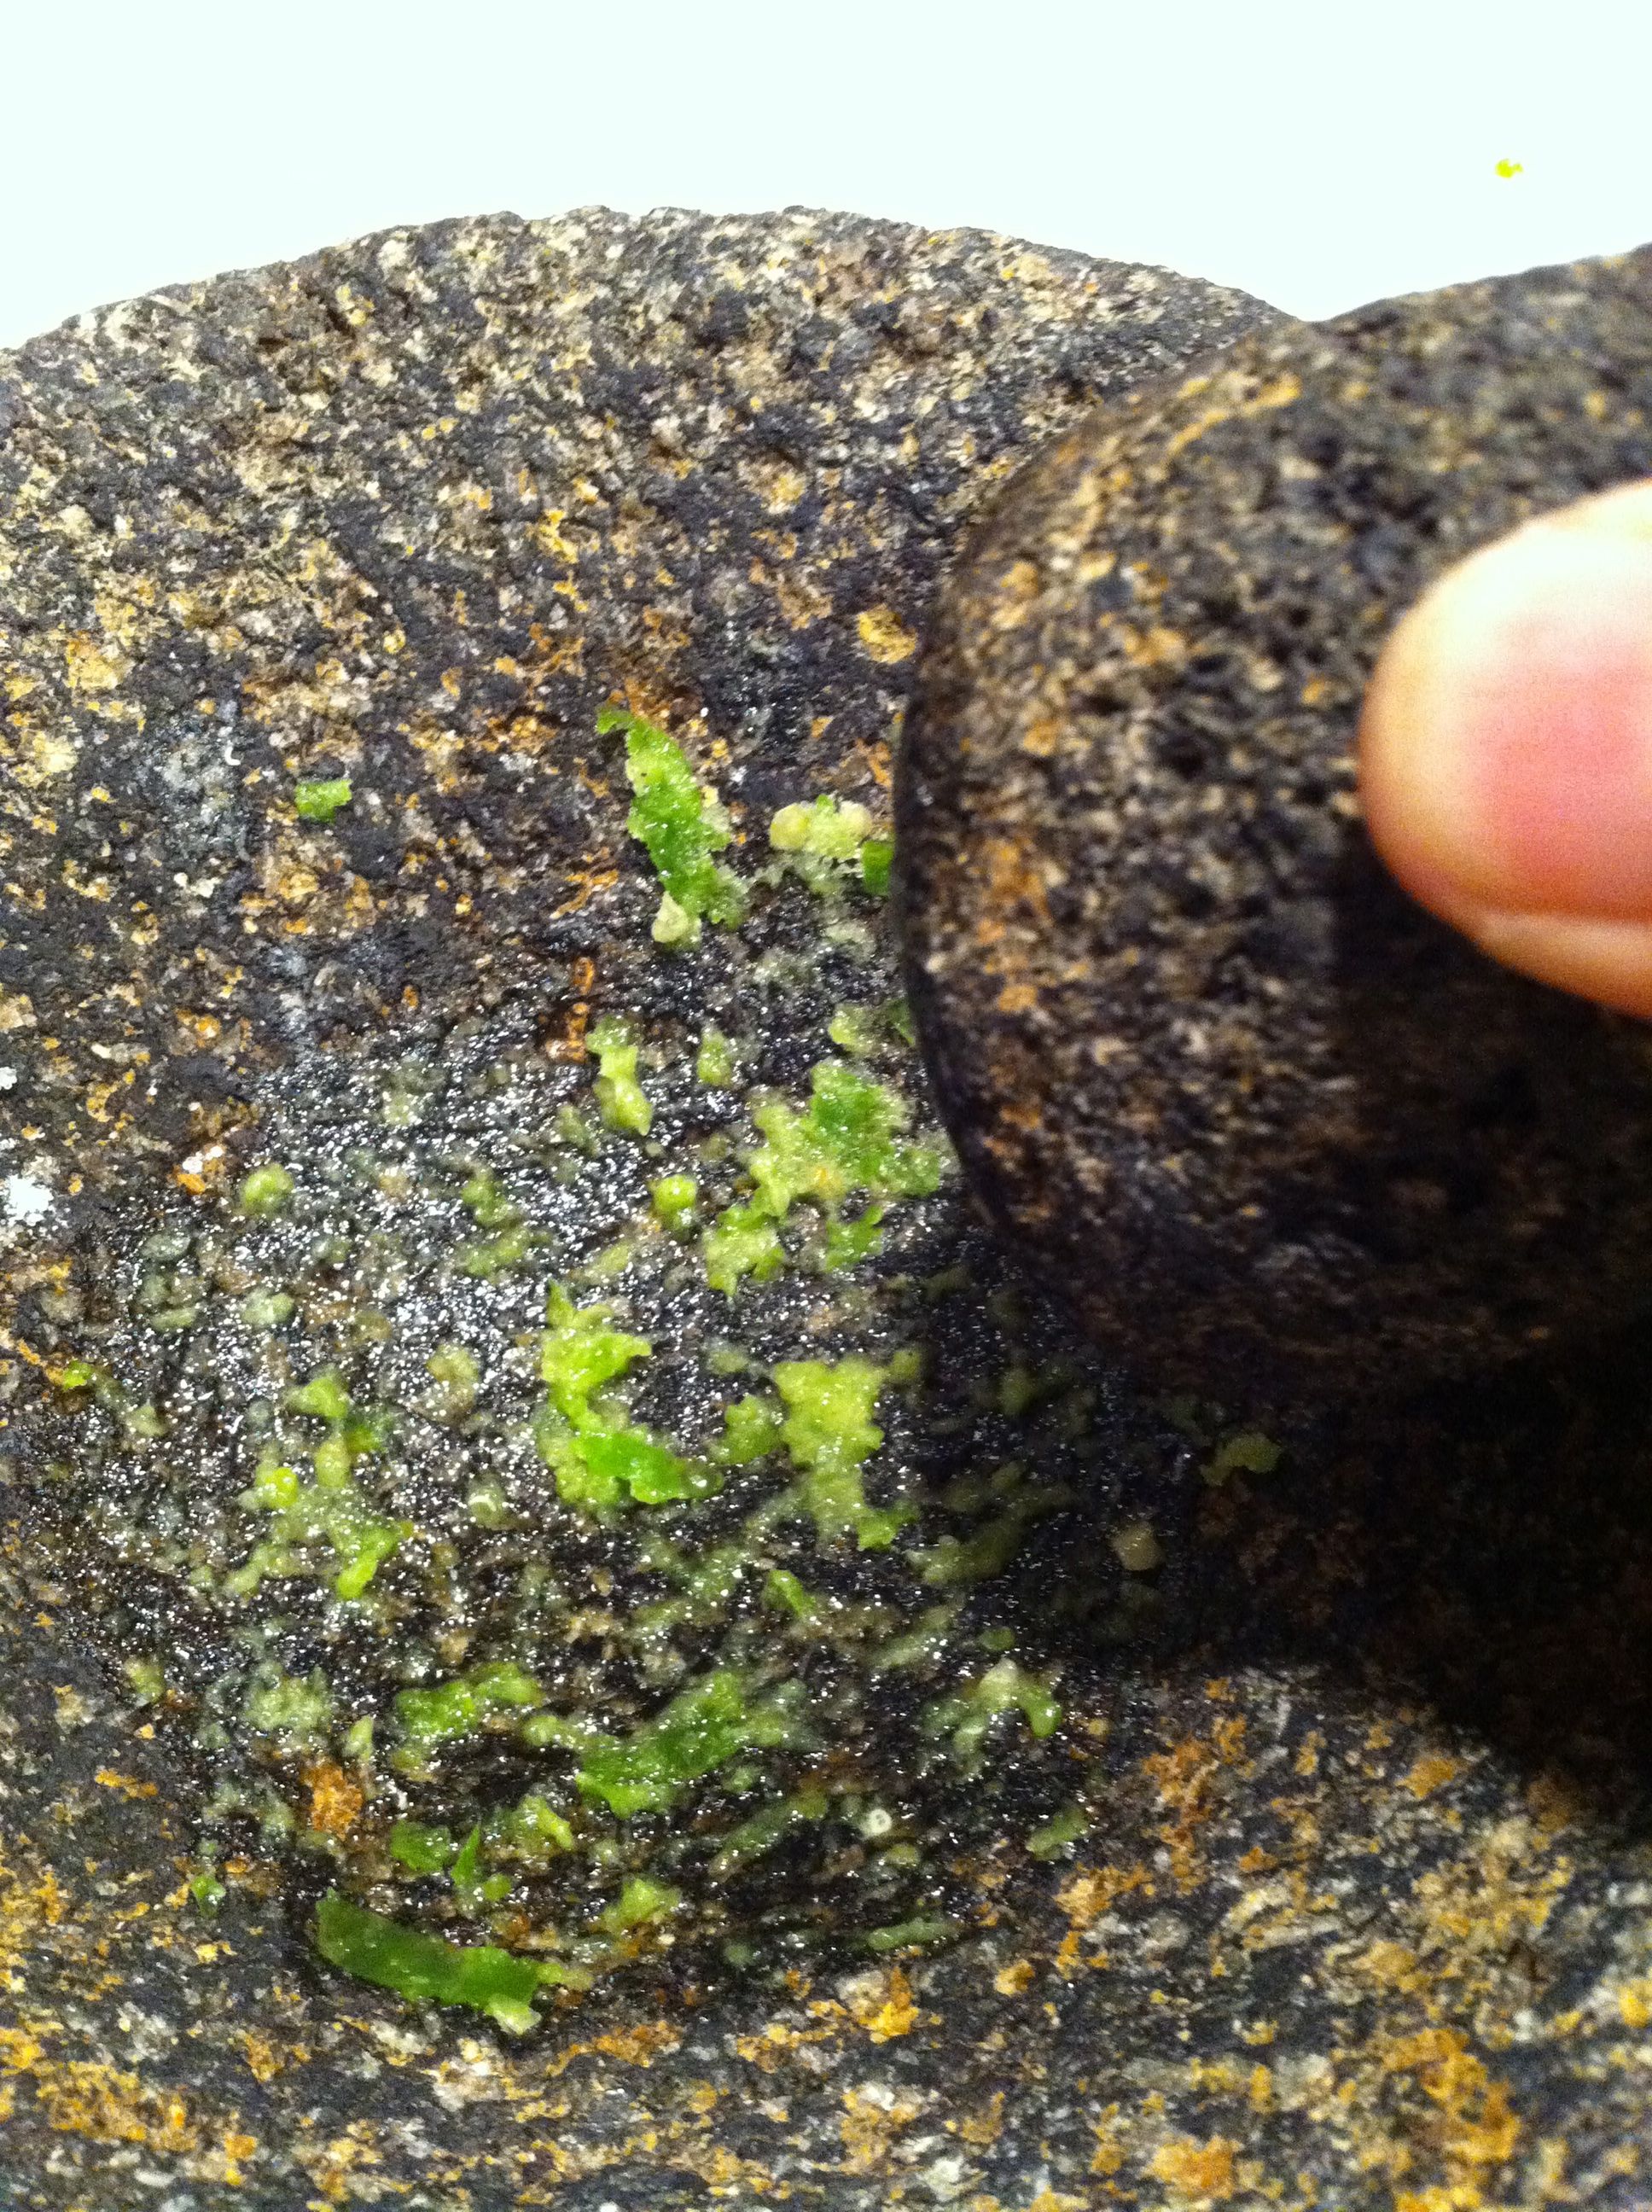 I mentioned that you can develop the flavor direction that your guacamole will take. You may add other seasonings to the molcajete, but keep in mind that you are following many years of tradition. Make sure your variations are culturally relevant, enticing to the palette, and not just vacuously trendy.
2. Dice the avocado and add to the molcajete, scraping and folding to make sure the avocado is covered with the seasonings.
3. Add the remaining tomato, cilantro and onion.
4. Serve immediately with crispy corn tortilla chips.
Guacamole con Frutas (3) Serves 6
Ingredients:
2 Haas avocados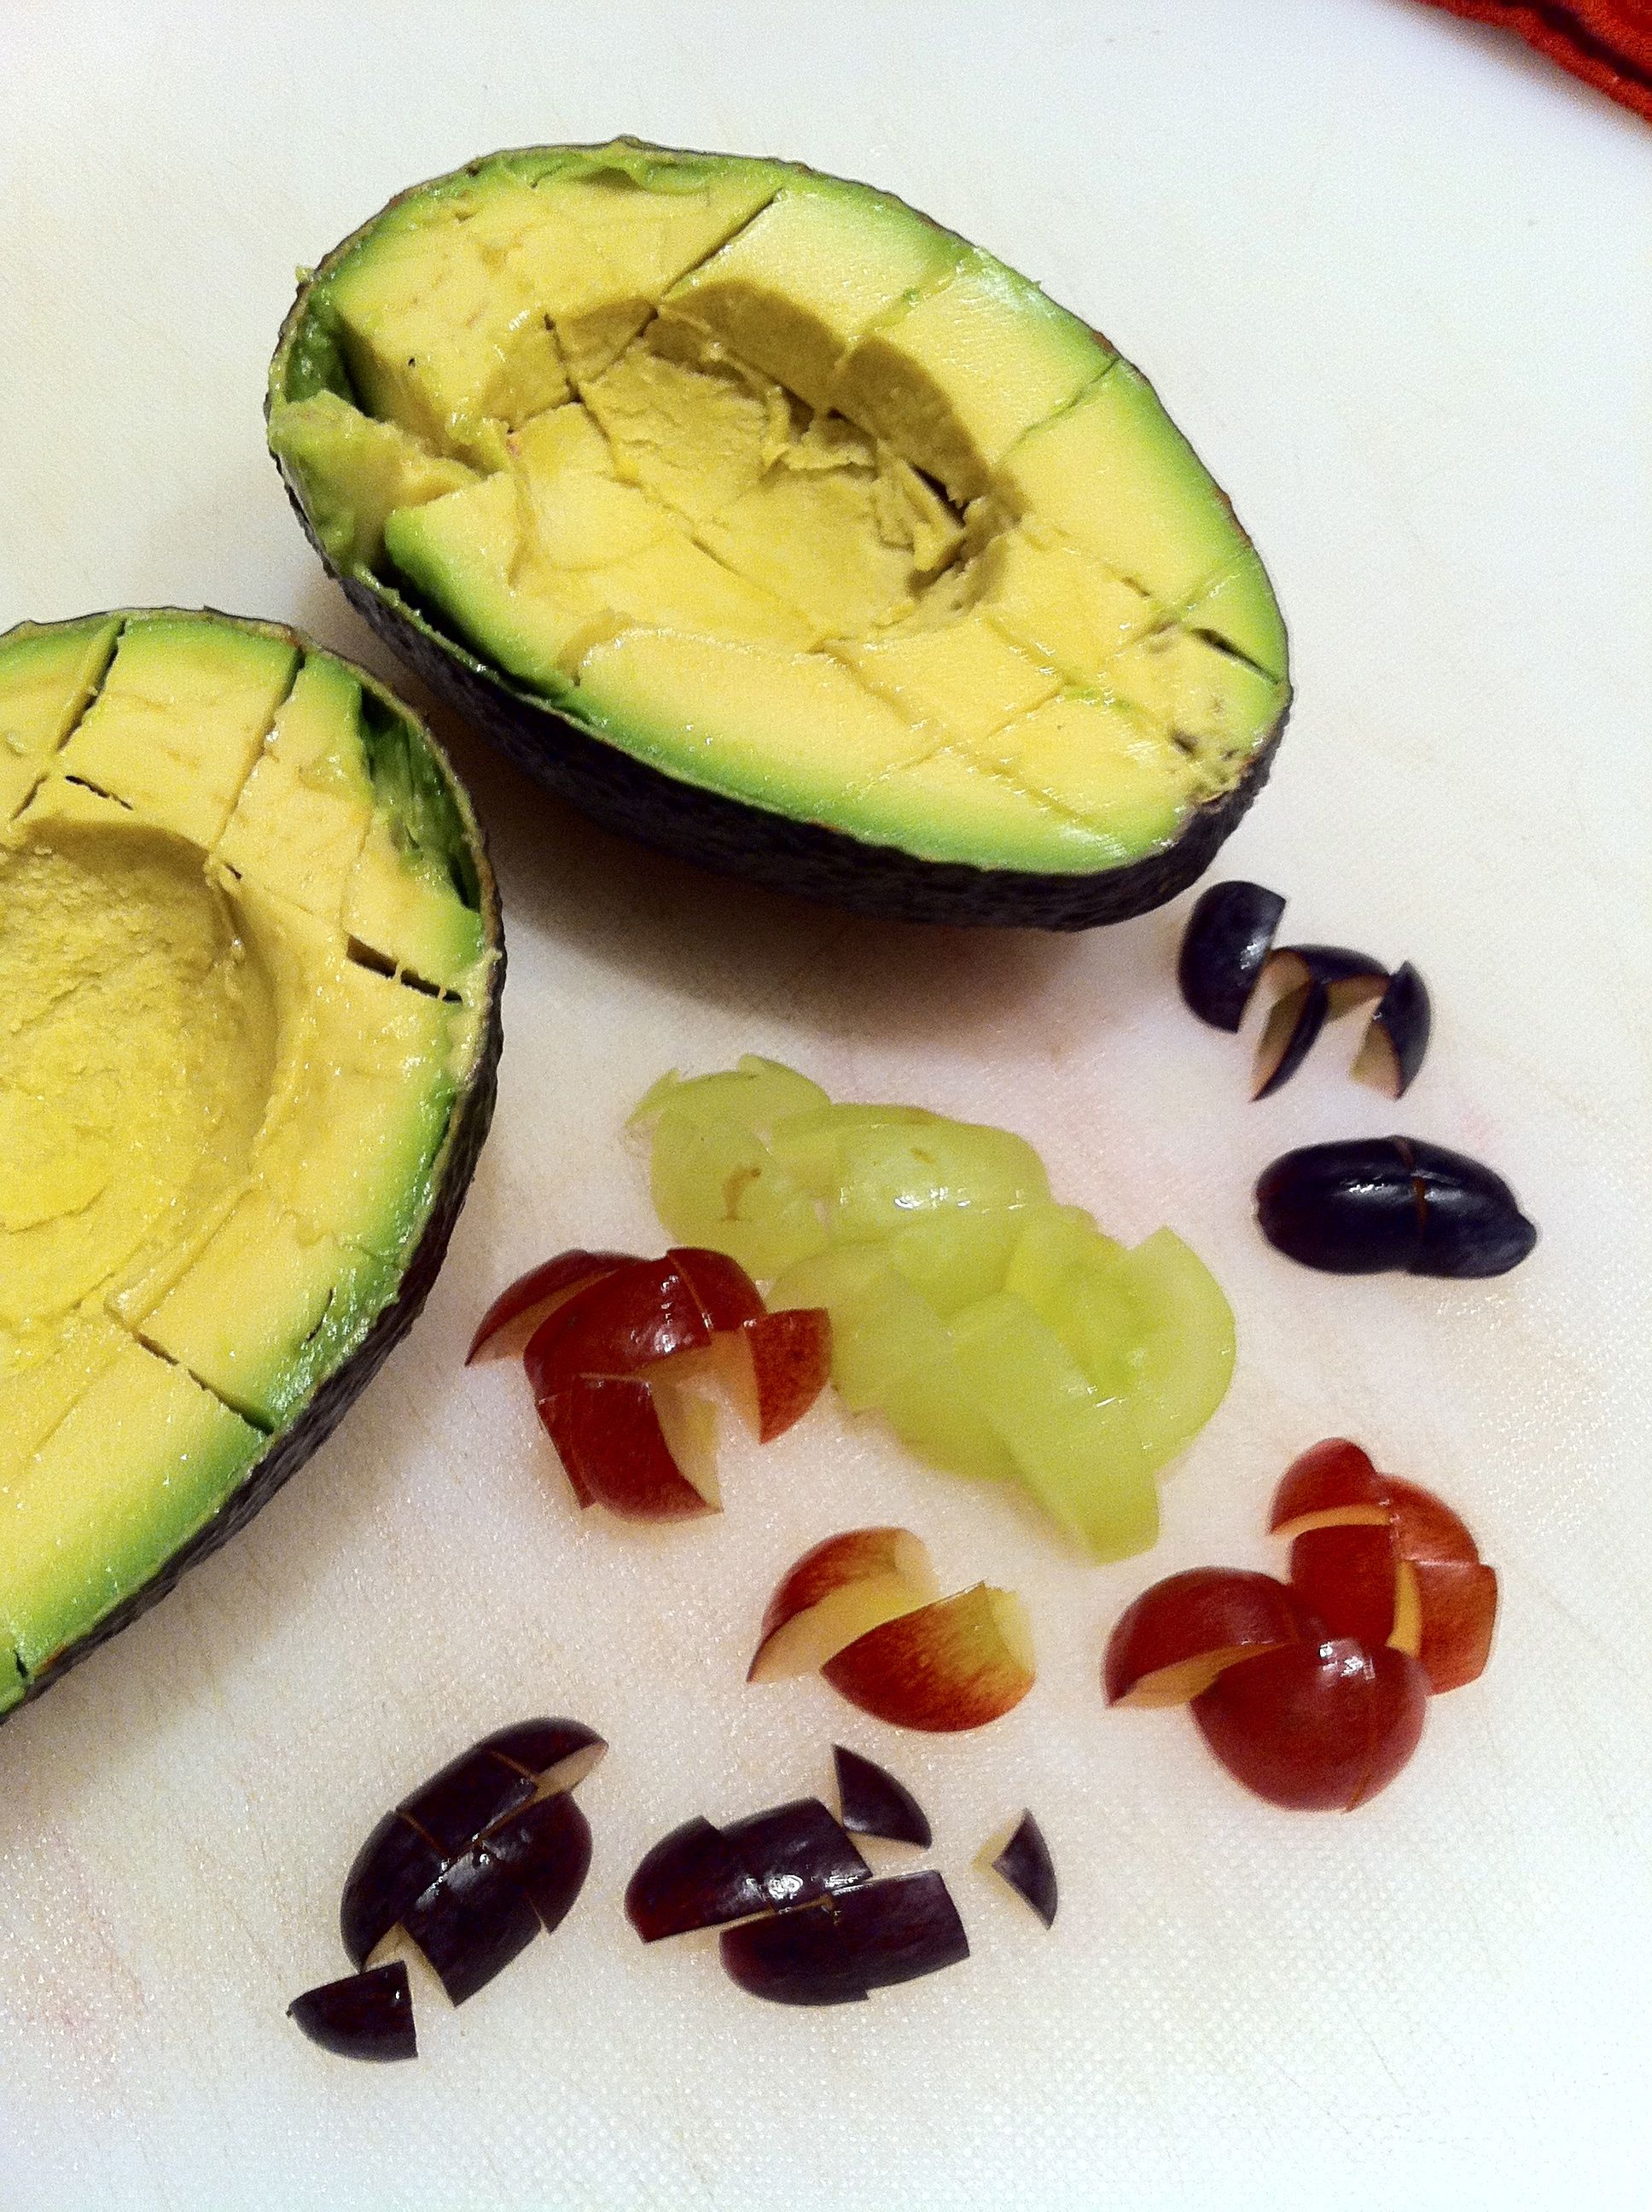
3/4 cup fresh mango, small cubes
10 red seedles grapes, halved
10 green seedless grapes, halved
1/2 cup pomegranate seeds
1/2 Tbsp Green Serrano chile, sliced. Note: I like to add more chile than this because I love the sweet fruit taste with the serrano flavor. But start with this amount and then see if you want to increase the serrano flavor.
1/4 cup tomato, small dice
1 tspn salt
Method:
1. Make the molcajete paste as above, of course there is no cilantro.
2. After combining the avocados with the molcajete paste, fold in the fruits.
3. Adjust the salt. Garnish with additional pomegranate and serve with crispy corn tortilla chips.
Buen provecho, TexMex!
NOTES:
(1) HISTORIA DEL AGUACATE EN MÉXICO, Salvador Sánchez Colín, Pedro Mijares Oviedo, Luis López-López, Alejandro F. Barrientos-Priego.
(2) HISTORIA DEL AGUACATE EN MÉXICO, Salvador Sánchez Colín, Pedro Mijares Oviedo, Luis López-López, Alejandro F. Barrientos-Priego.

I myself not being one to brag,, Ahem.., my recipe is based on 3 simple rules.1. Purchase them Green and Hard.
Rodolfo Fernandez is the top Avocado expert in our region. For many years he provided the best-tasting avocados to Mexican restaurants throughout San Antonio. I follow his advice. At the produce section, purchase Haas aguacates while they are still green and very firm. Store them in a bag, plastic or paper, and wait two days, maybe three, at which time they'll begin to ripen and soften. It is then that they are at their peak of flavor. There is no substitute for this direct, natural taste. You'll say, wow.
2. No Masks.
The fresh, full flavor of the avocado takes nicely to complementary seasonings and accompaniments but be judicious. At all costs do not mask the texture or flavor of the aguacate.
3. Use a Molcajete.
In the recipe below I explain how the foundational flavor is developed in a molcajete.
Avocado is aguacate in Spanish and aguacate is derived from the original Nahuatl name, "Ahucacahuitl."
The name appears in early writings, MesoAmerican hieroglyphs, documenting that the Avocado is native to Puebla, Mexico. Here is an original glyph of an
avocado tree linked to the place where the tree originates, the town of "Ahuacatlán." (1) The earliest remains of avocado consumption, 8,000-7,000 BCE, have been found in a cave in what is currently Coxcatlán in the state of Puebla, Mexico. From there the little lush fruit travelled and developed. There are three botanical types of avocados, Mexican, Guatemalan and Antillean. This map (2) lists where the origins of each of the types may have developed. Notice that the Mexican avocado is within the current TexMex area.So enjoy this recipe knowing, again, that for millenia our land has nurtured us with delicious fruits and wonderful cooks. Hmmmmm!
Recipe: serves 6 -- thanks to Chef Roberto Santibañez whom I met in San Antonio and on whose book this is based.
Ingredients:
2 Haas avocados
1/2 Tbsp Green Serrano chile, sliced
1/2 Tbsp fresh cilantro, finely chopped
1 tspn white onion, small dice
1 tspn salt
1/4 cup tomato, small dice
2 Tbsp white onion, small dice
2 Tbsp fresh cilantro, coarsely chopped
Method:
1. Using a molcajete, make a fine paste of the onion, chile, cilantro and salt.
Here
is where I mentioned that you can develop the flavor direction that your guacamole will take. You may add other seasonings to the molcajete, but keep in mind that you are following many years of tradition. Make sure your variations are culturally relevant, enticing to the palette, and not just vacuously trendy.2. Dice the avocado and add to the molcajete, scraping and folding to make sure the avocado is covered with the seasonings.
3. Add the remaining tomato, cilantro and onion.
4. Serve immediately with crispy corn tortilla chips.
Guacamole con Frutas (3) Serves 6
Ingredients:
2 Haas avocados
3/4 cup fresh mango, small cubes
10 red seedles grapes, halved
10 green seedless grapes, halved
1/2 cup pomegranate seeds
1/2 Tbsp Green Serrano chile, sliced. Note: I like to add more chile than this because I love the sweet fruit taste with the serrano flavor. But start with this amount and then see if you want to increase the serrano flavor.
1/4 cup tomato, small dice
1 tspn salt
Method:
1. Make the molcajete paste as above, of course there is no cilantro.
2. After combining the avocados with the molcajete paste, fold in the fruits.
3. Adjust the salt. Garnish with additional pomegranate and serve with crispy corn tortilla chips.
Buen provecho, TexMex!
NOTES:
(1) HISTORIA DEL AGUACATE EN MÉXICO, Salvador Sánchez Colín, Pedro Mijares Oviedo, Luis López-López, Alejandro F. Barrientos-Priego.
(2) HISTORIA DEL AGUACATE EN MÉXICO, Salvador Sánchez Colín, Pedro Mijares Oviedo, Luis López-López, Alejandro F. Barrientos-Priego.
(3) Printed in Classic Cuisines of Mexico by Chef Iliana De La
Vega, Culinary Institute of America, adapted from Roberto
Santibañez and he from Diana Kennedy and María Dolores Torres-Izabal.
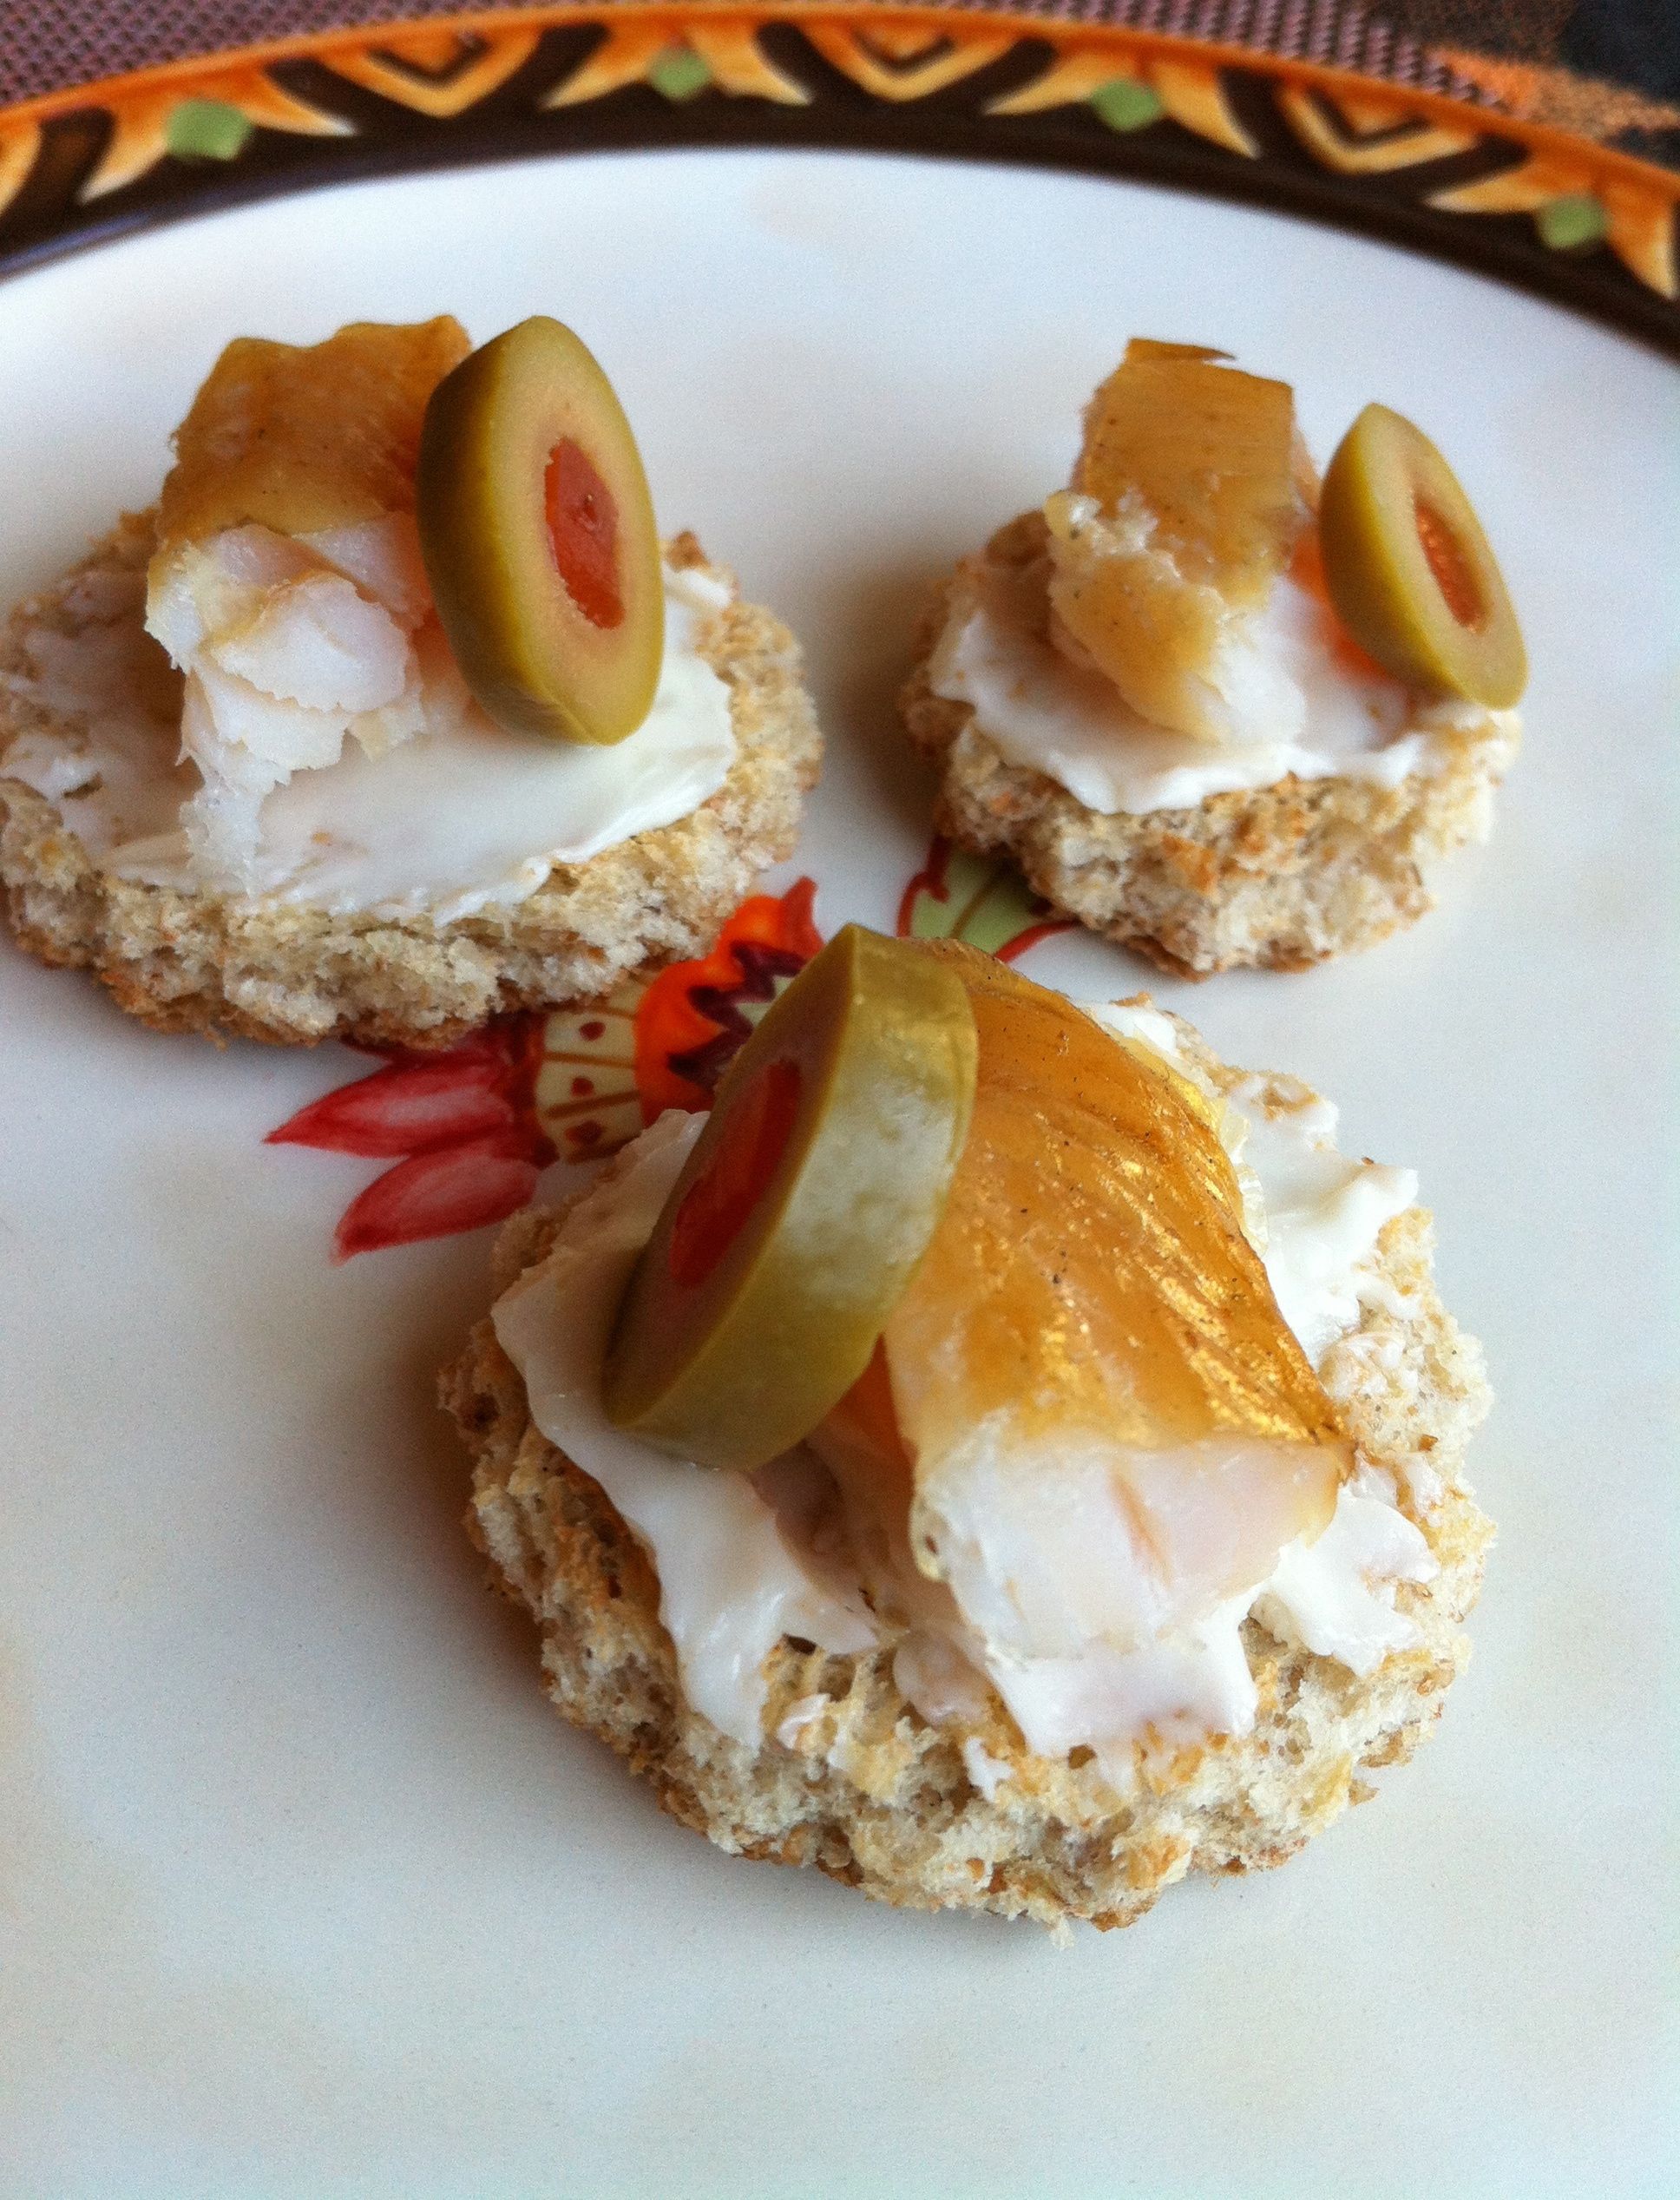
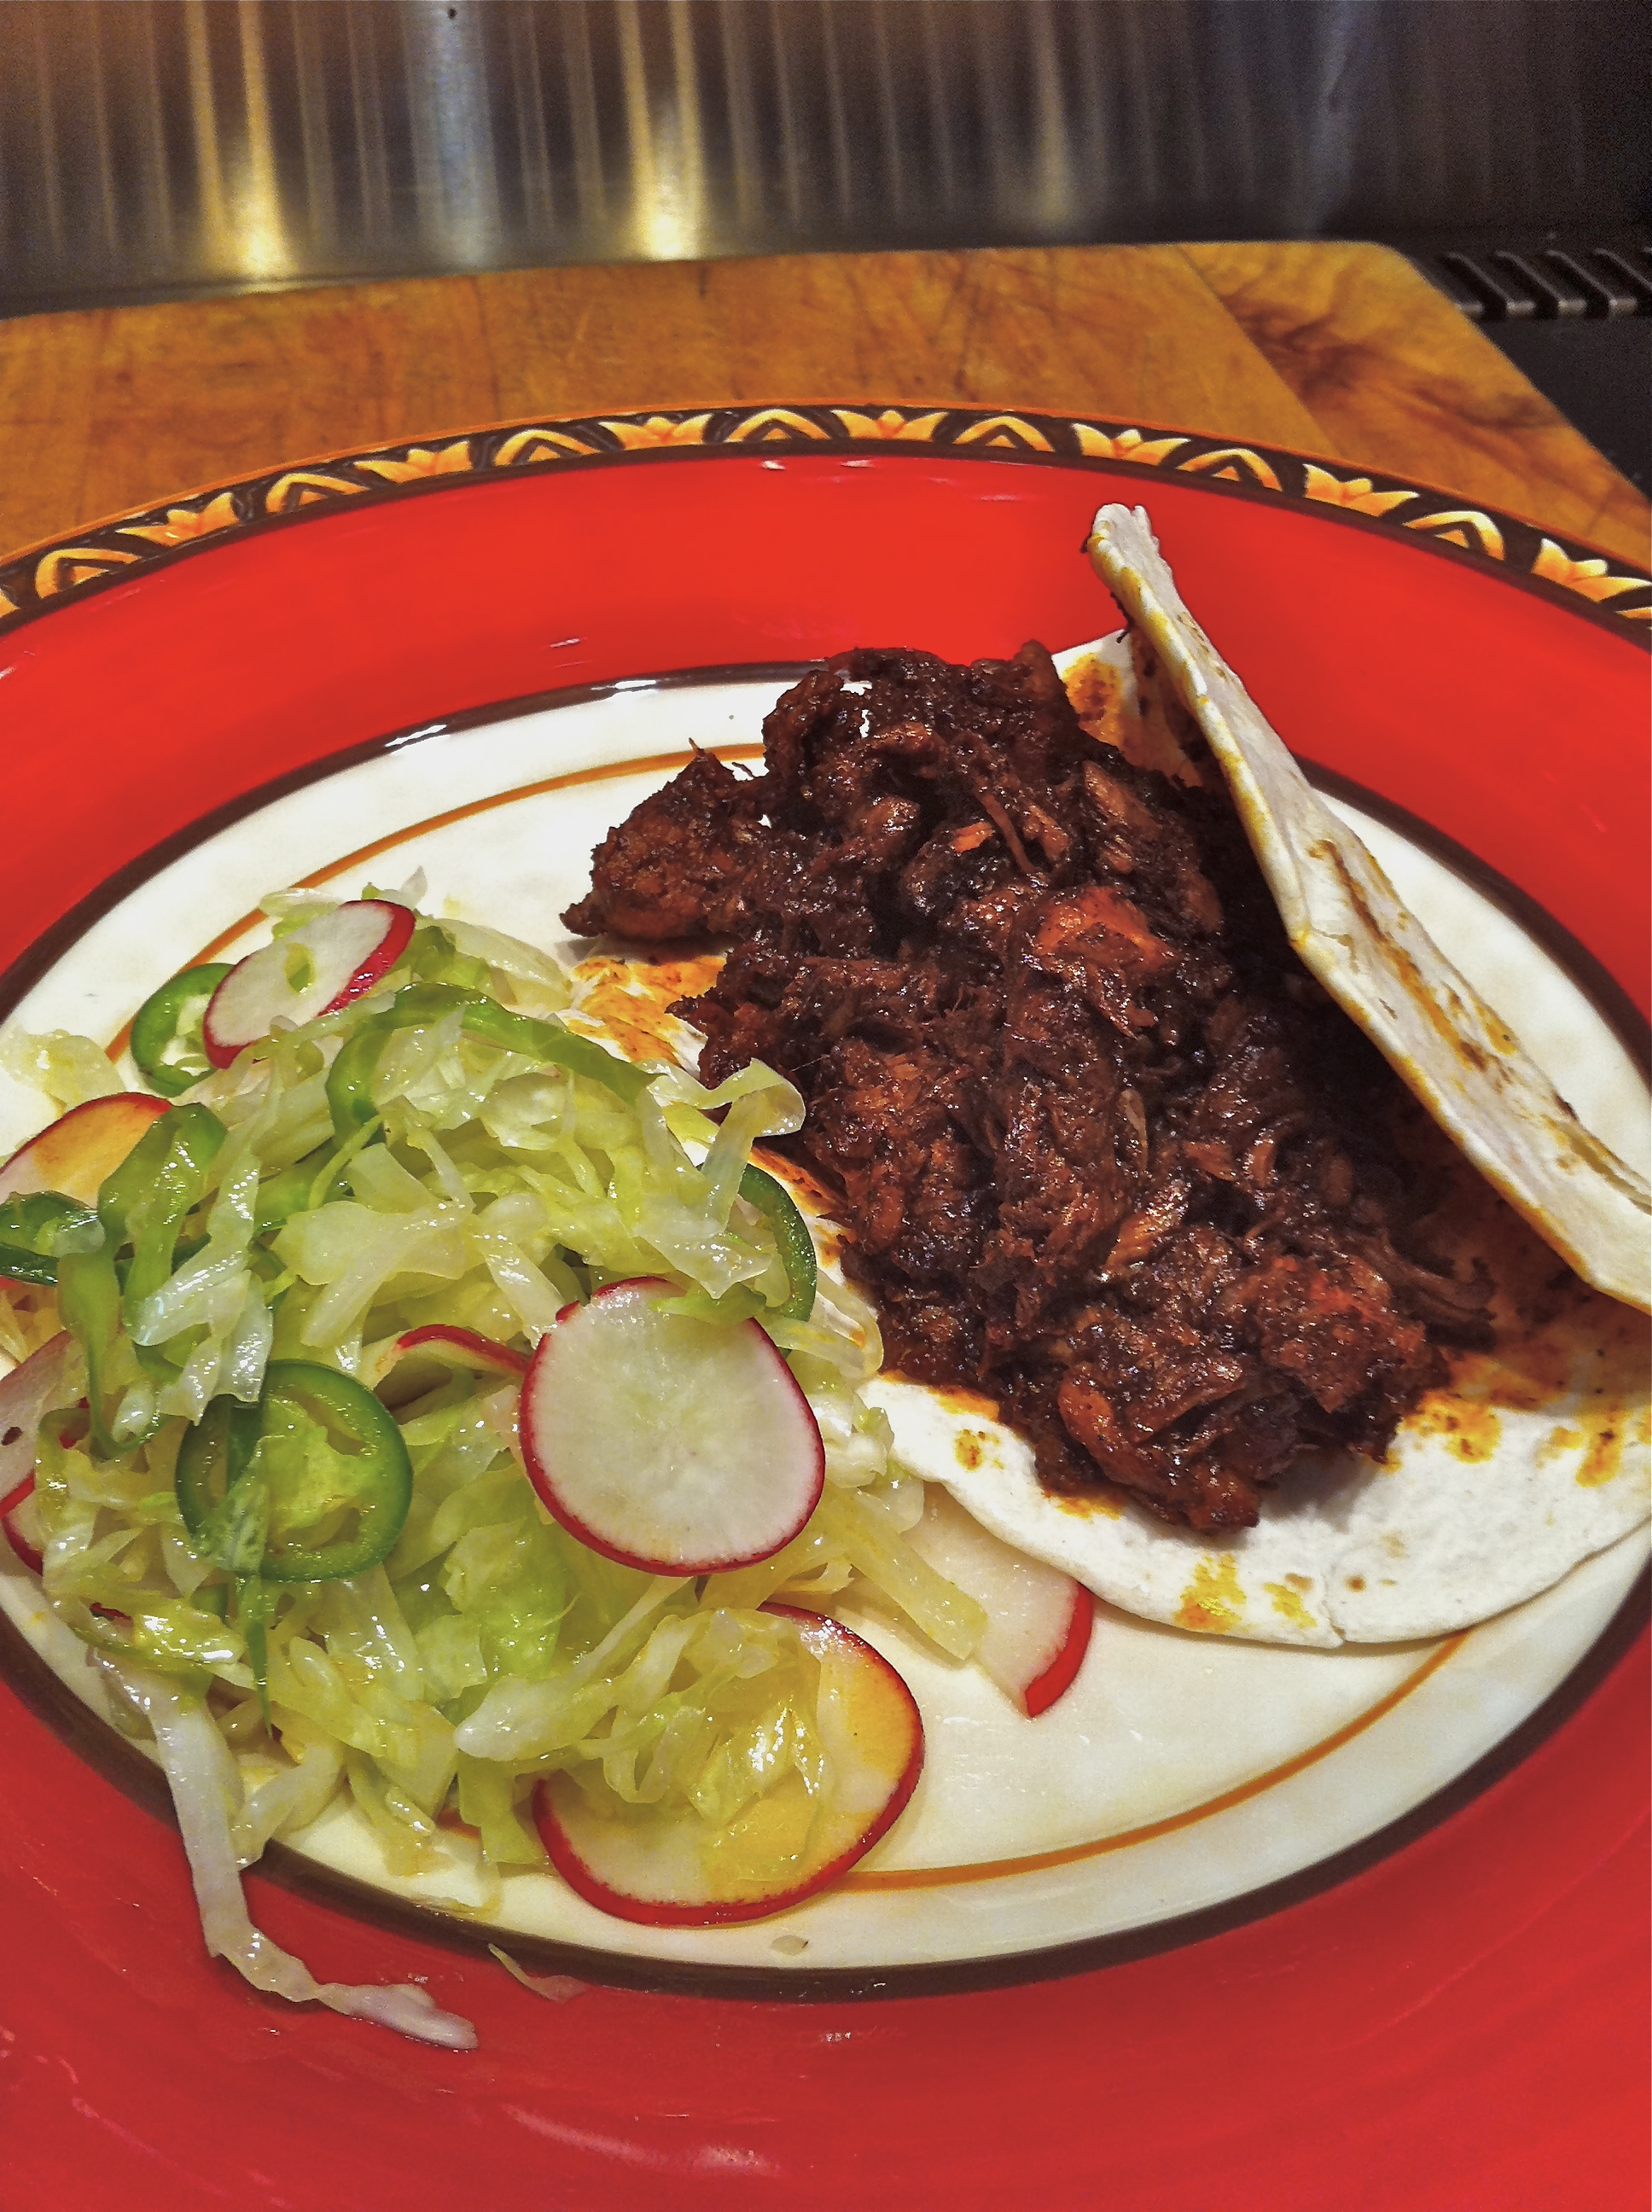
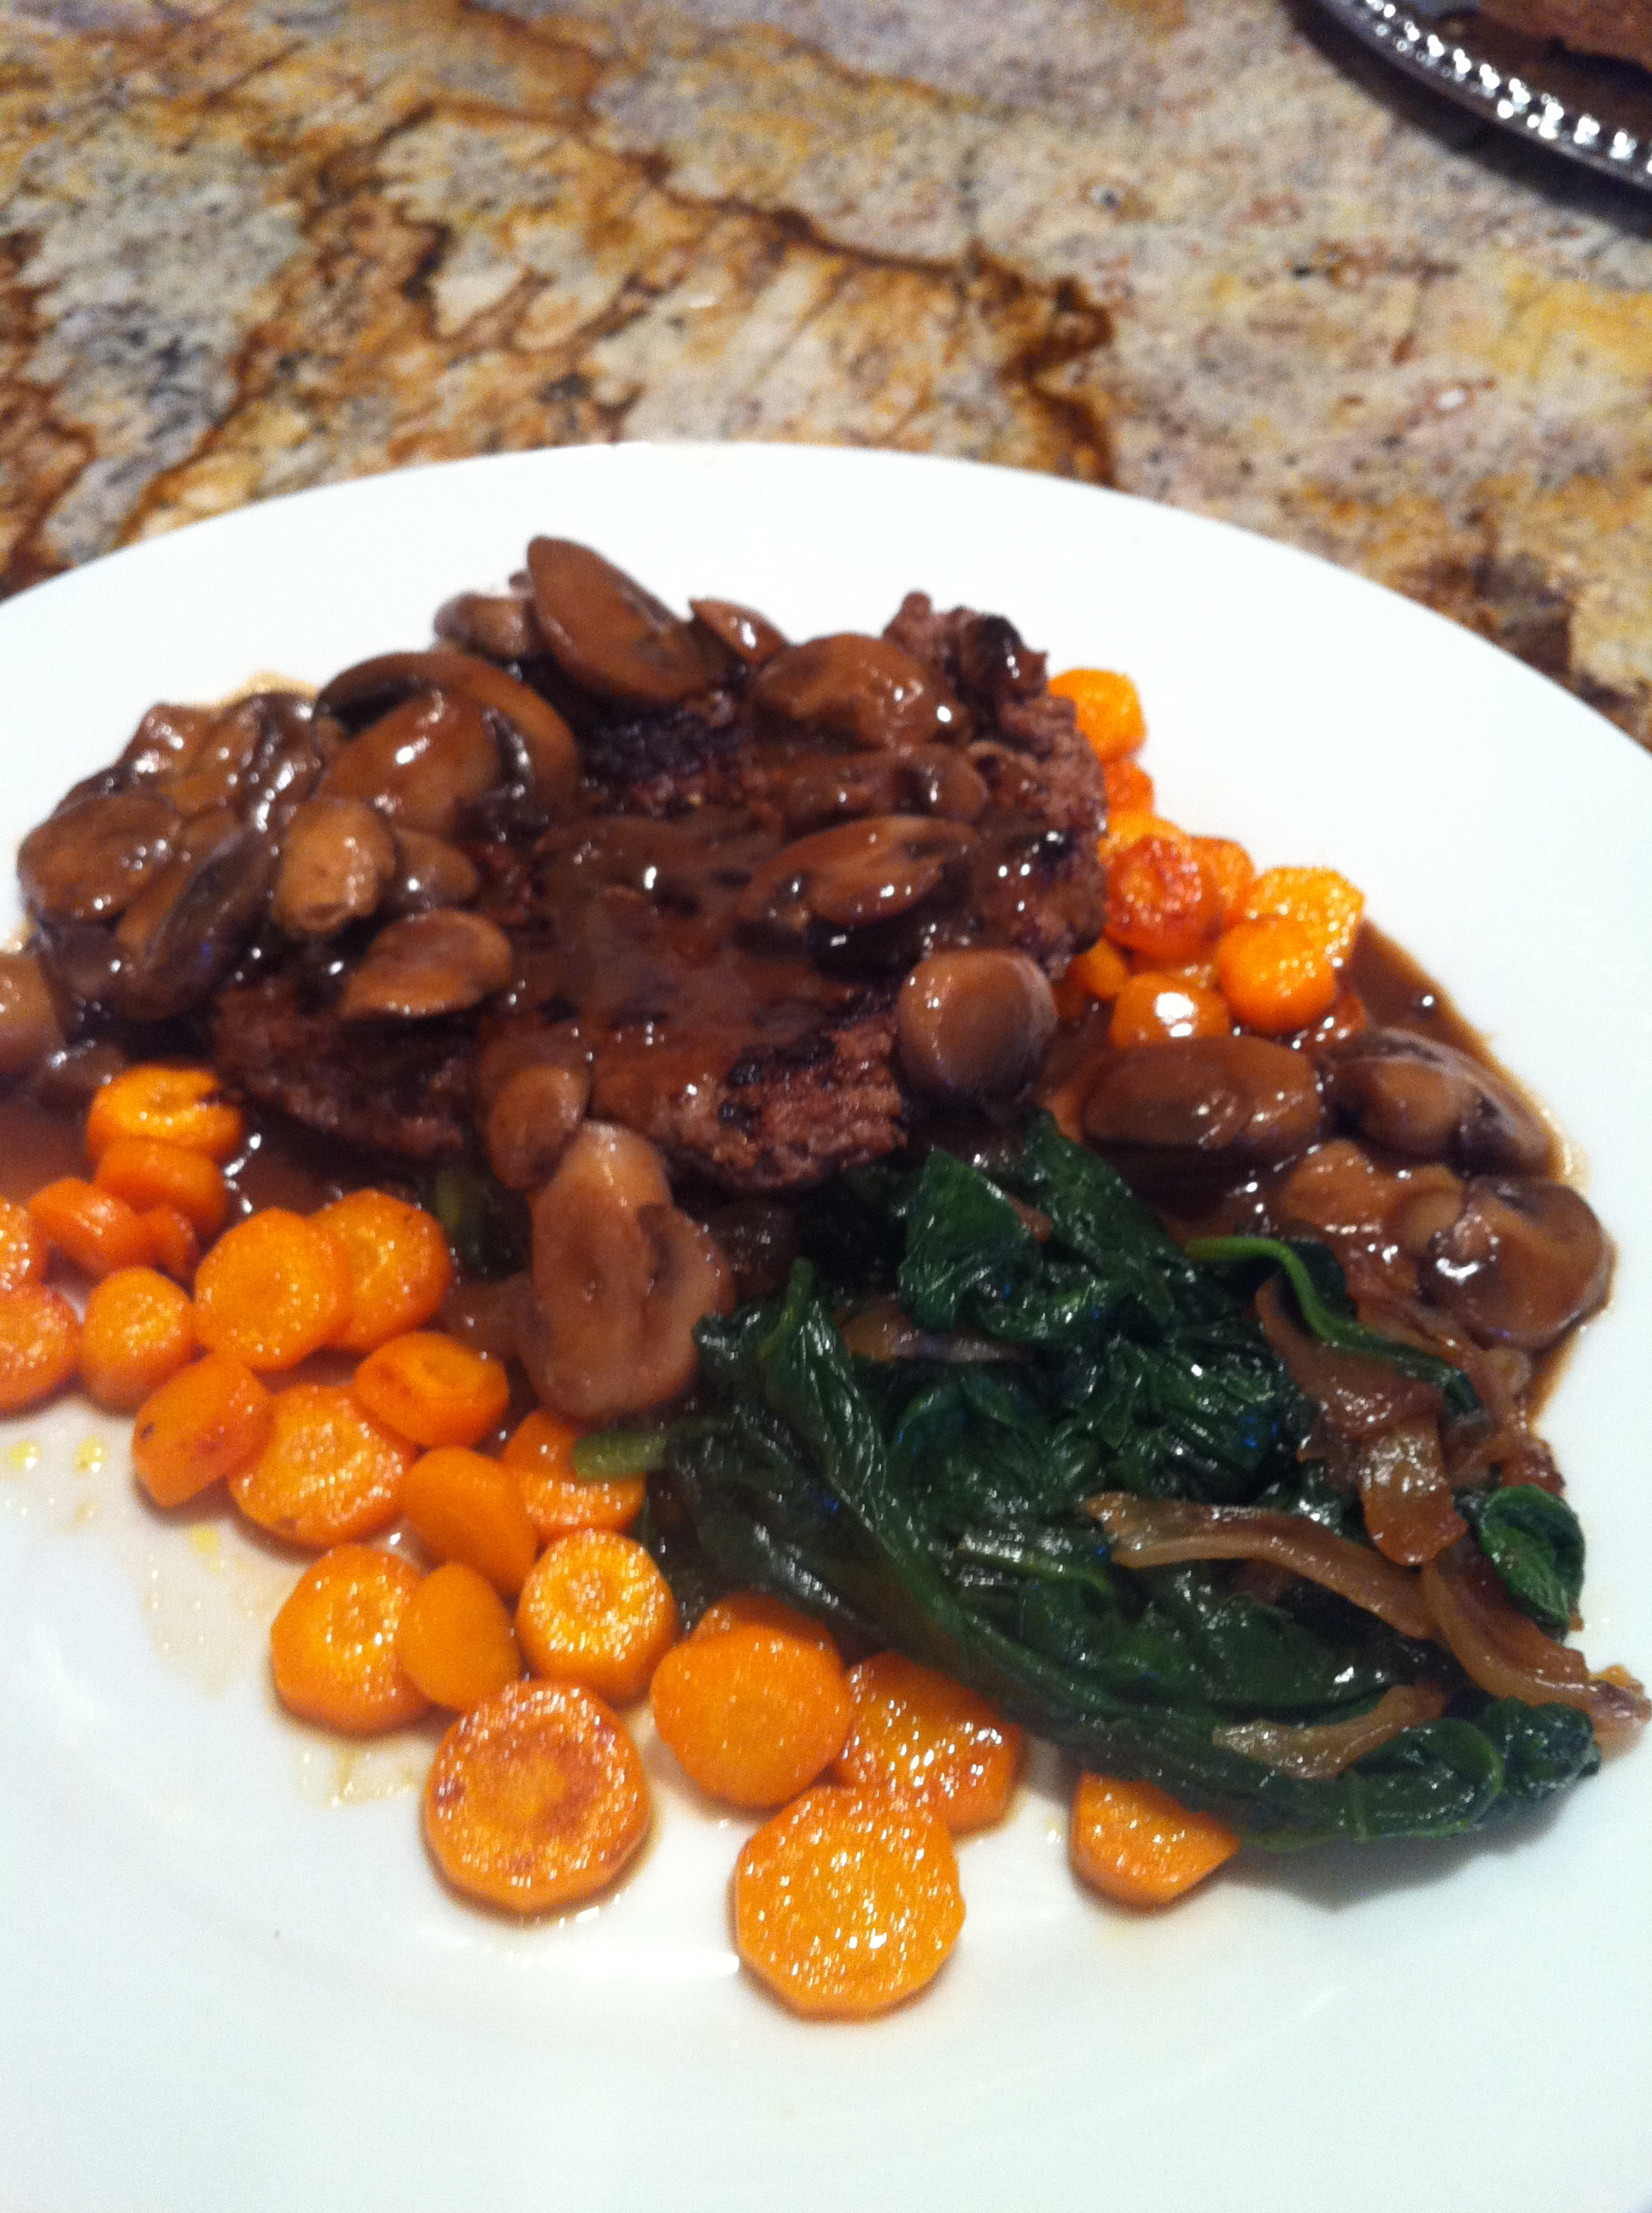
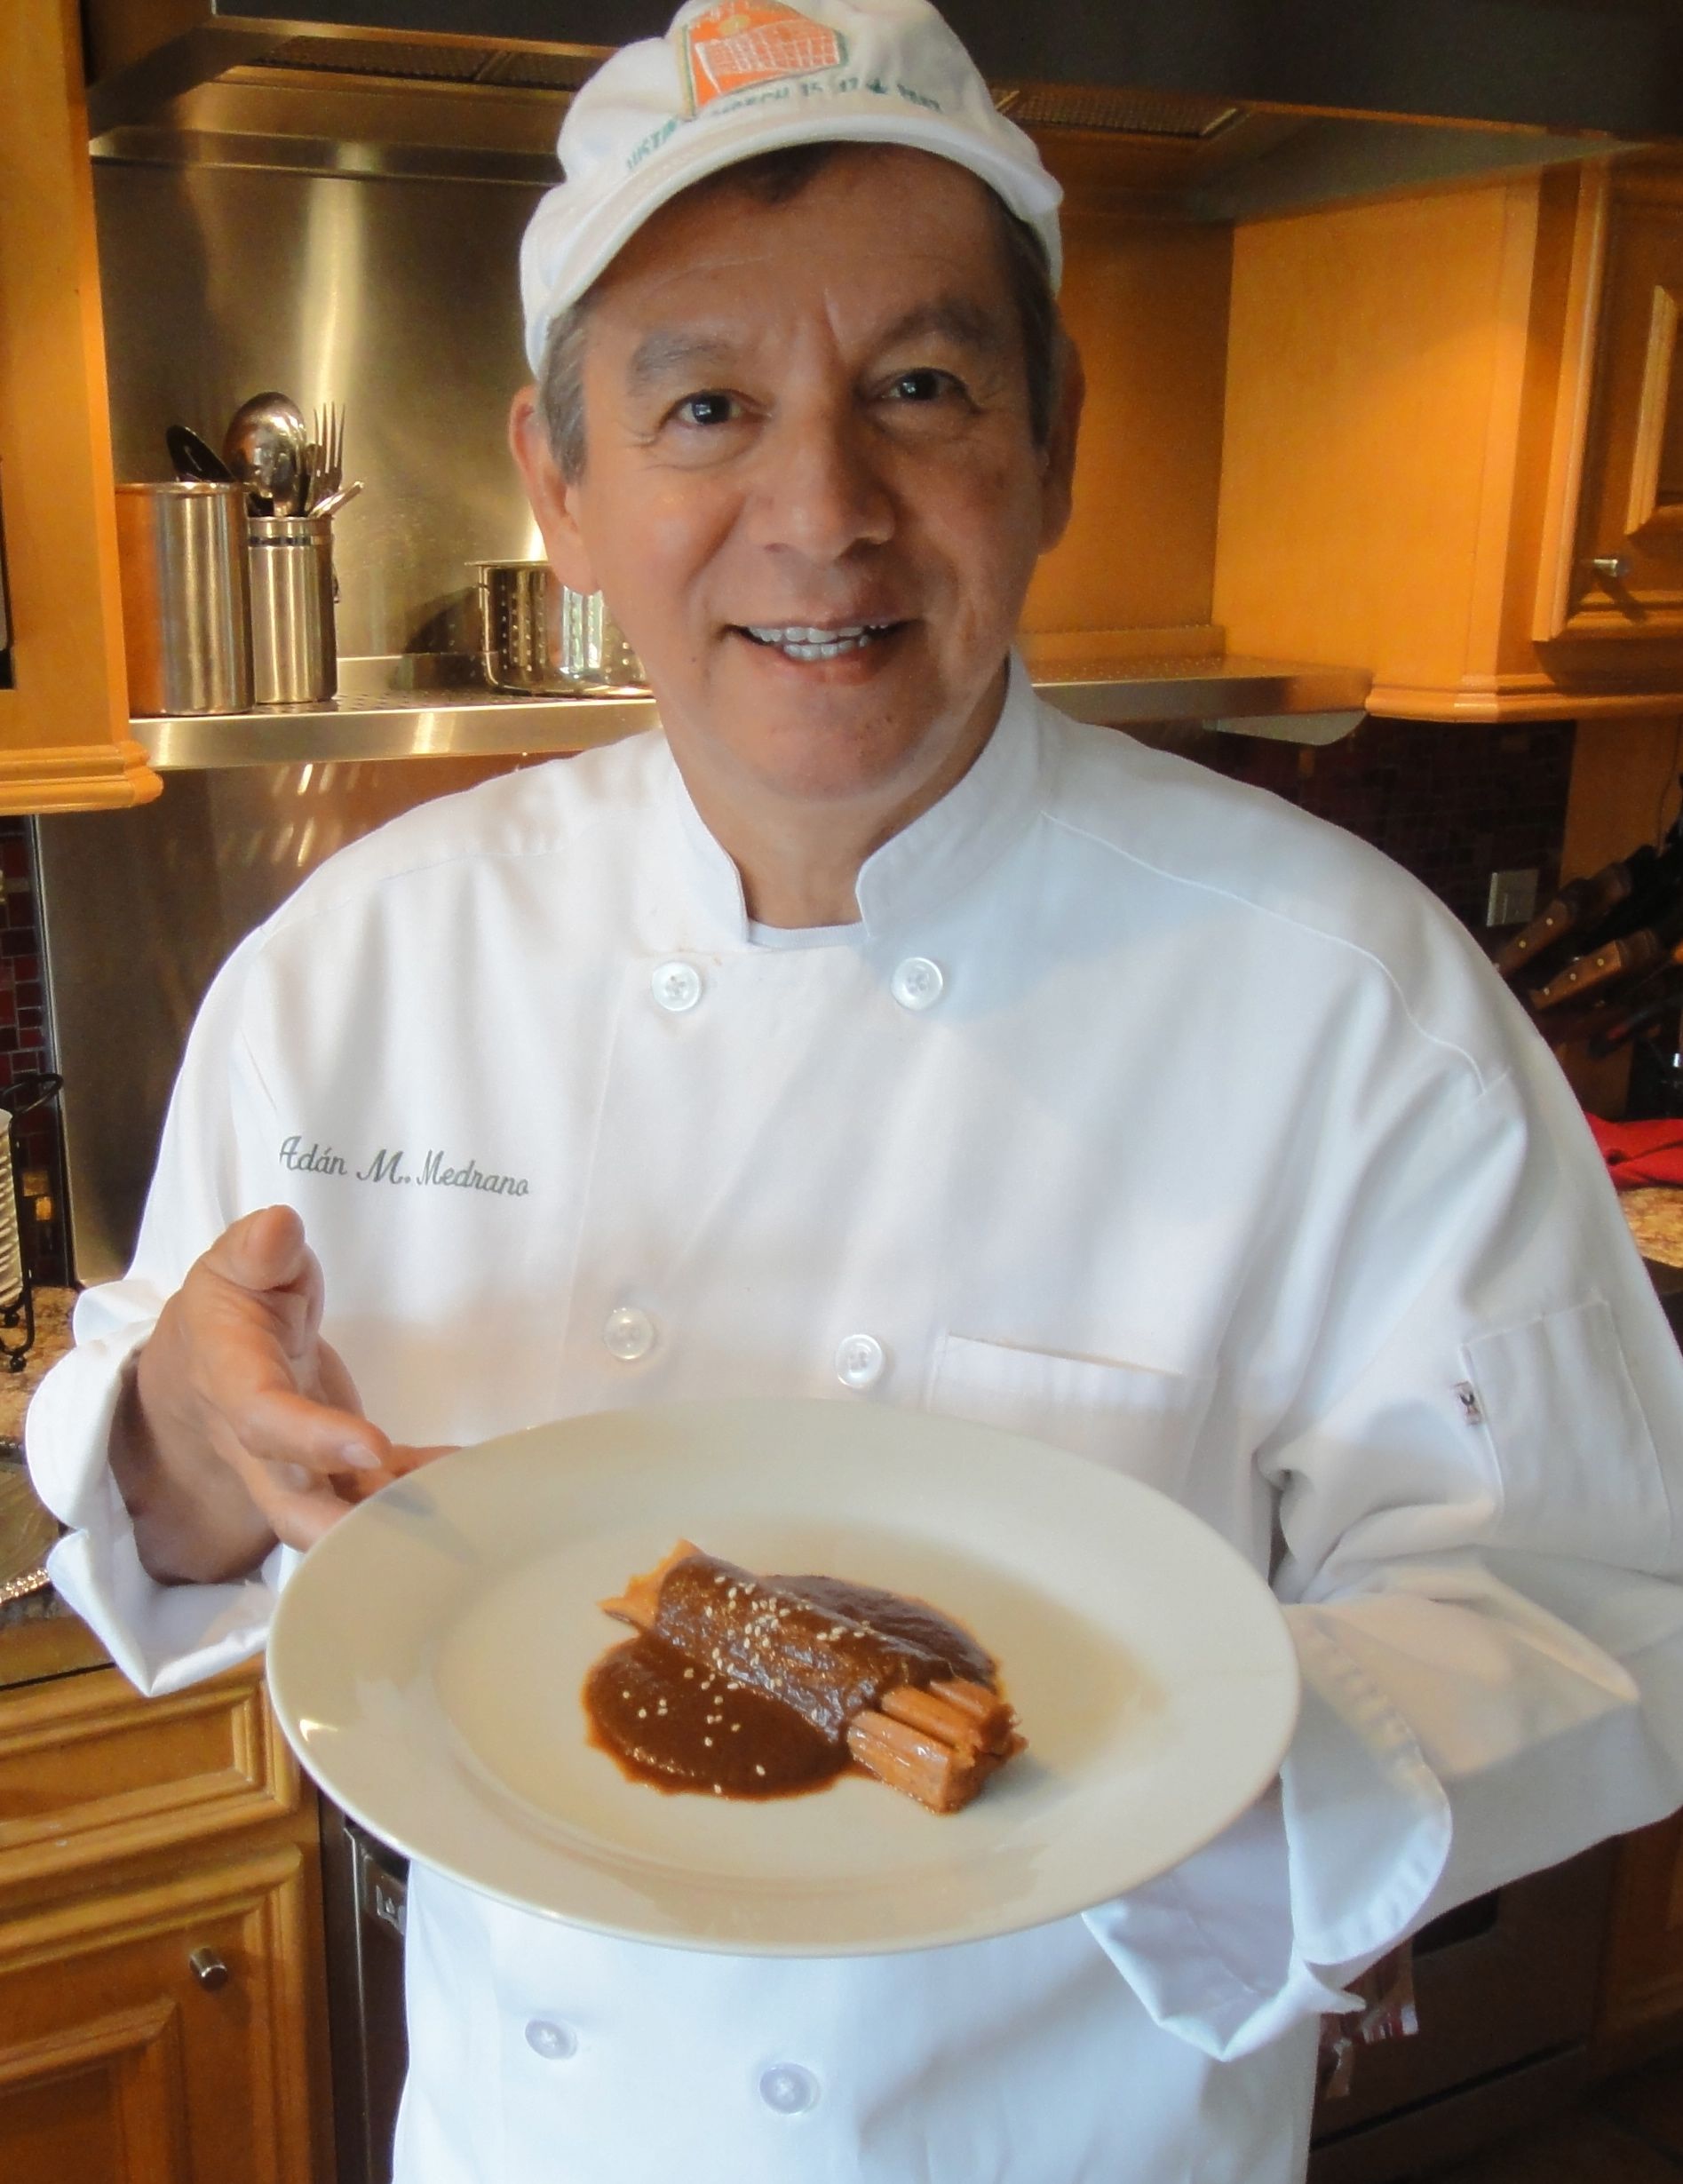
 By keeping the temperature at 185º F and making sure the smoke does not turn densely white, the smoke flavor is subtle, sweet. I'm feeling giddy since I served it, so I'll paraphrase a line from the movie, Who's Killing the Great Chefs of Europe: "ever-new arising vistas of harmonizing flavors!"
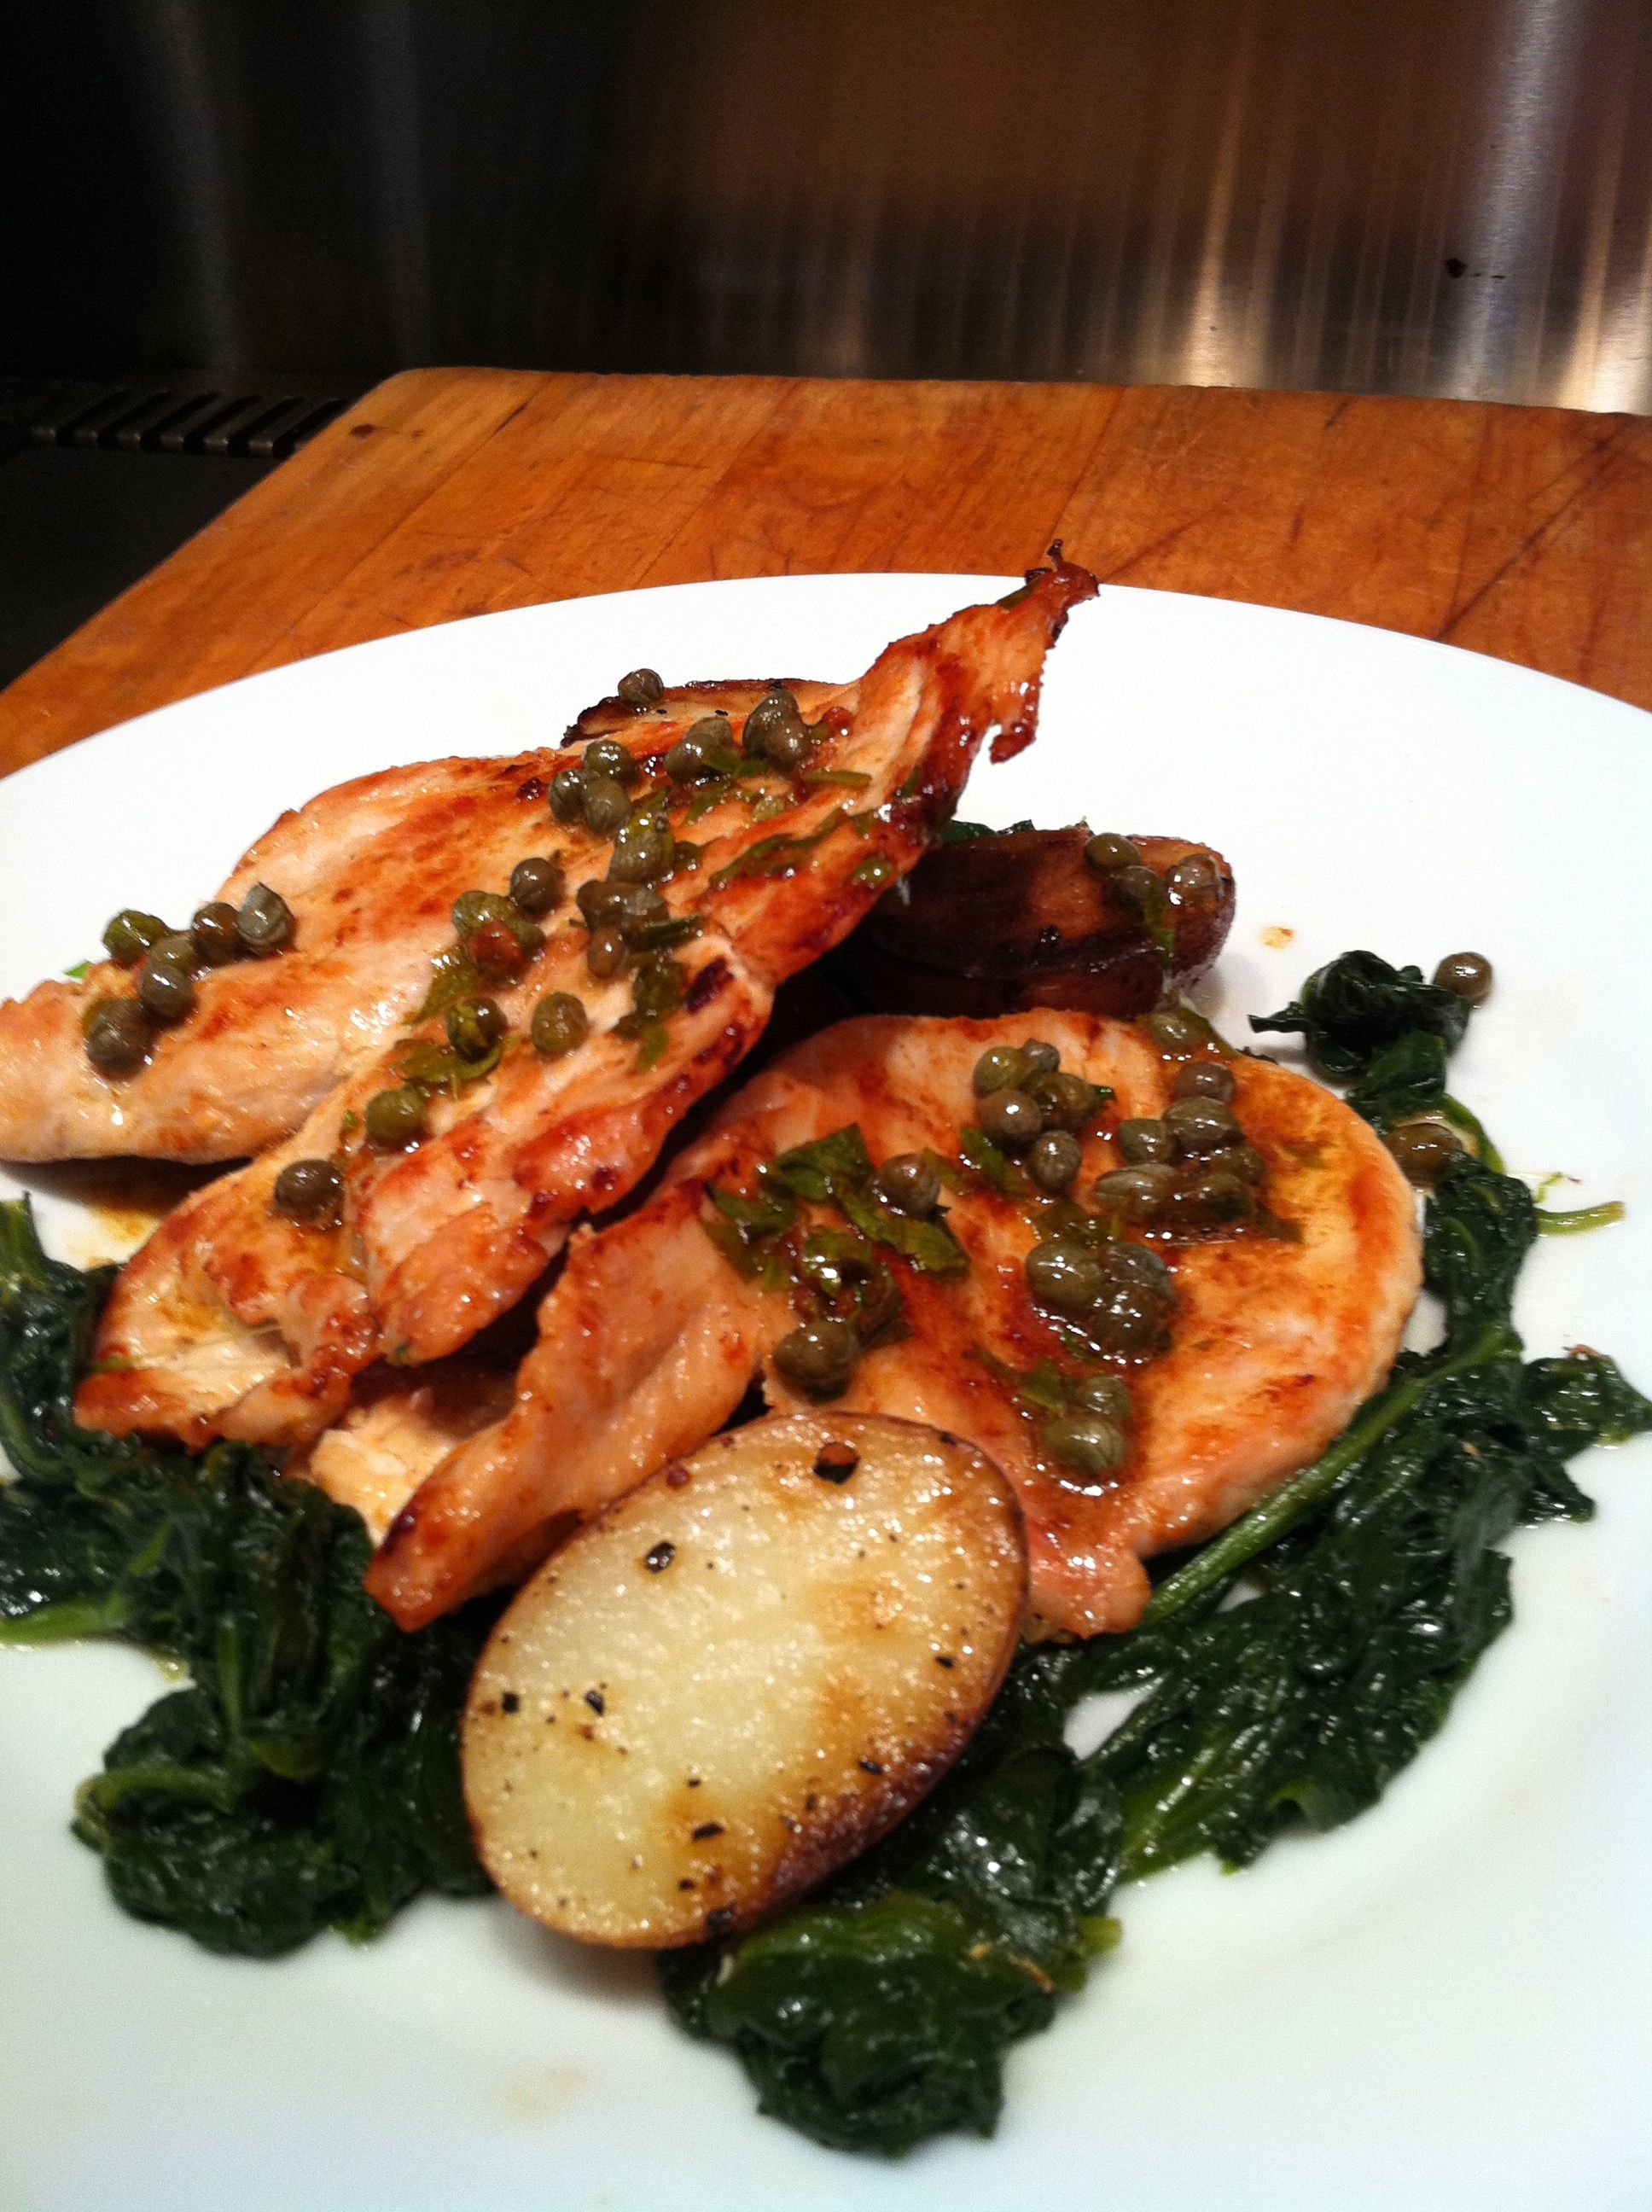
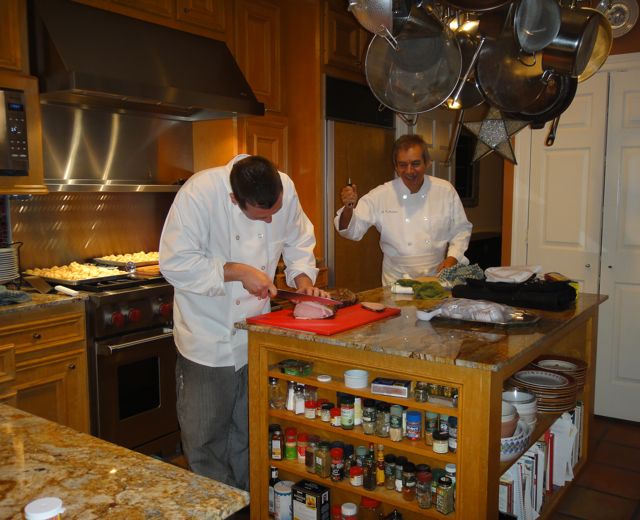 Here I am encouraging Chef Kevin Babbitt to cut the pork wafer-thin and with precision! Bon Appétit.
 Karla McLaughlin drove all the way to my home to deliver this 15 pound organic-fed, free-roaming turkey and two pork loins. She generously took the time because I was in a pinch, facing a party deadline. She is a one-of-a-kind farm owner. Knowledgeable, caring and meticulously strict about raising the turkeys and other animals that she and her husband, John, tend on their farm.
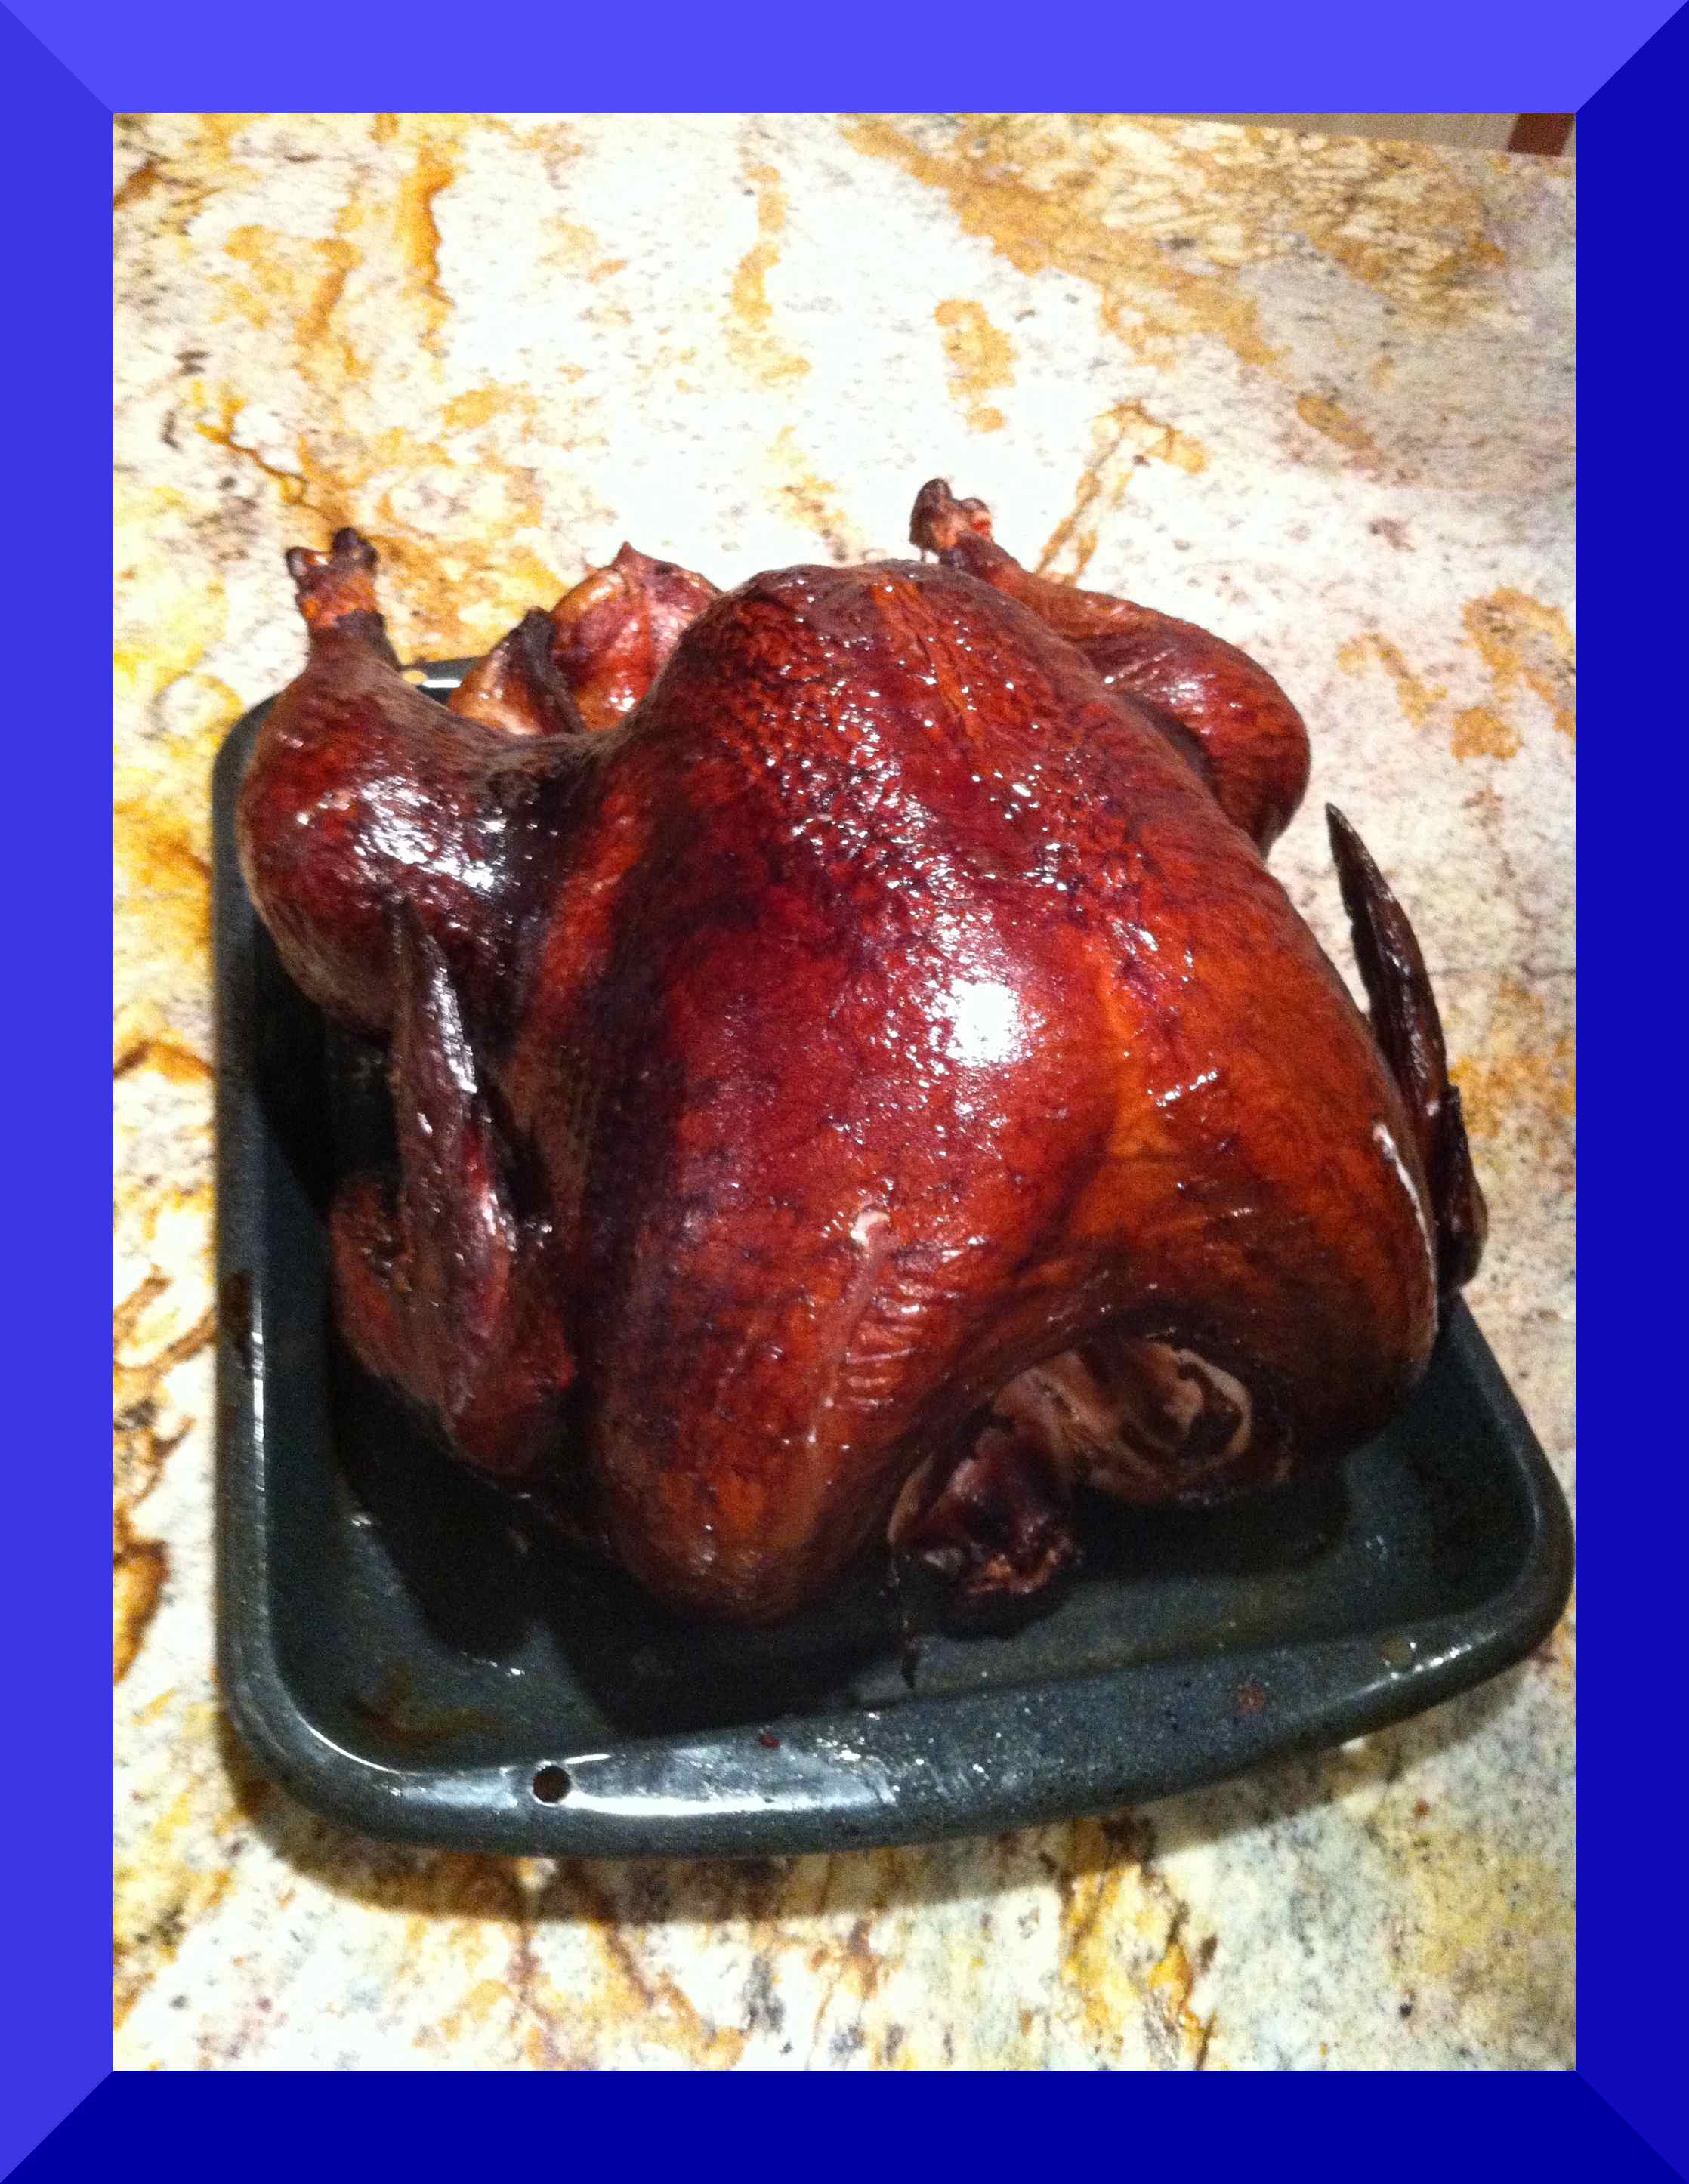
 I've placed a dot on the location of Coba, Mexico, near Cancún.(1) This is where archeologists have found the earliest evidence of turkey remains. They are dated 100 BCE-100 CE. From there the turkey went north and populated North America, evidence of the vibrant trade and communication withiin the region pre-1400's. By the time the Spaniards arrived in Mexico, we had domesticated turkeys not just in Mexico but also in what is now the US New Mexico and Texas. Thereafter the turkey, wild and domesticated, populated the whole of the US and some of Canada. By your second beer, you will have pondered that we and the turkey go back a long way.

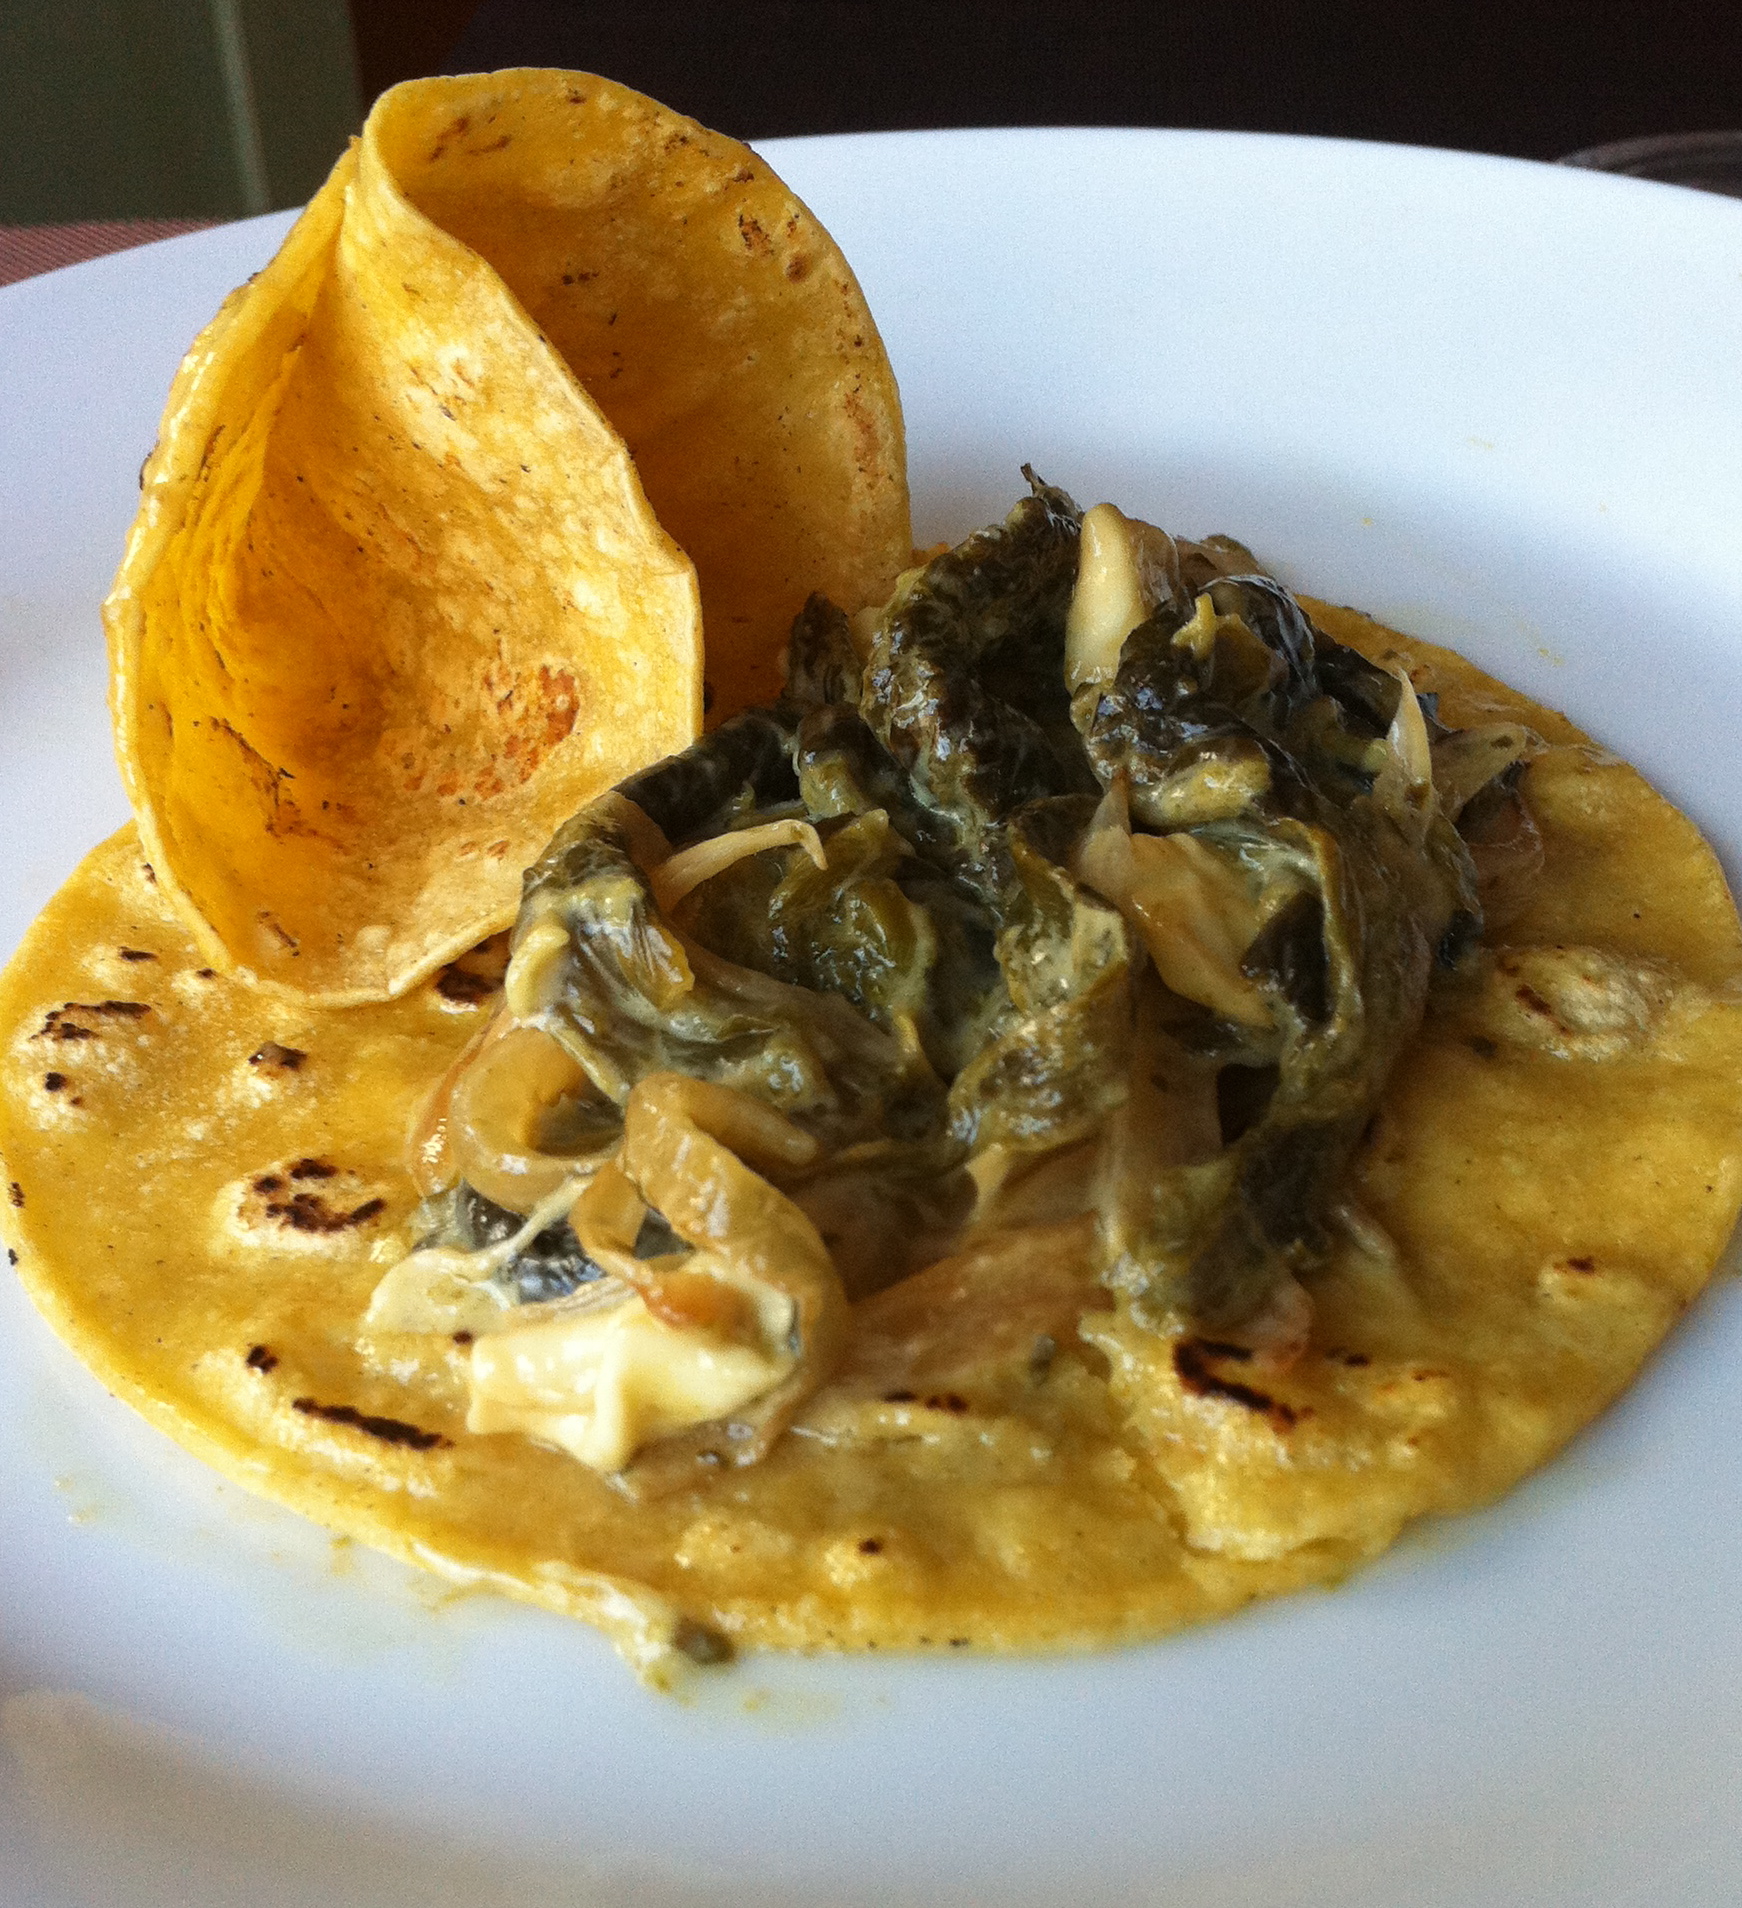
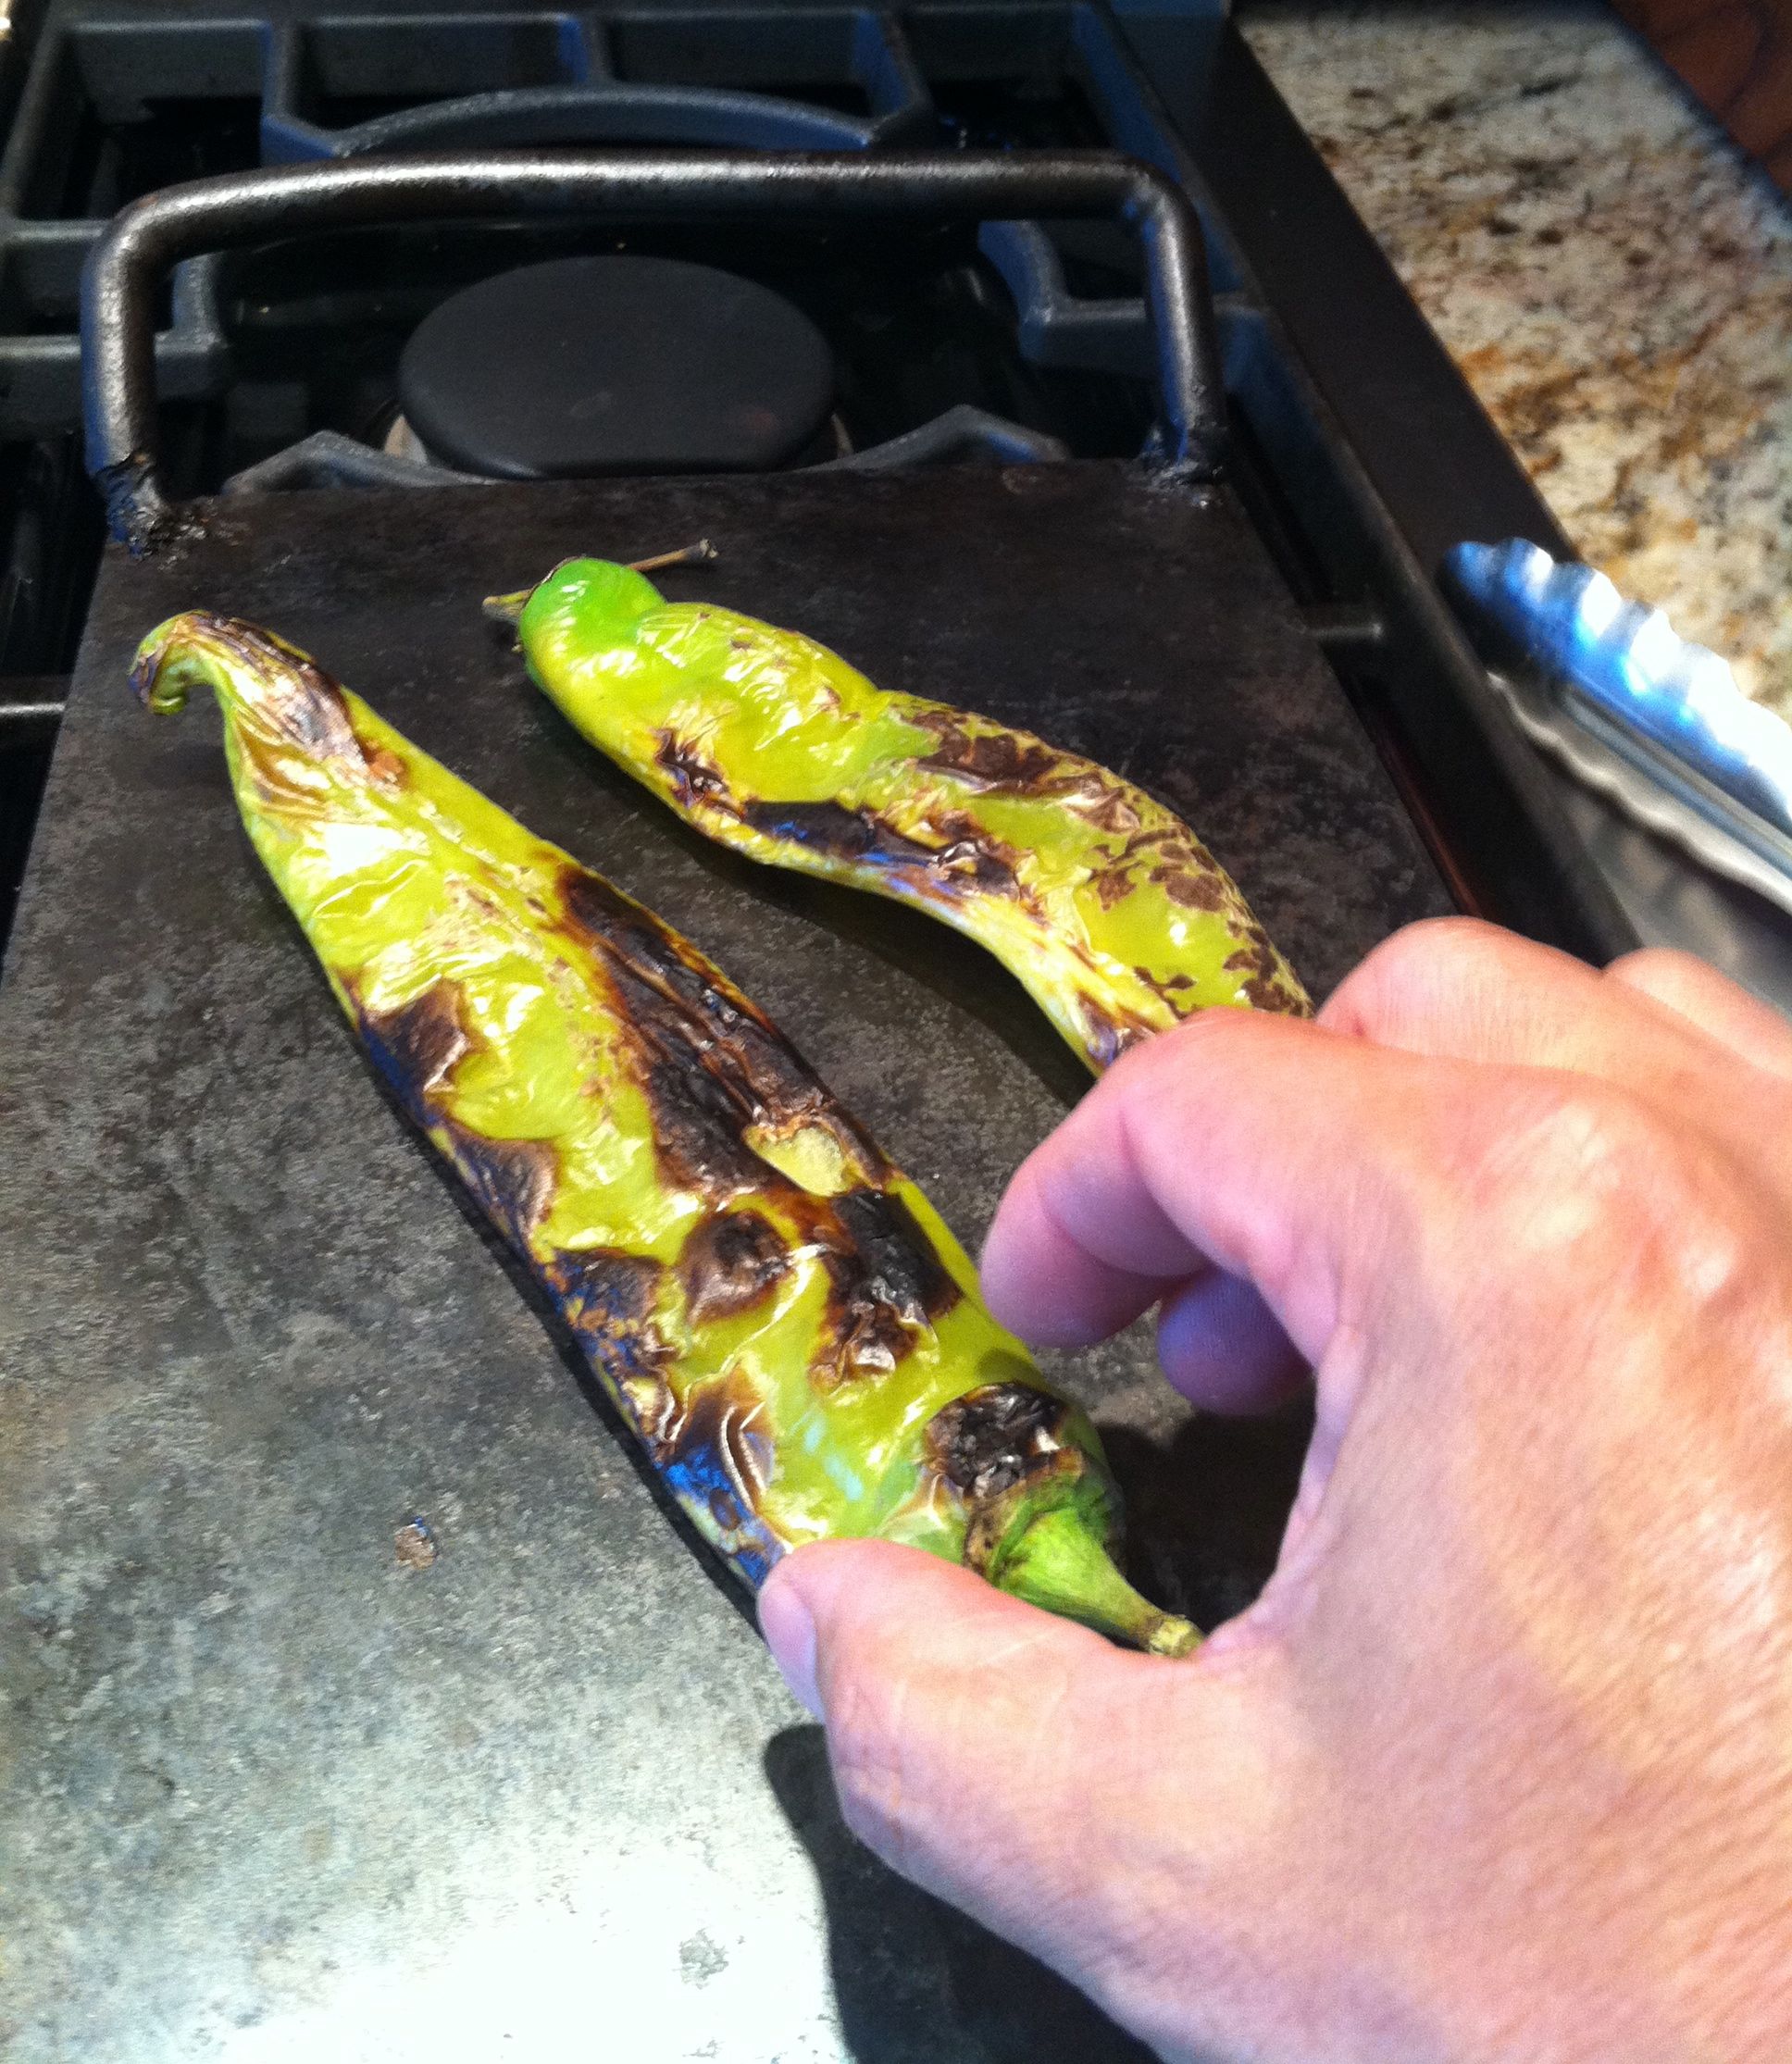 We roast Anaheim chiles then eat them with hot yellow corn tortilla and salt. There's not a single gourmand who can resist crooning with joy upon biting into this
 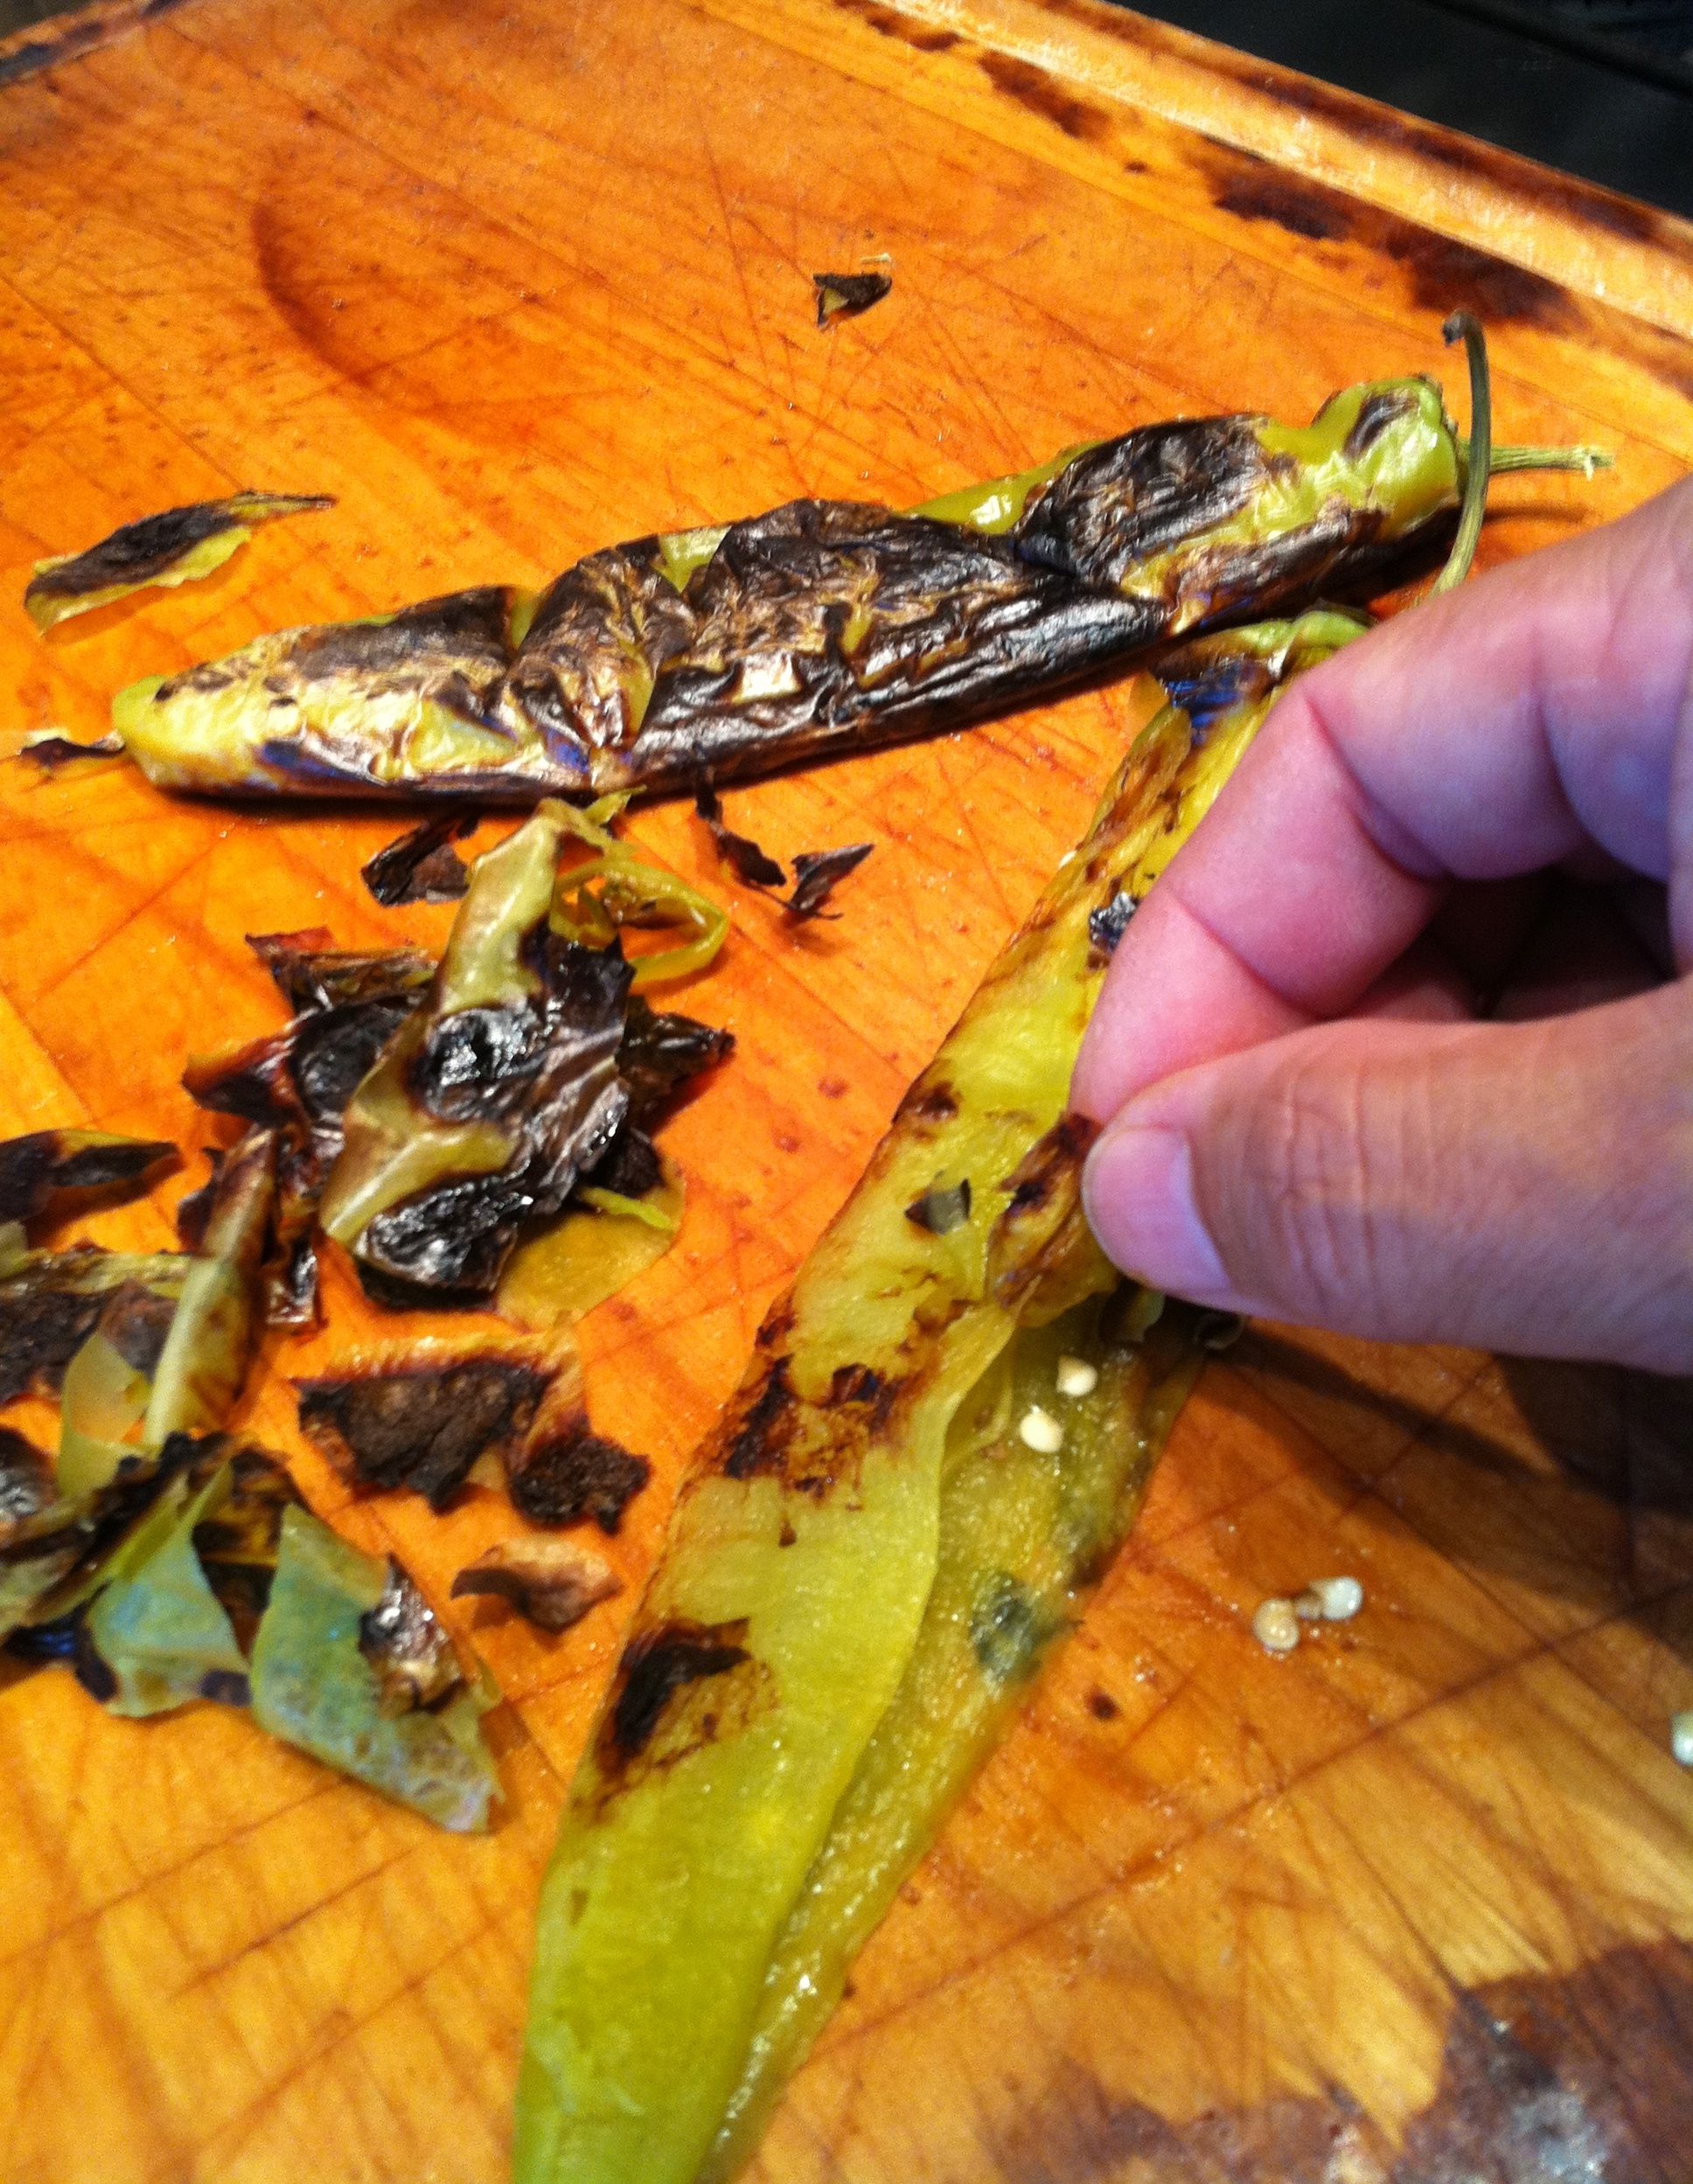 Tortilla:
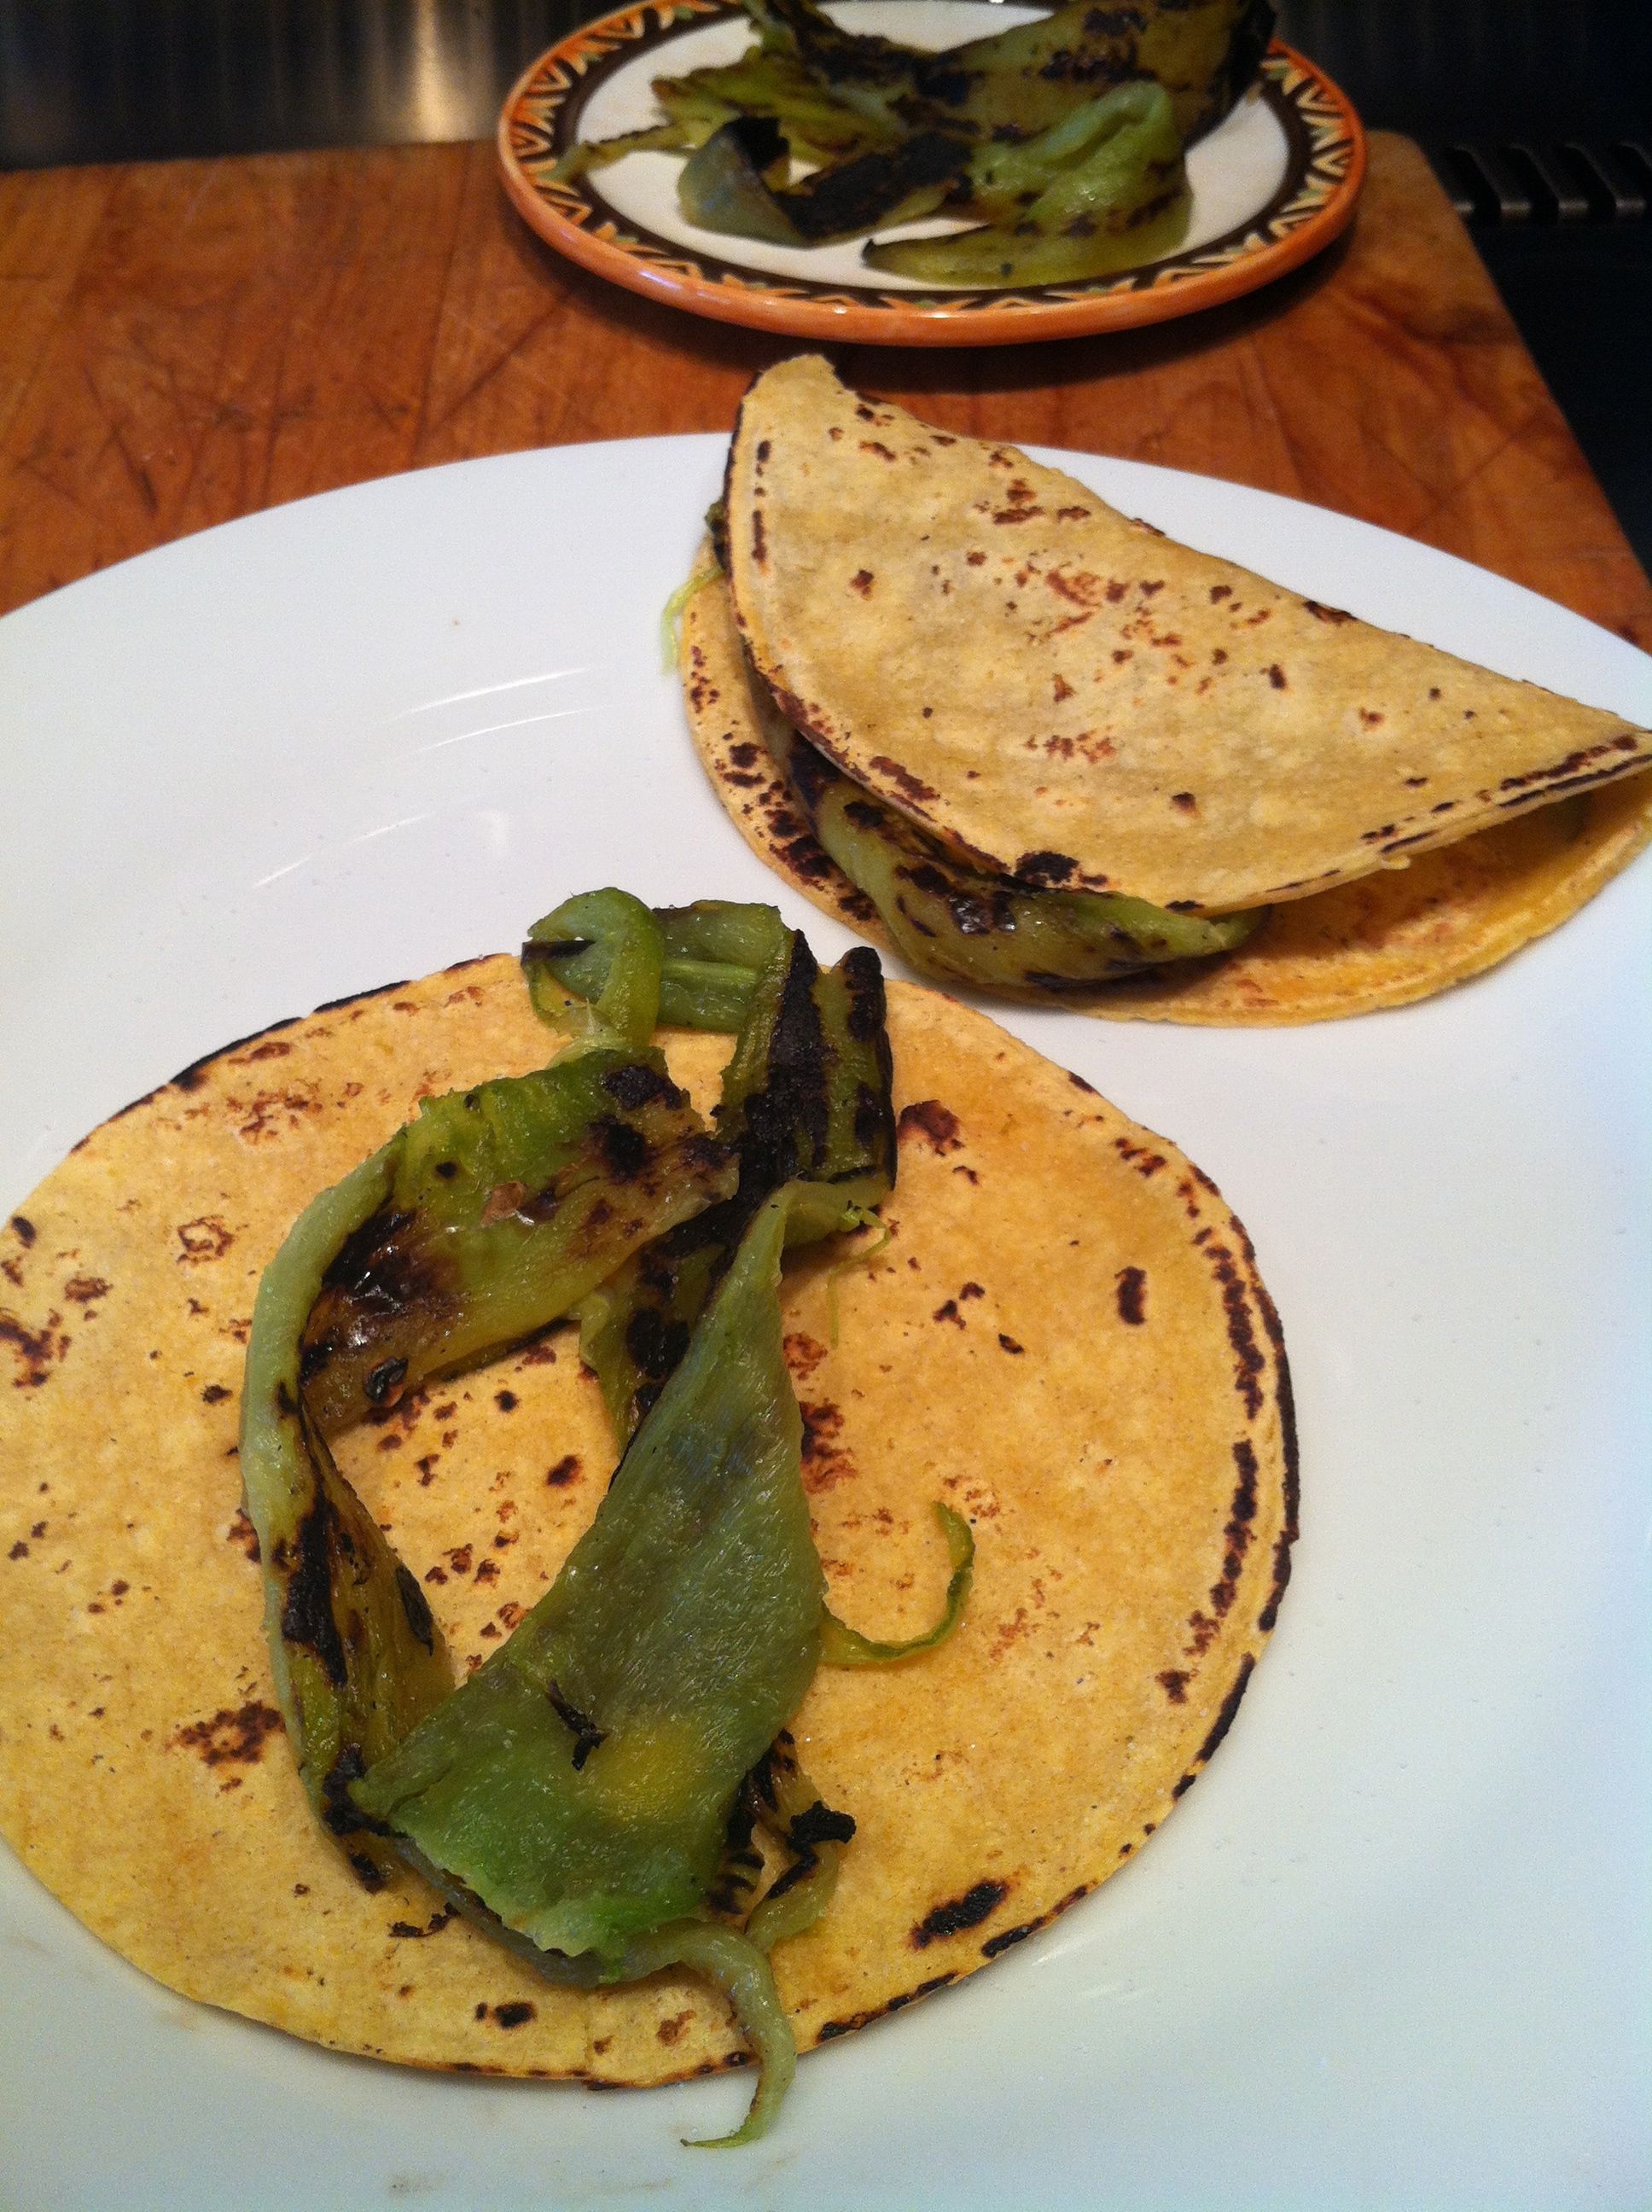
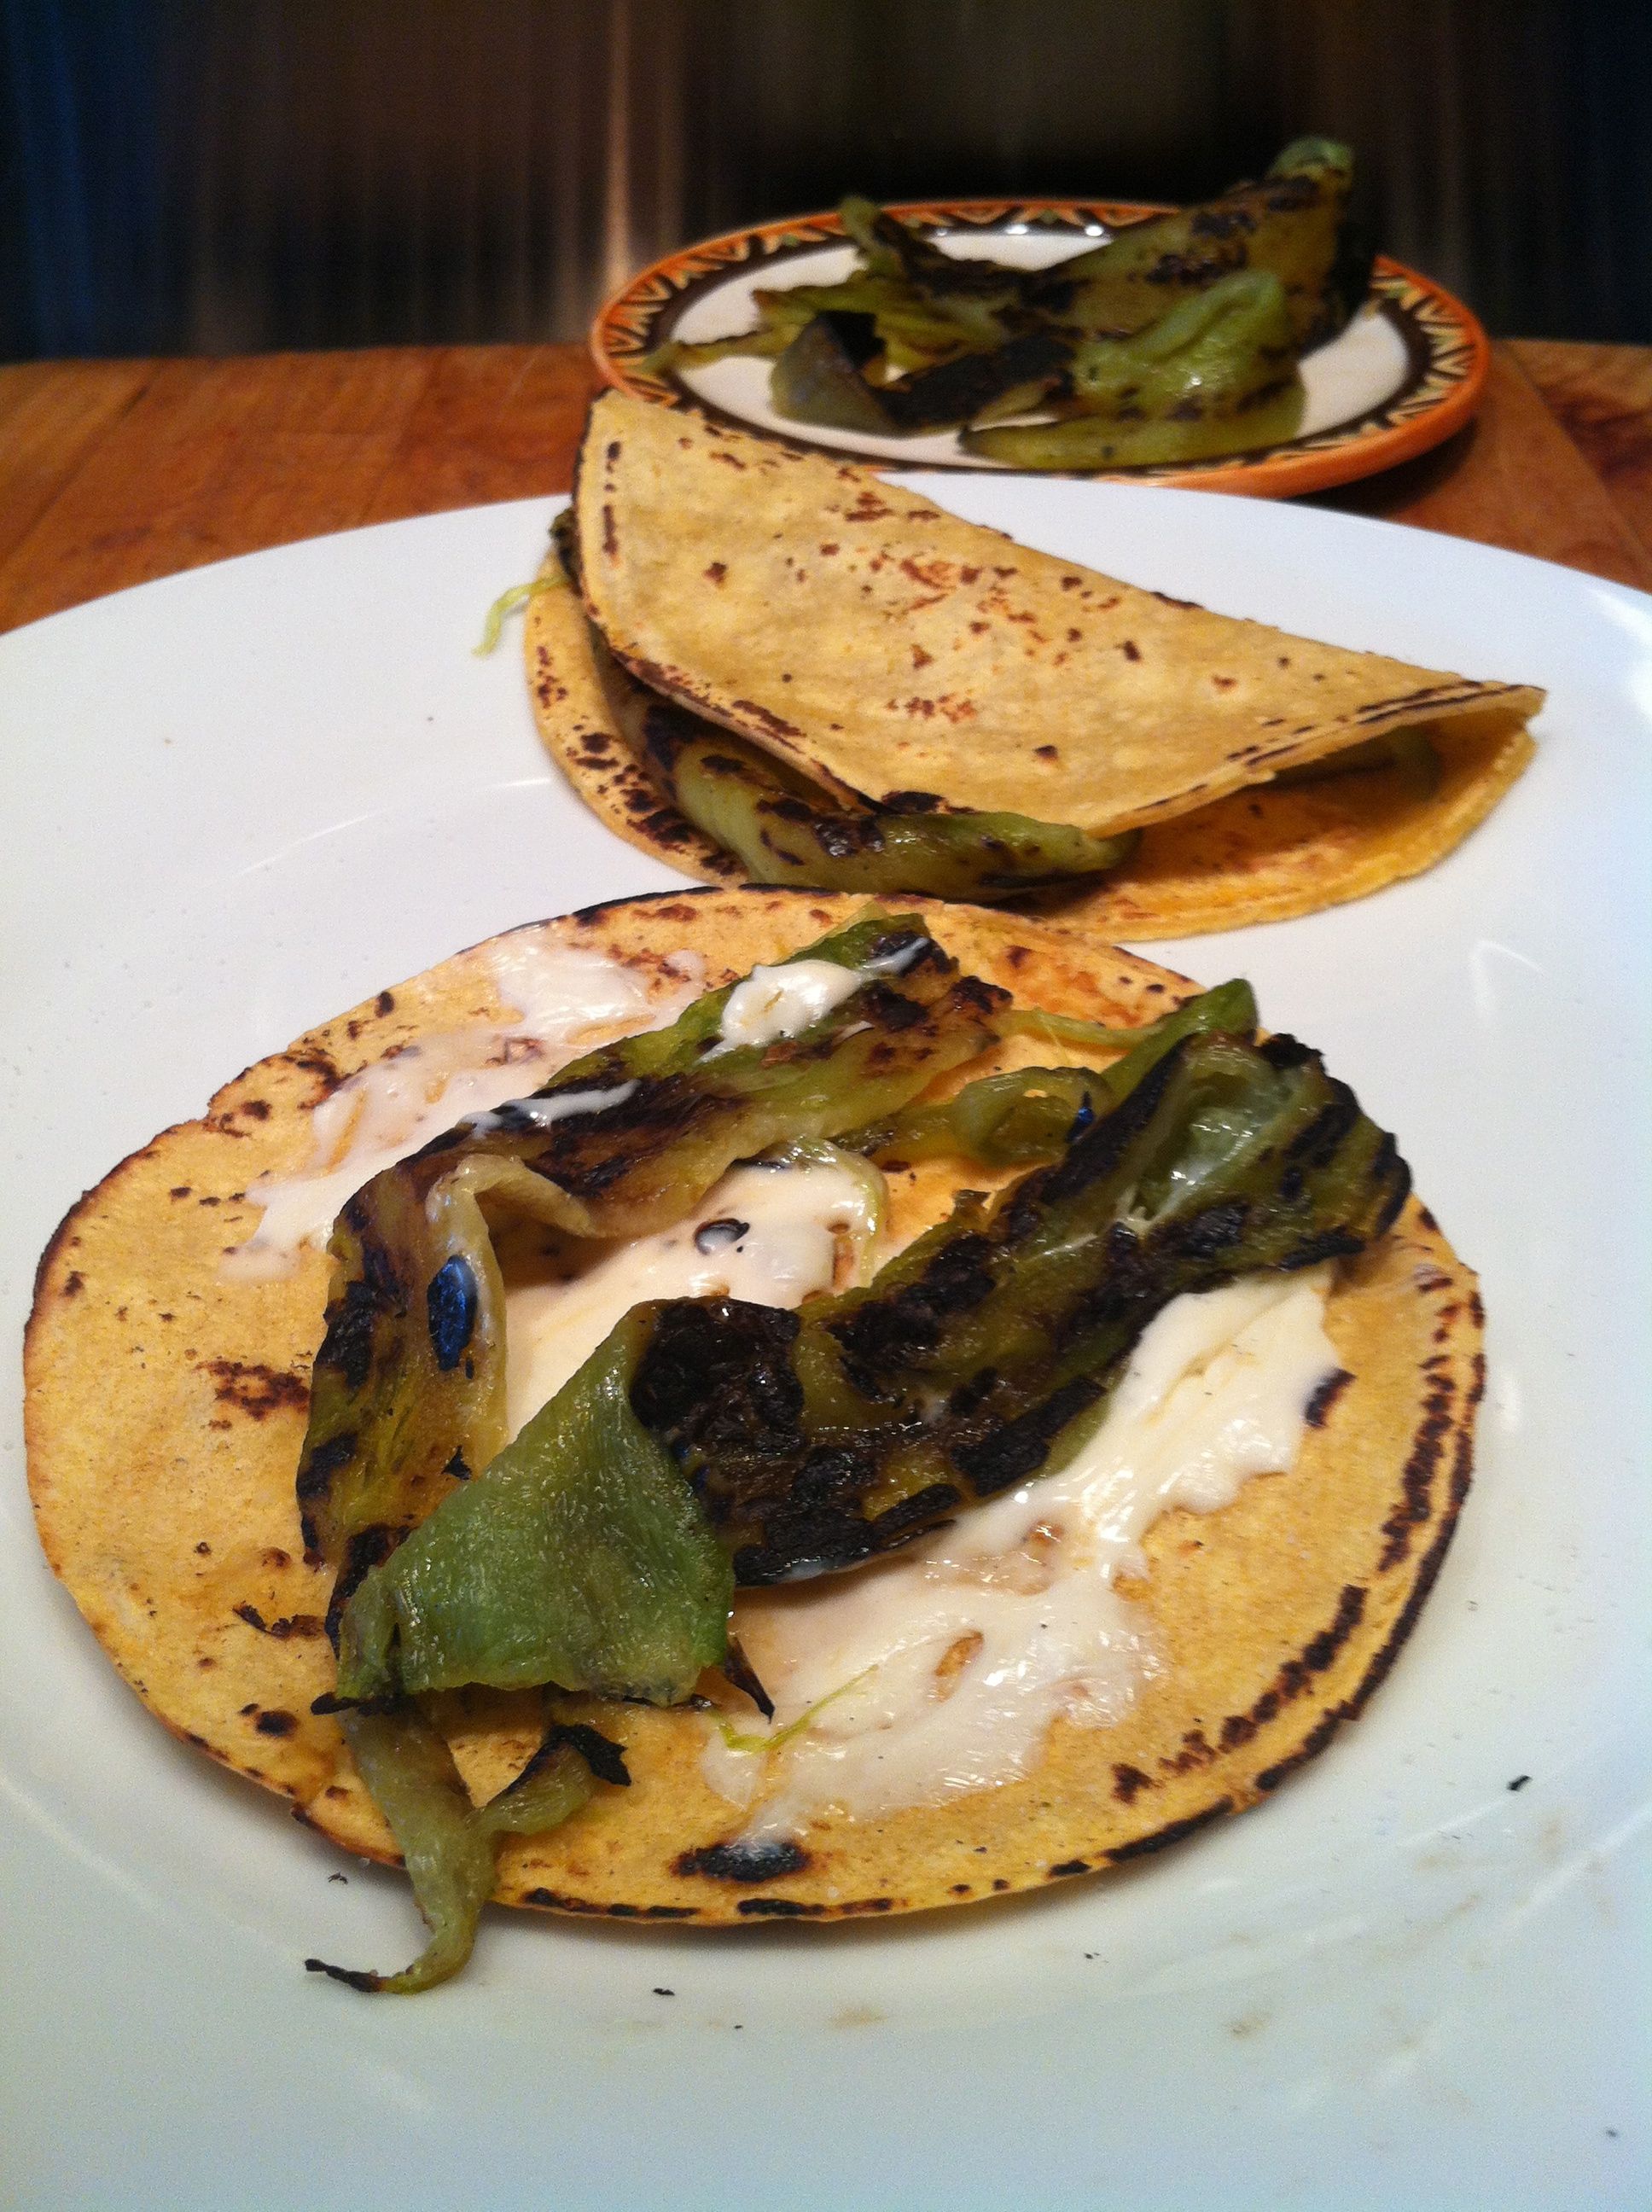 And below is the Panela cheese. It's a very different taste and texture. Cut into small dice, it will melt slightly as you can see. Oh, my goodness.....toothsome. Do let me know how you like these.
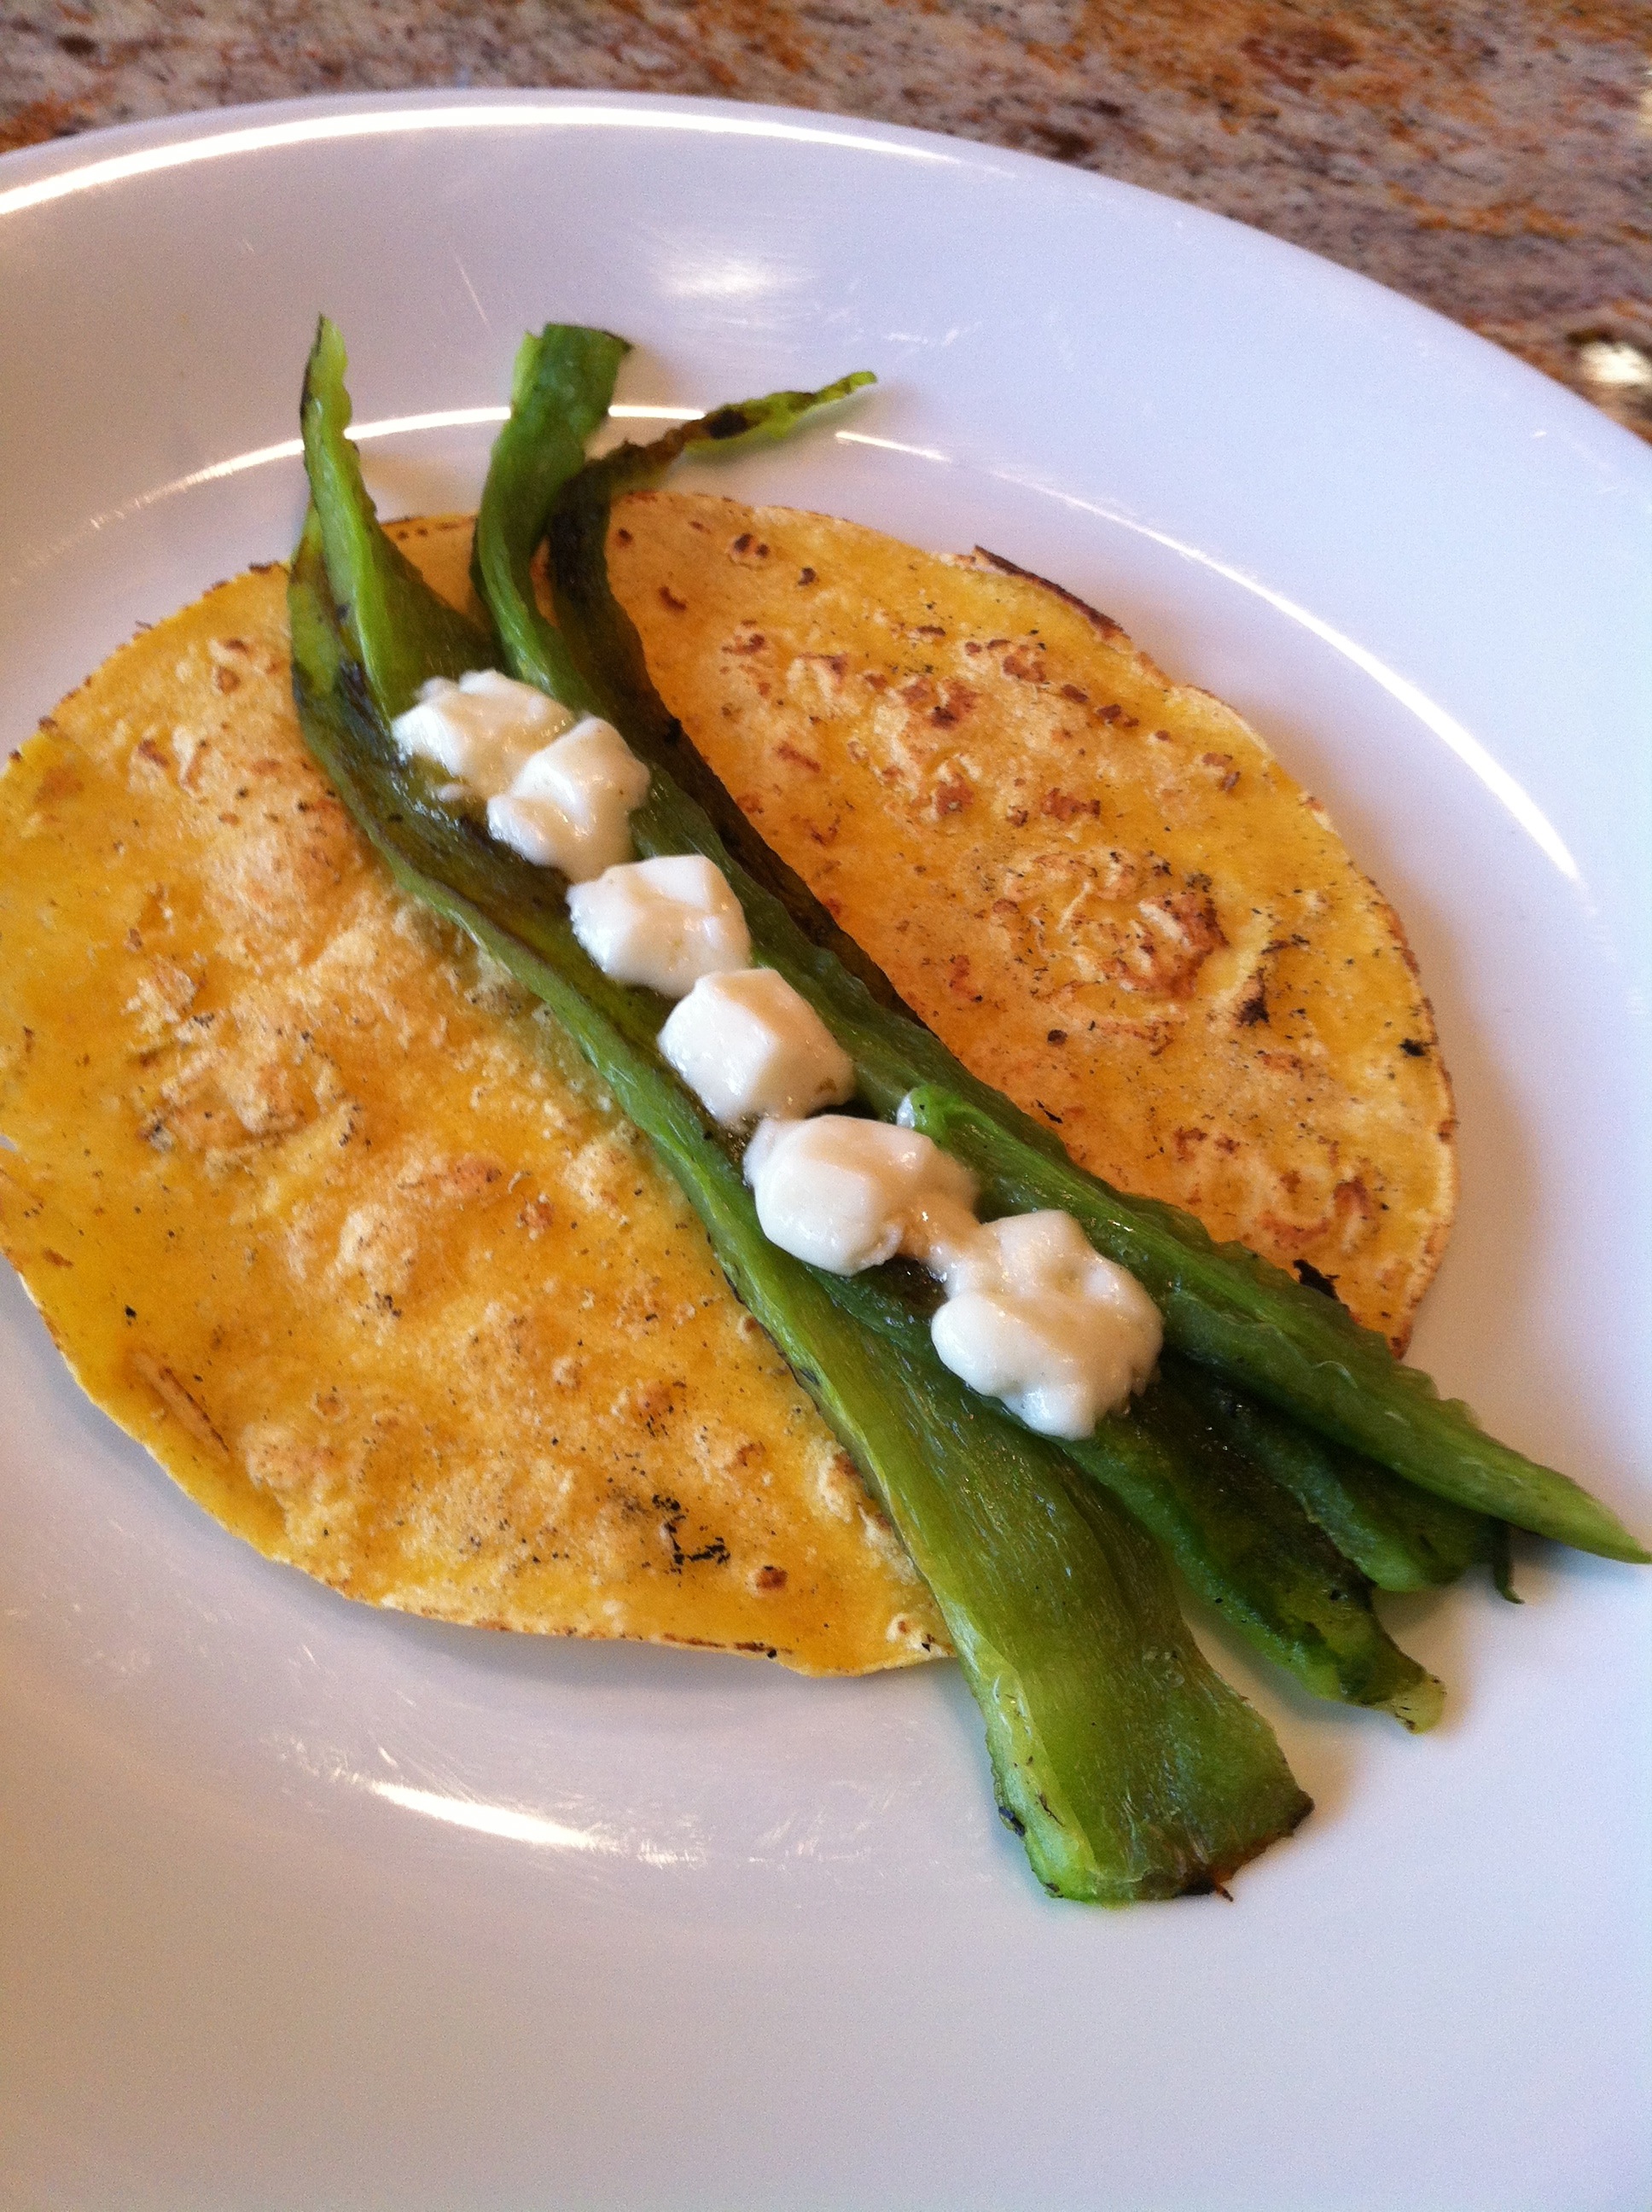
 After
After 
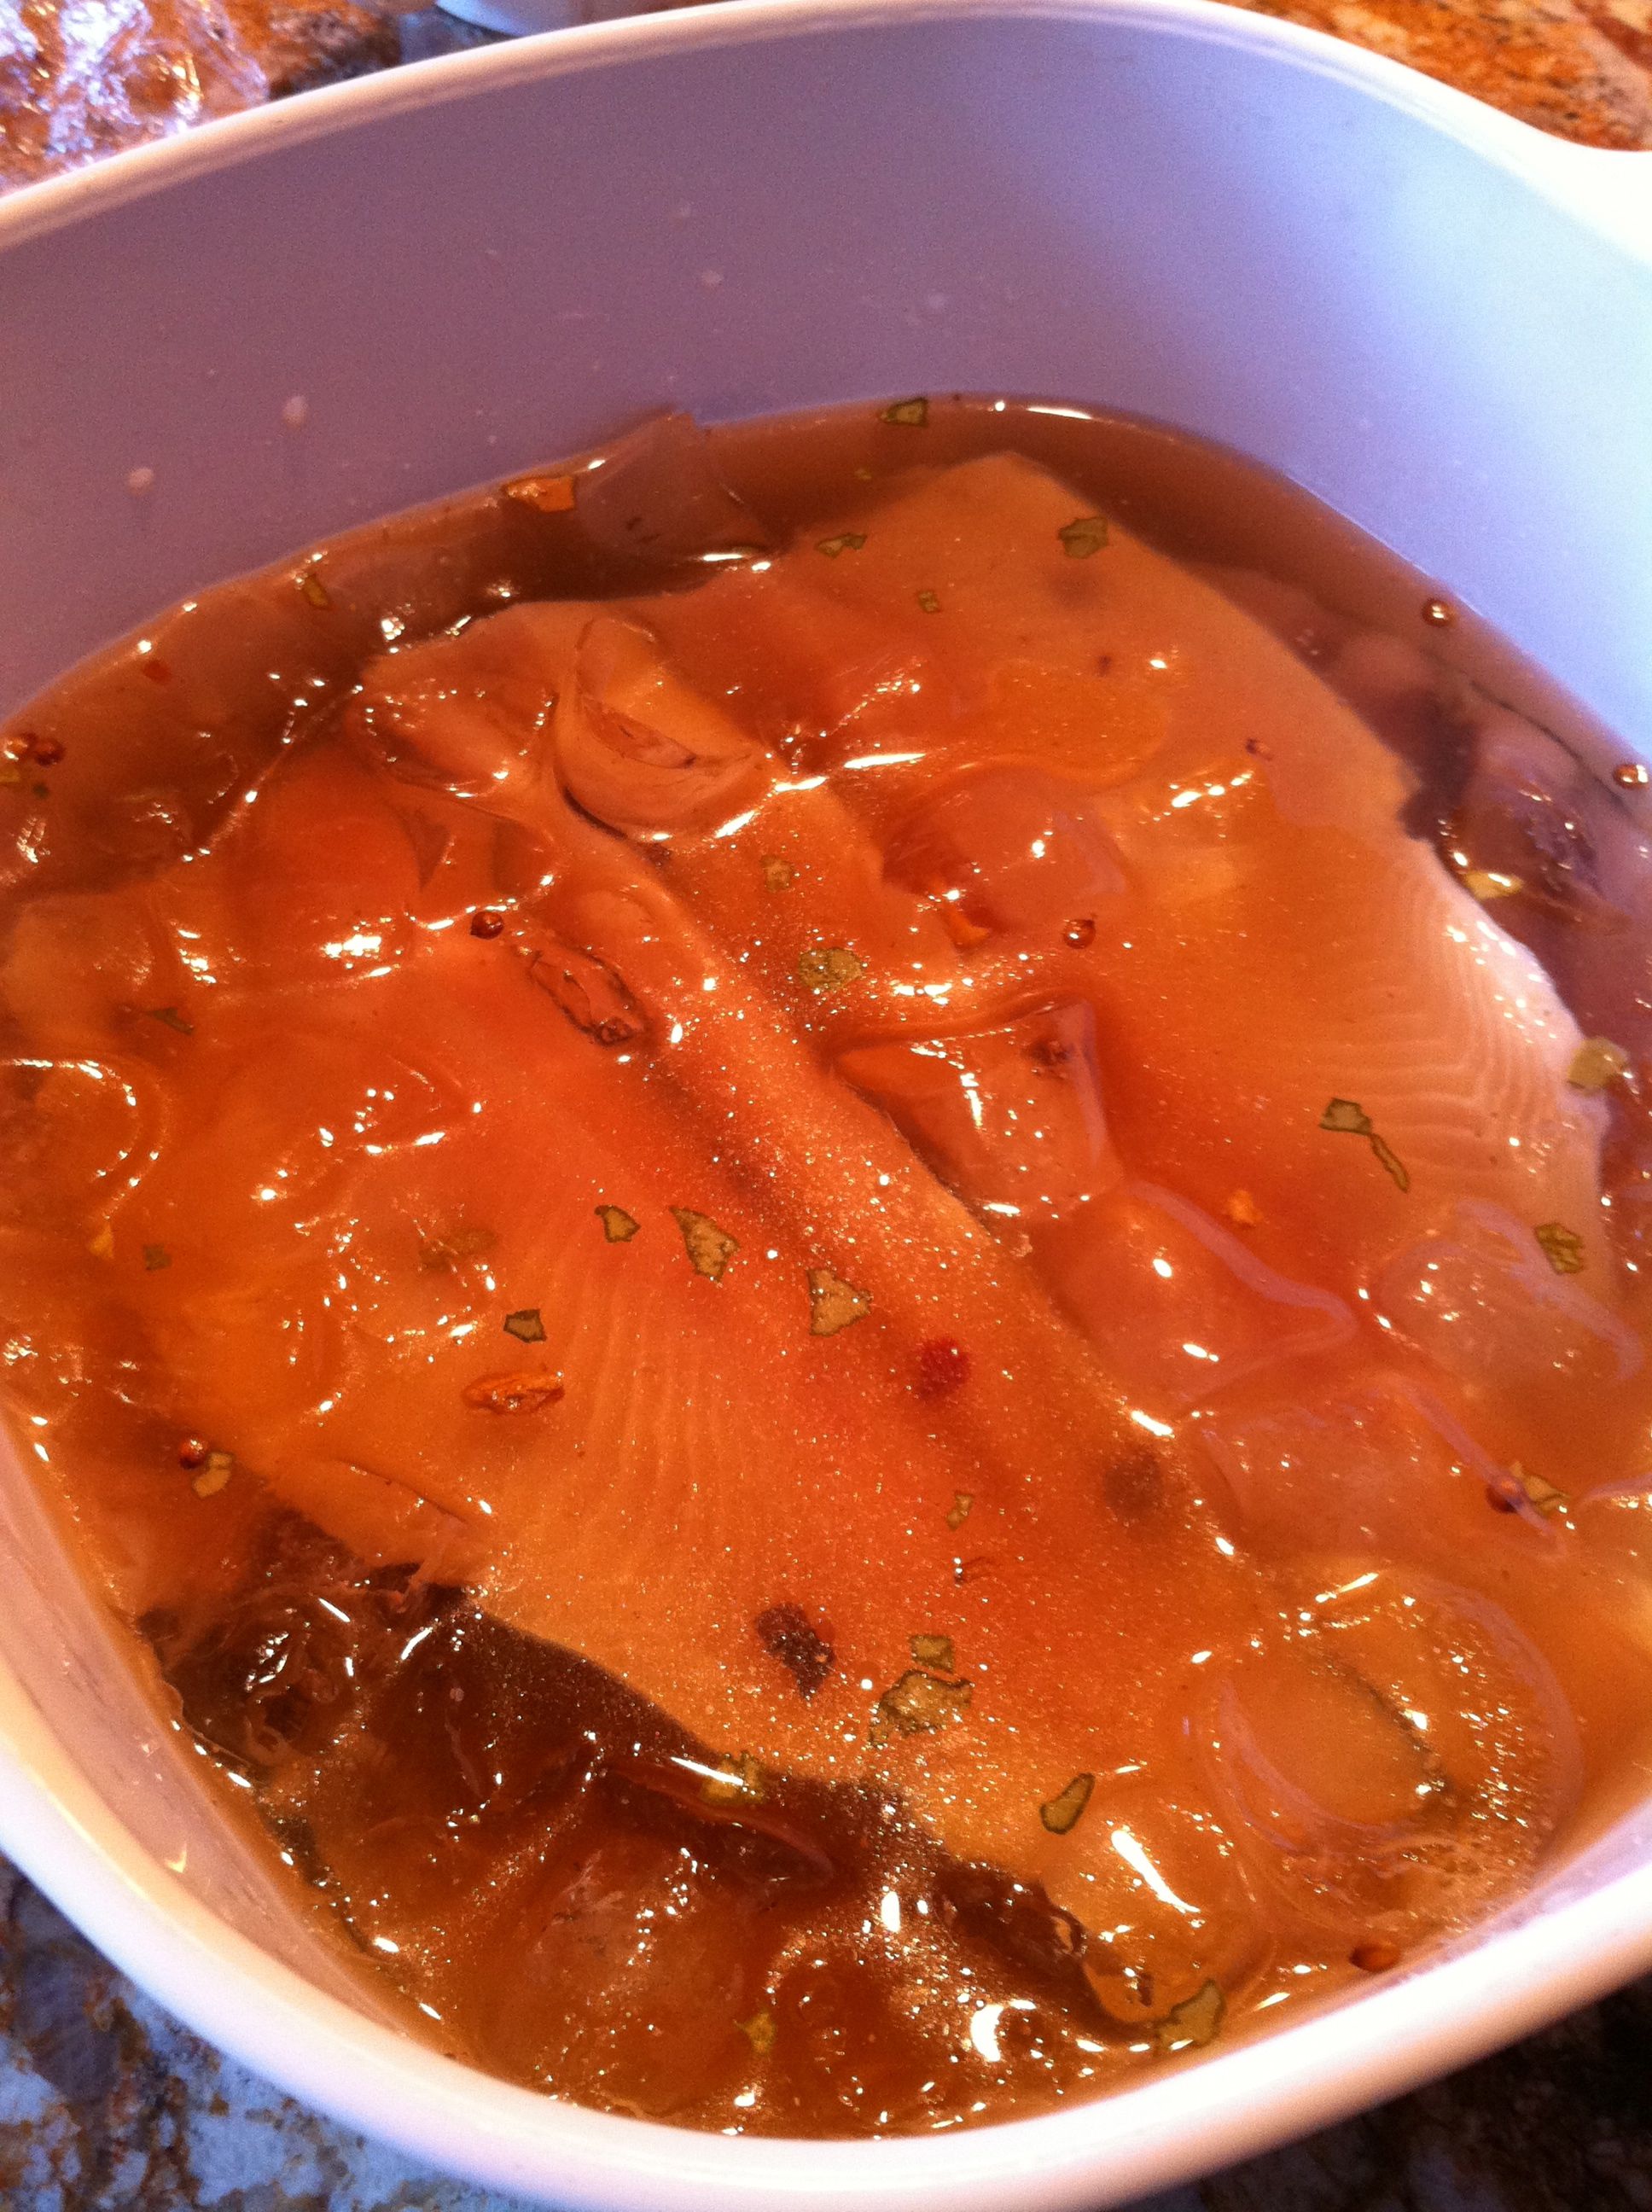 1. Add the salt, sugar and spices to the water and bring to a boil, stirring to dissolve the salt and sugar completely.
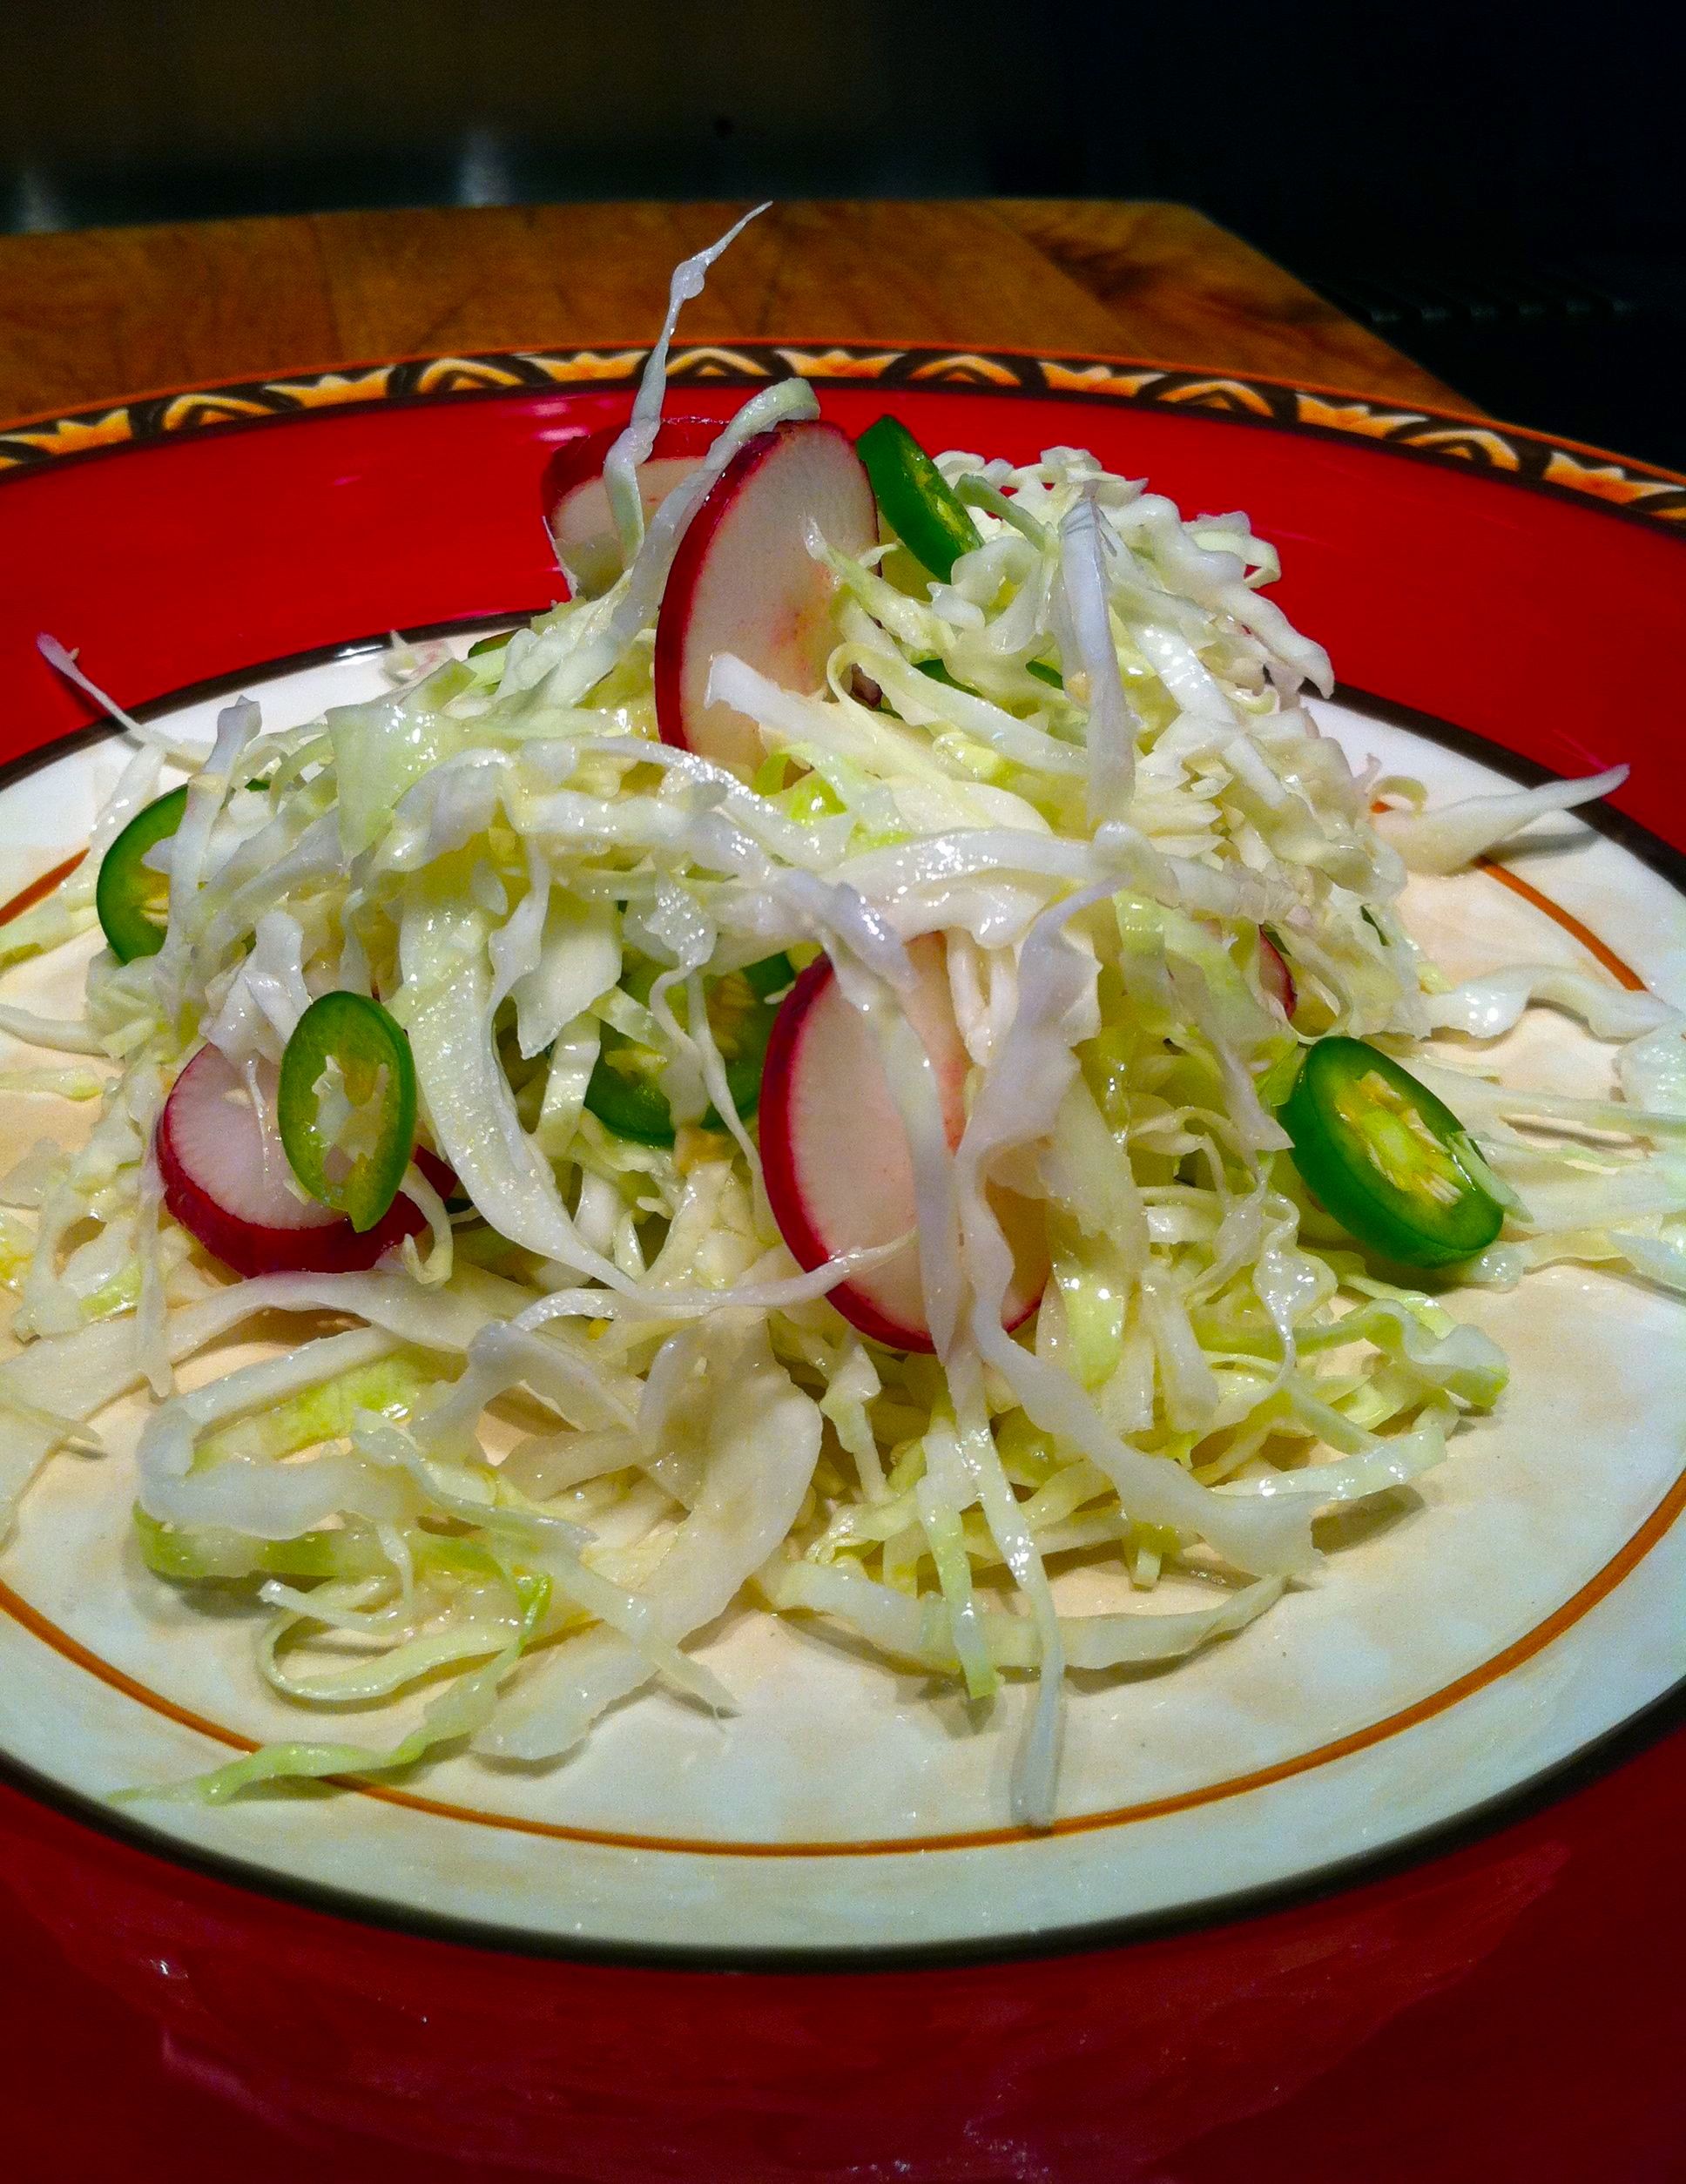

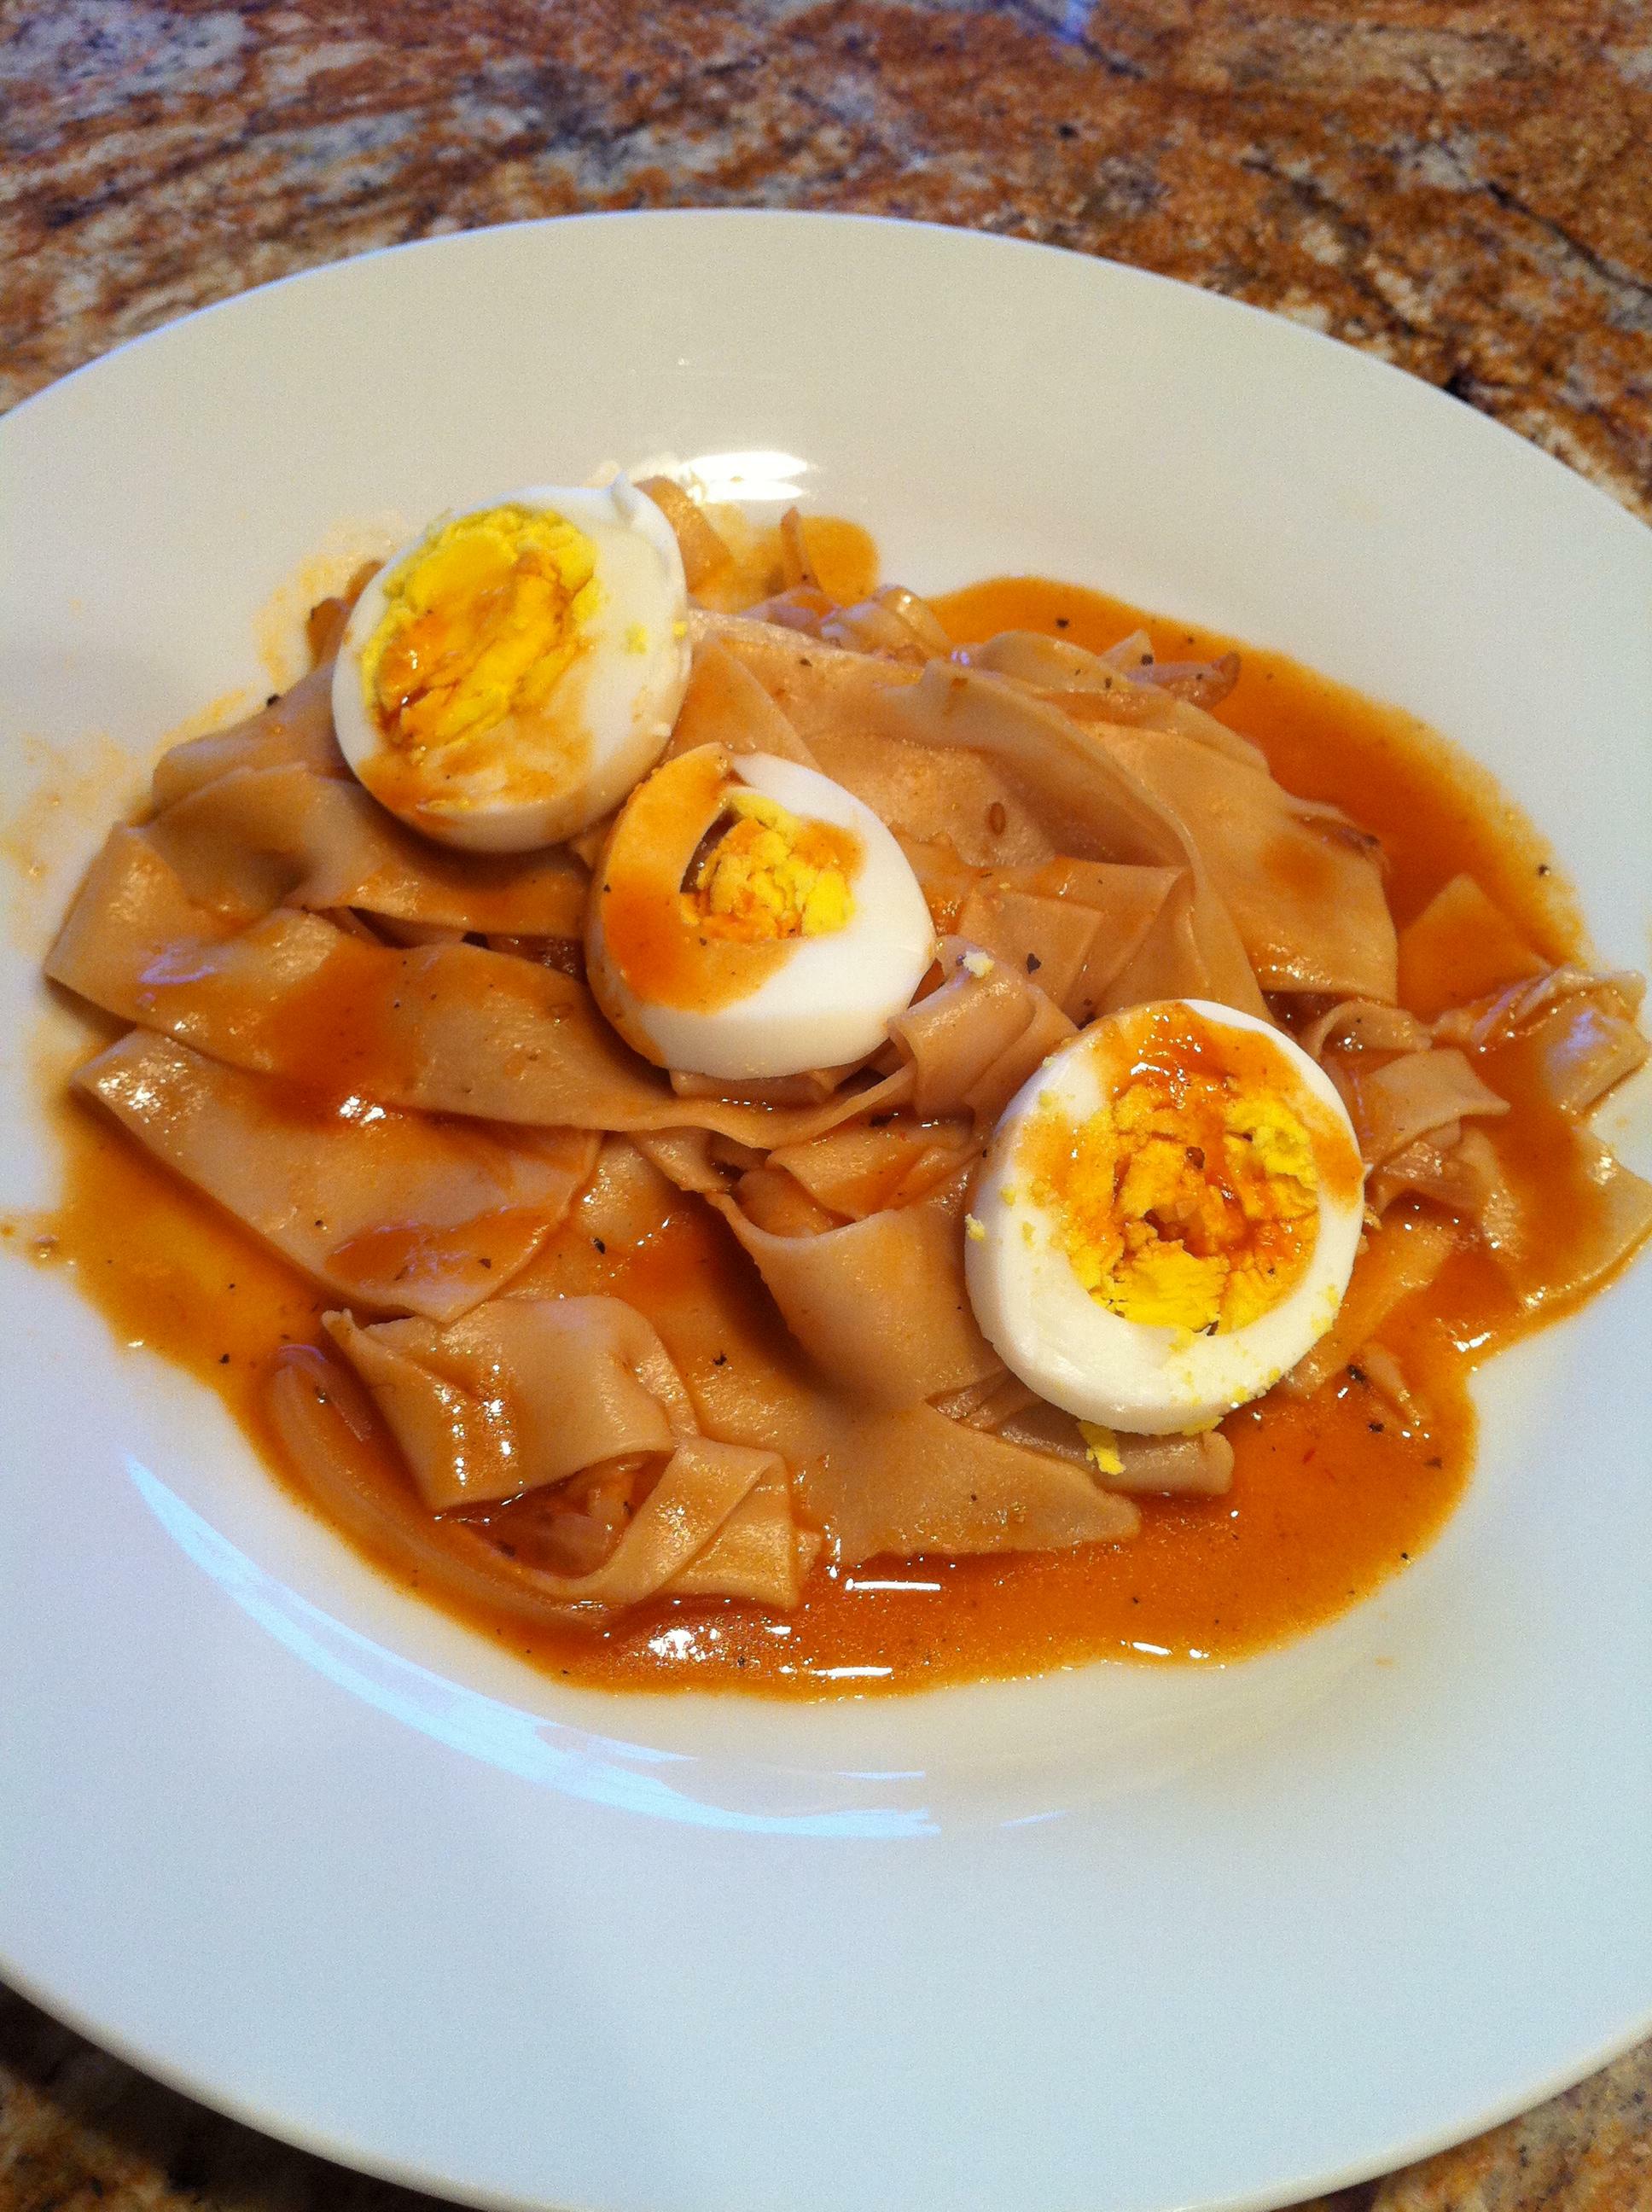
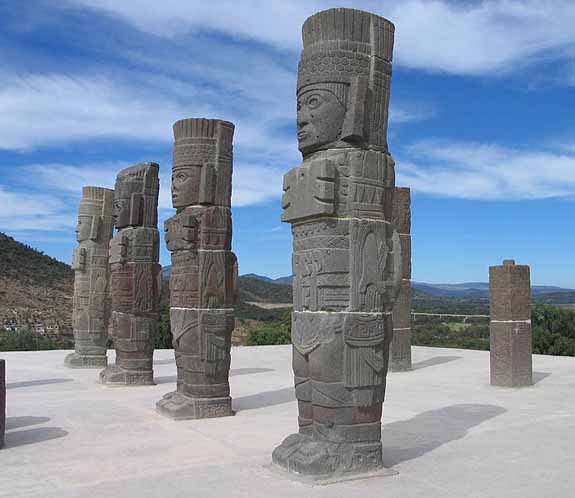 Toltec art and the huge monuments are well-known and iconic of MesoAmerica, but a lesser known fact is that the region has a delicious, distinctive cuisine. "Ajo Comino de Gallina" is a Hidalgo dish that uses poaching as a method for infusing flavors into food as it cooks with no fat. The French have a similar method, their Court Bouillon used to deep poach foods.
 7. While the onions are cooking, grind the Serrano chile into a fine paste using a molcajete. Add a little of the strained broth to the molcajete to lift off the paste and add to the onions.
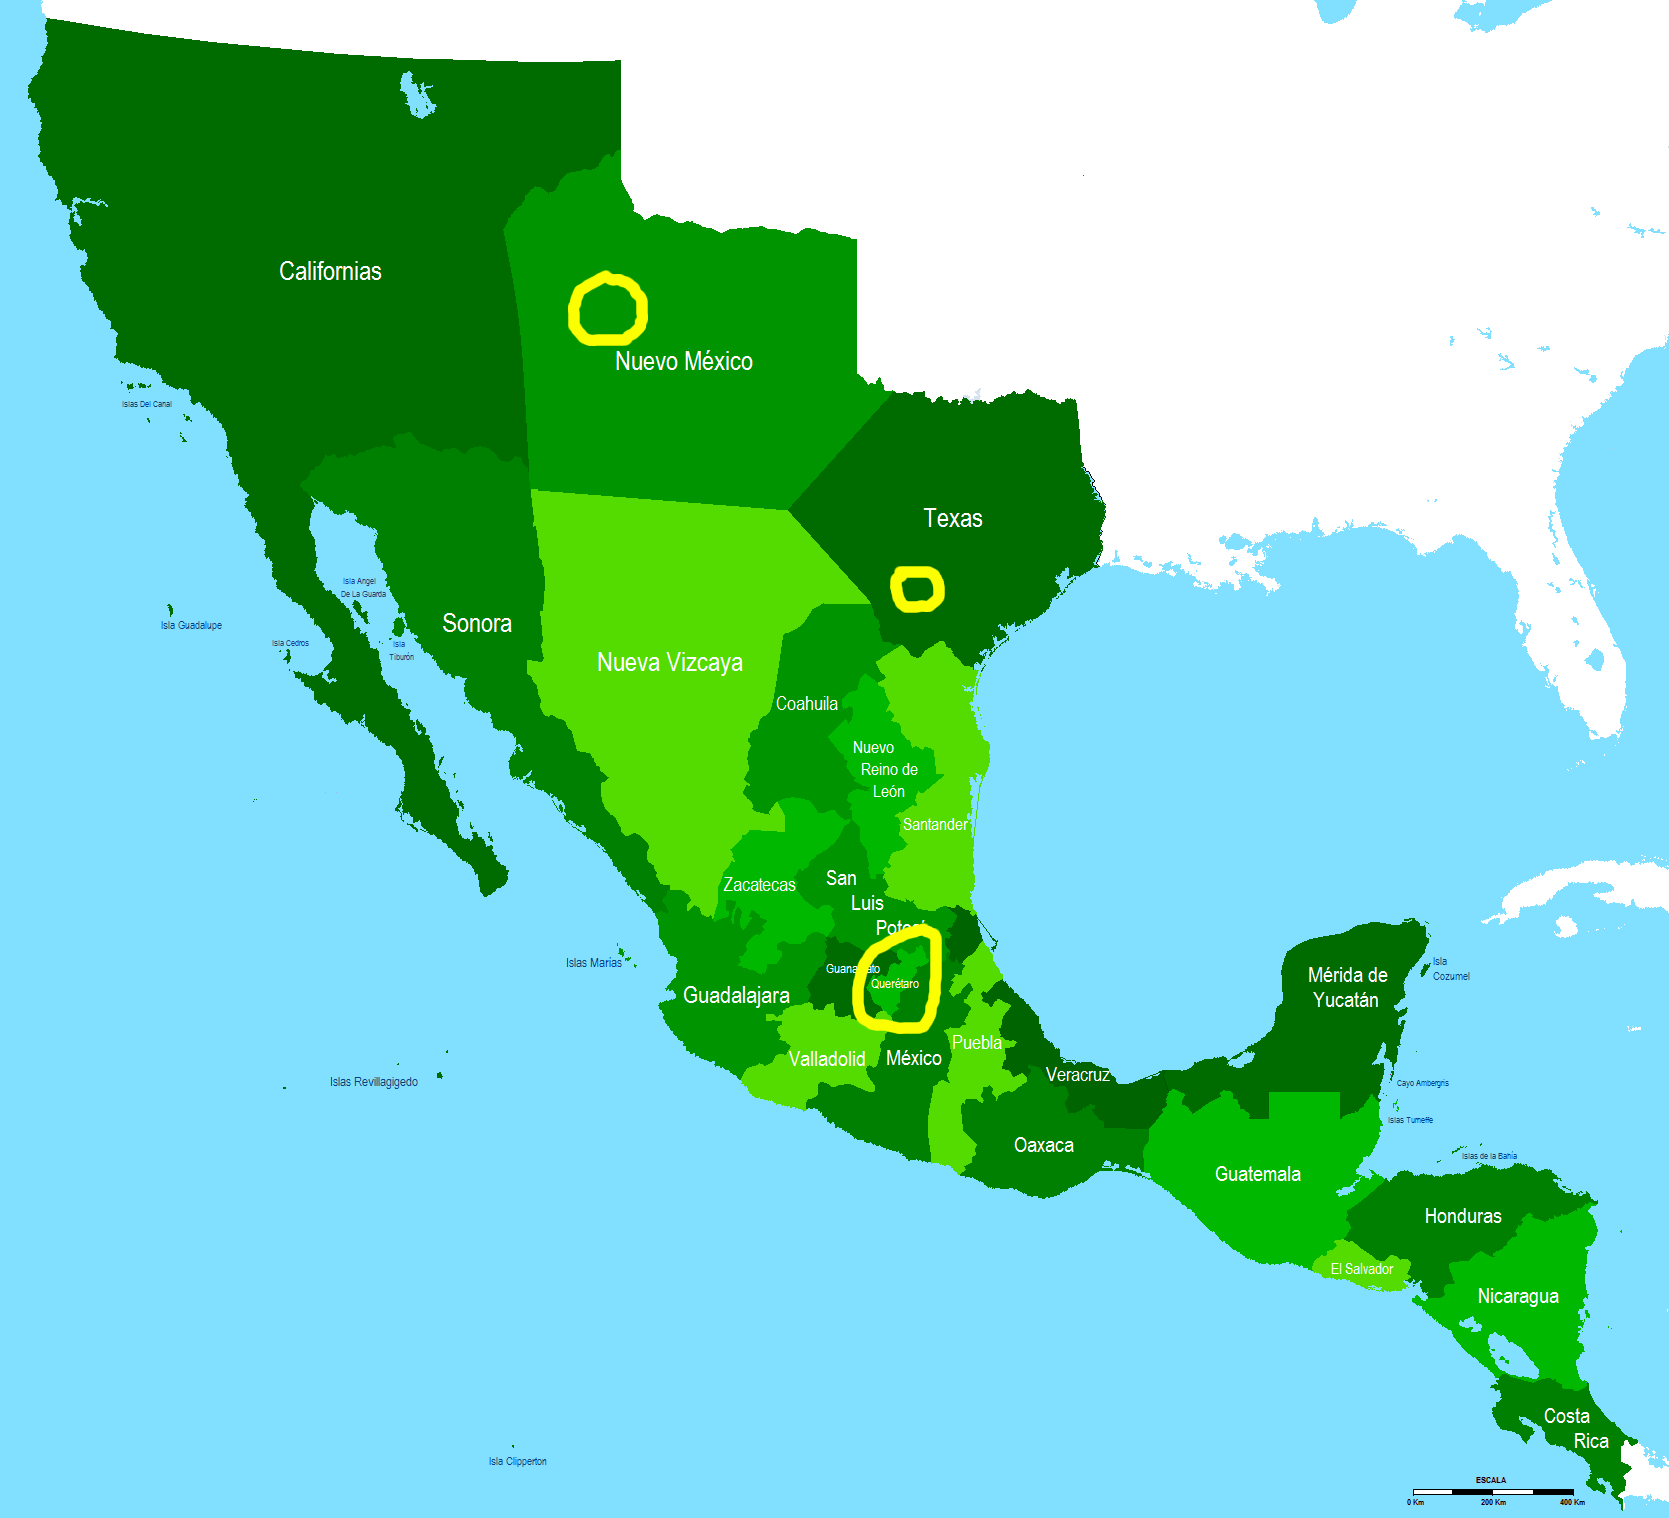 I have drawn circles on this 1821 map of Mexico to show three areas where I have found distinctive recipes: Present day New Mexico (USA), Texas (USA), and Queretaro (Mexico).
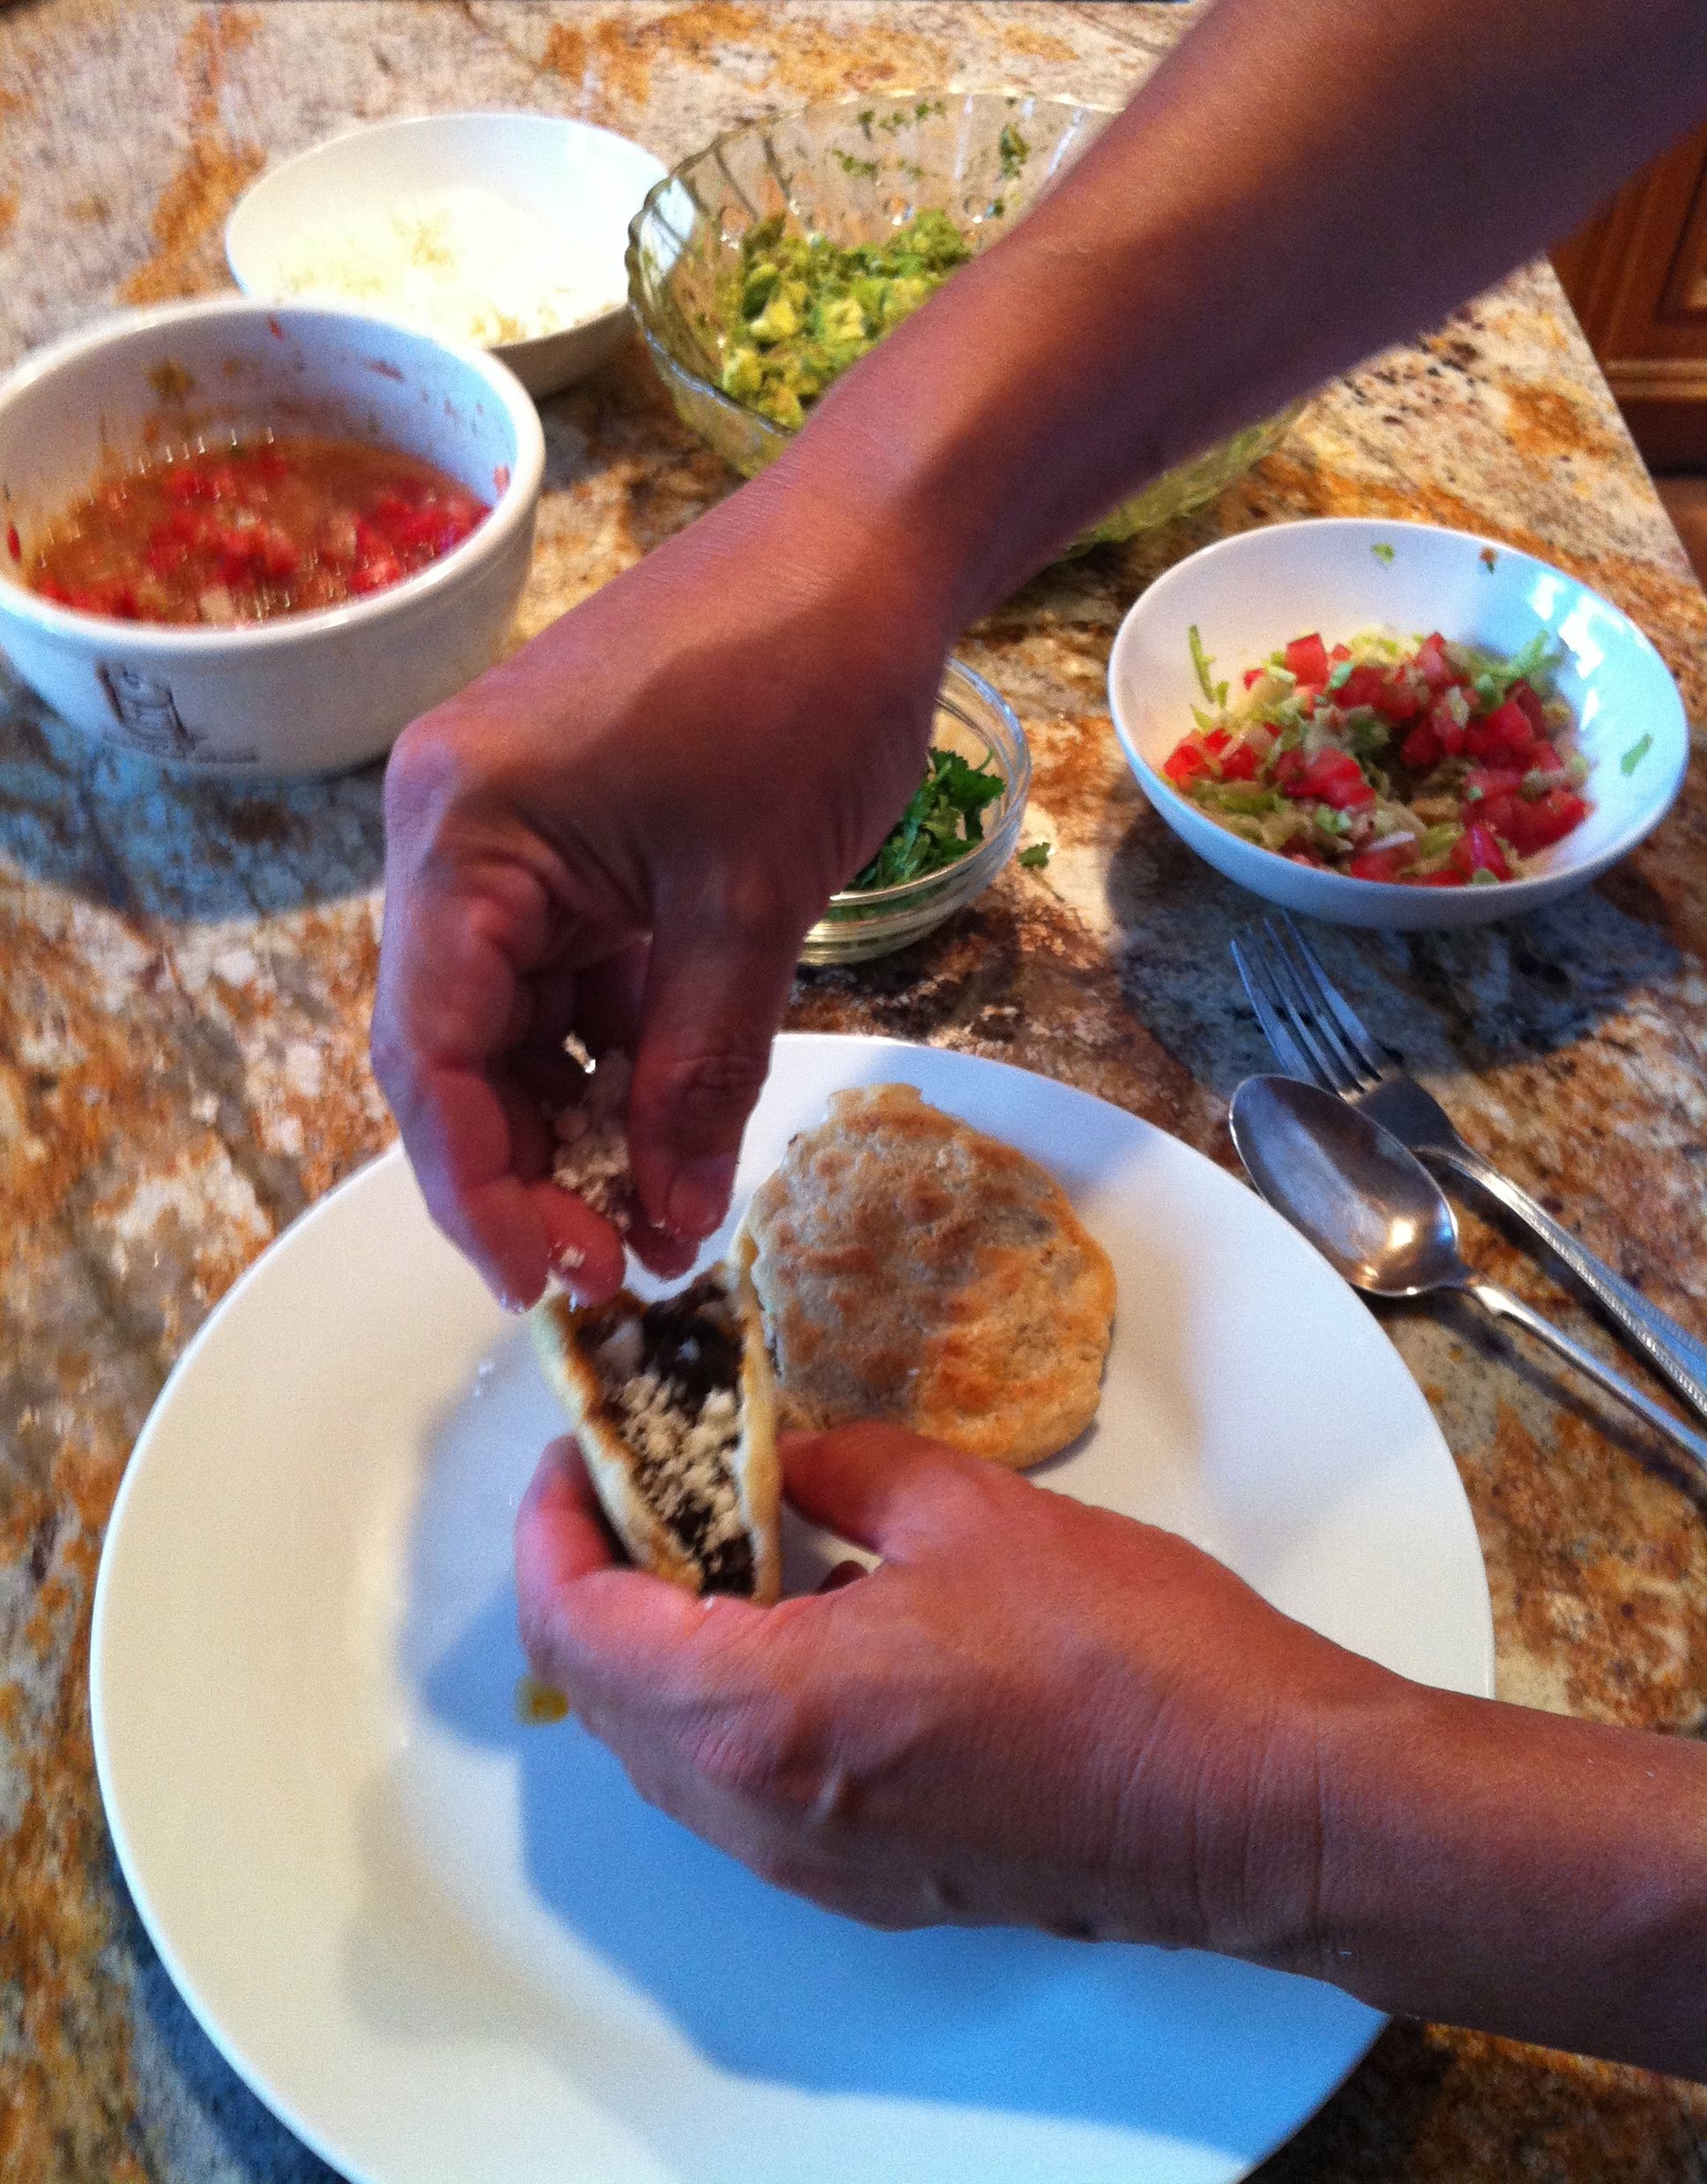
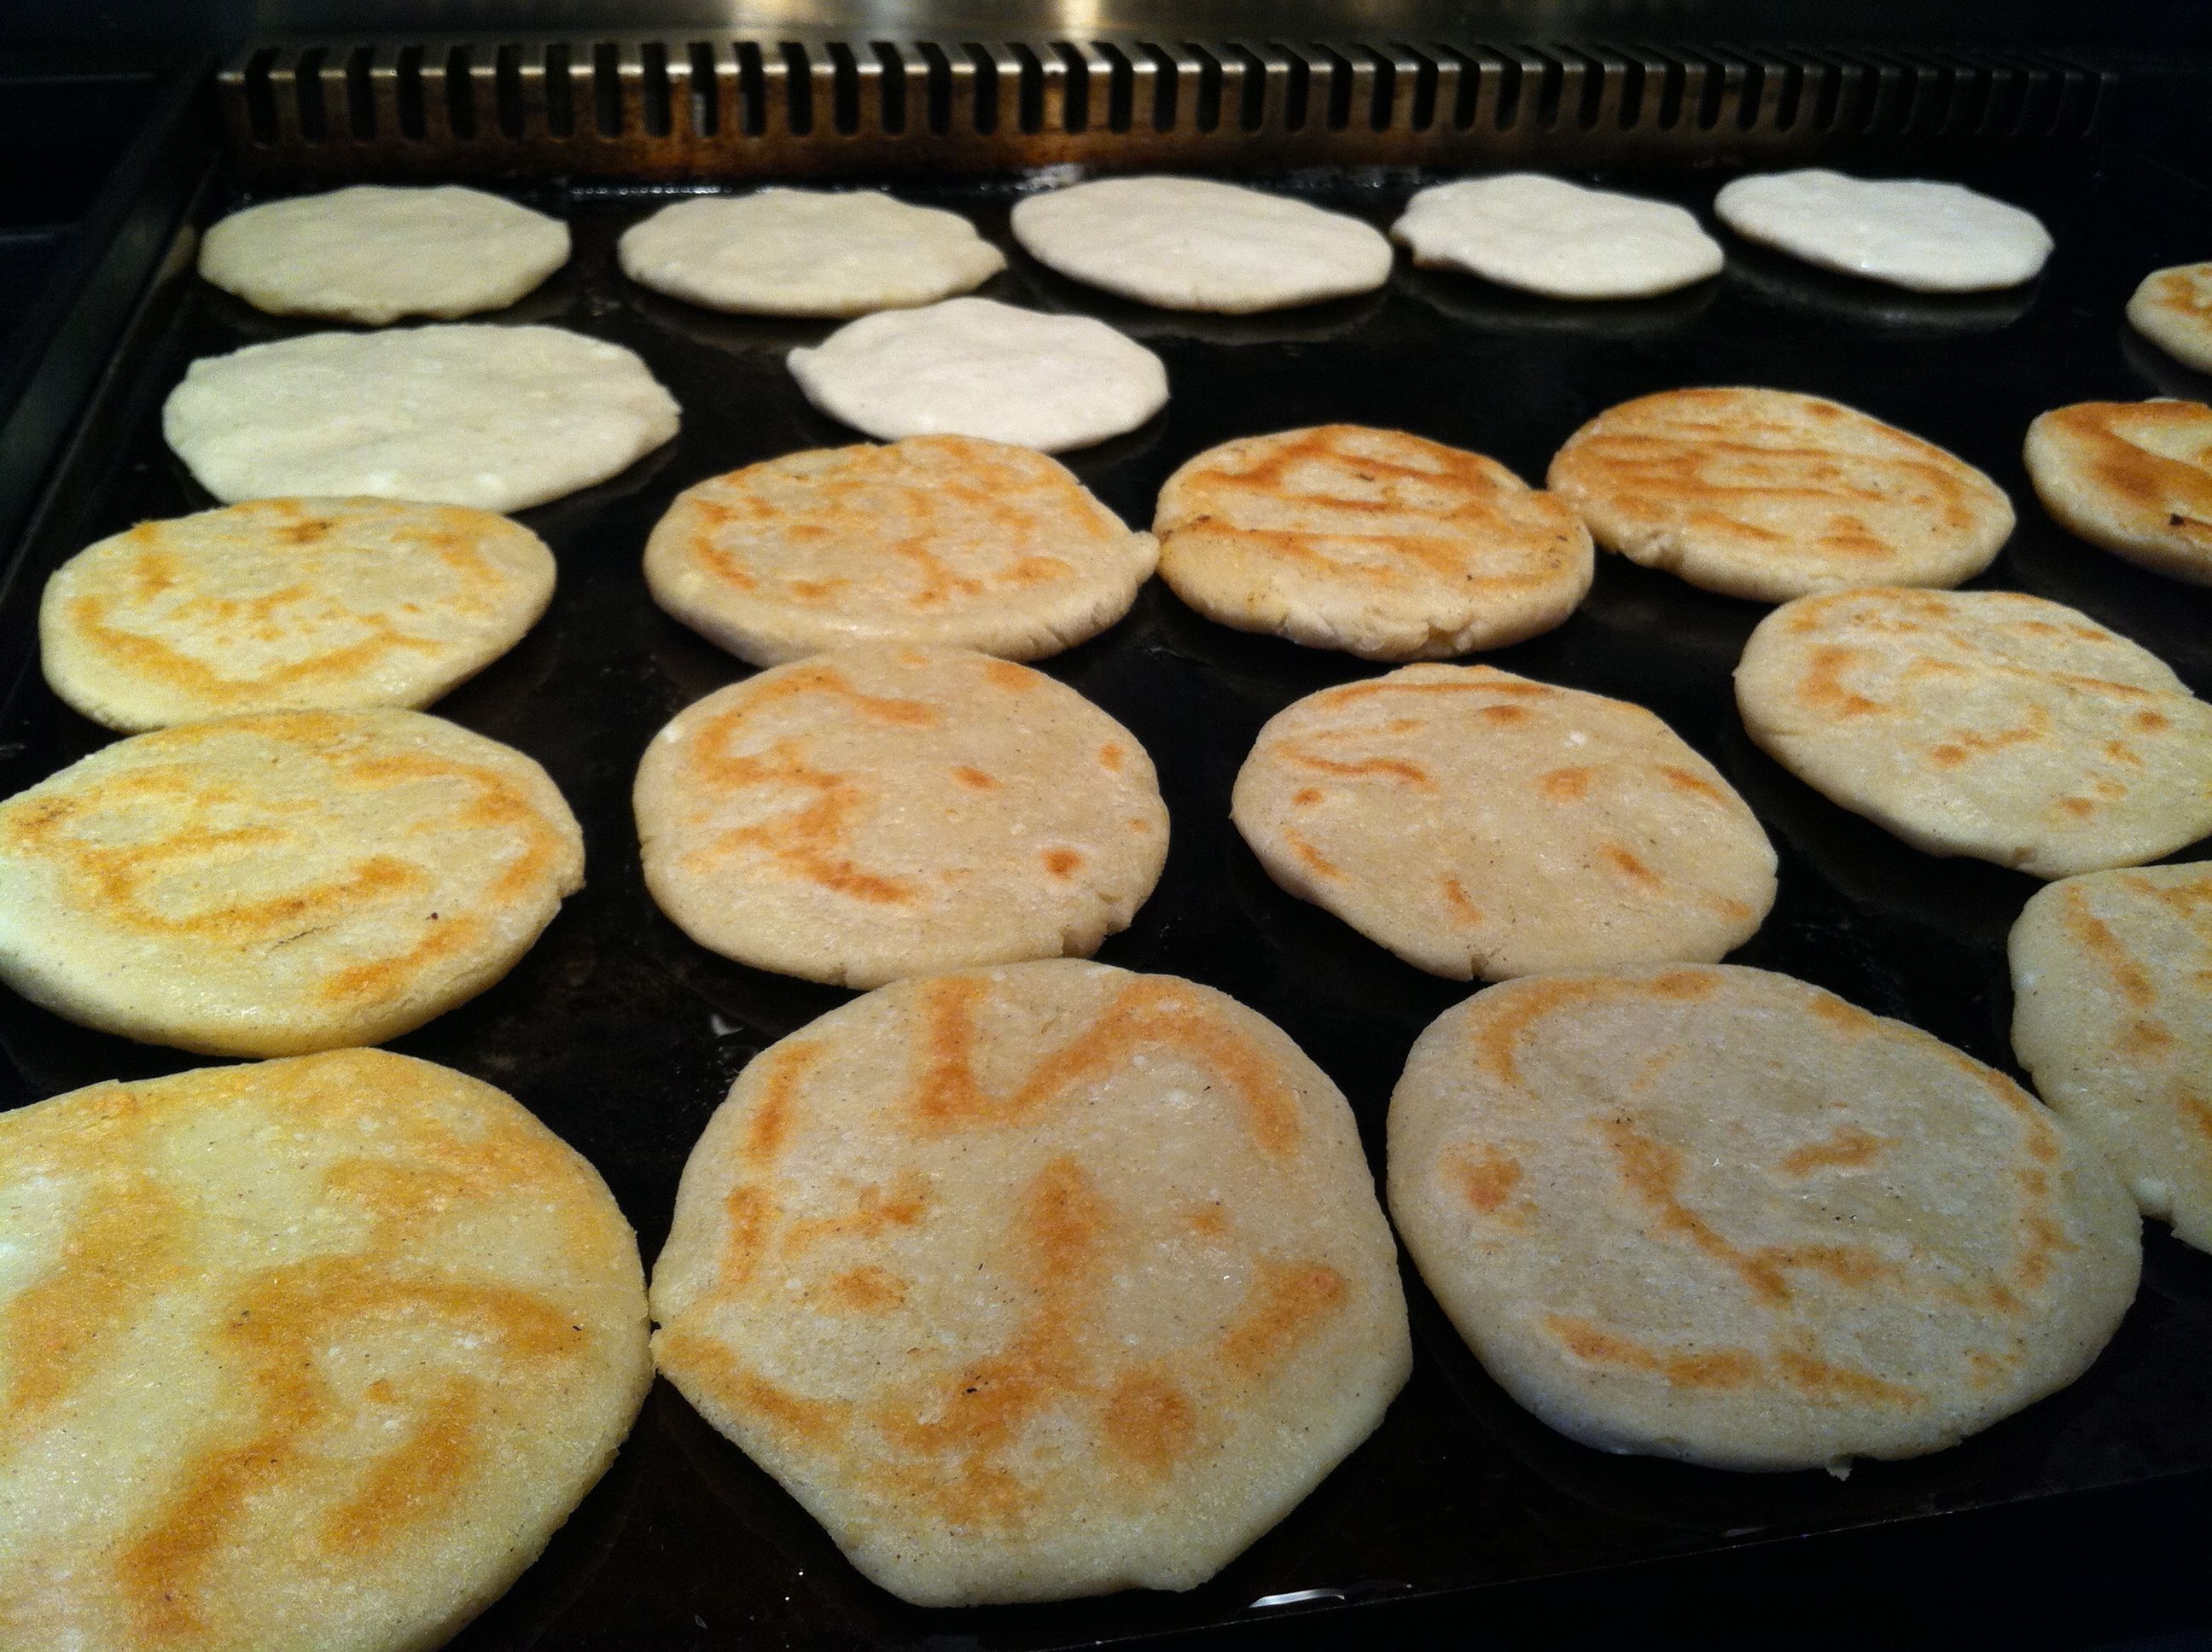 Recipe makes 25 small gorditas like the ones in the picture
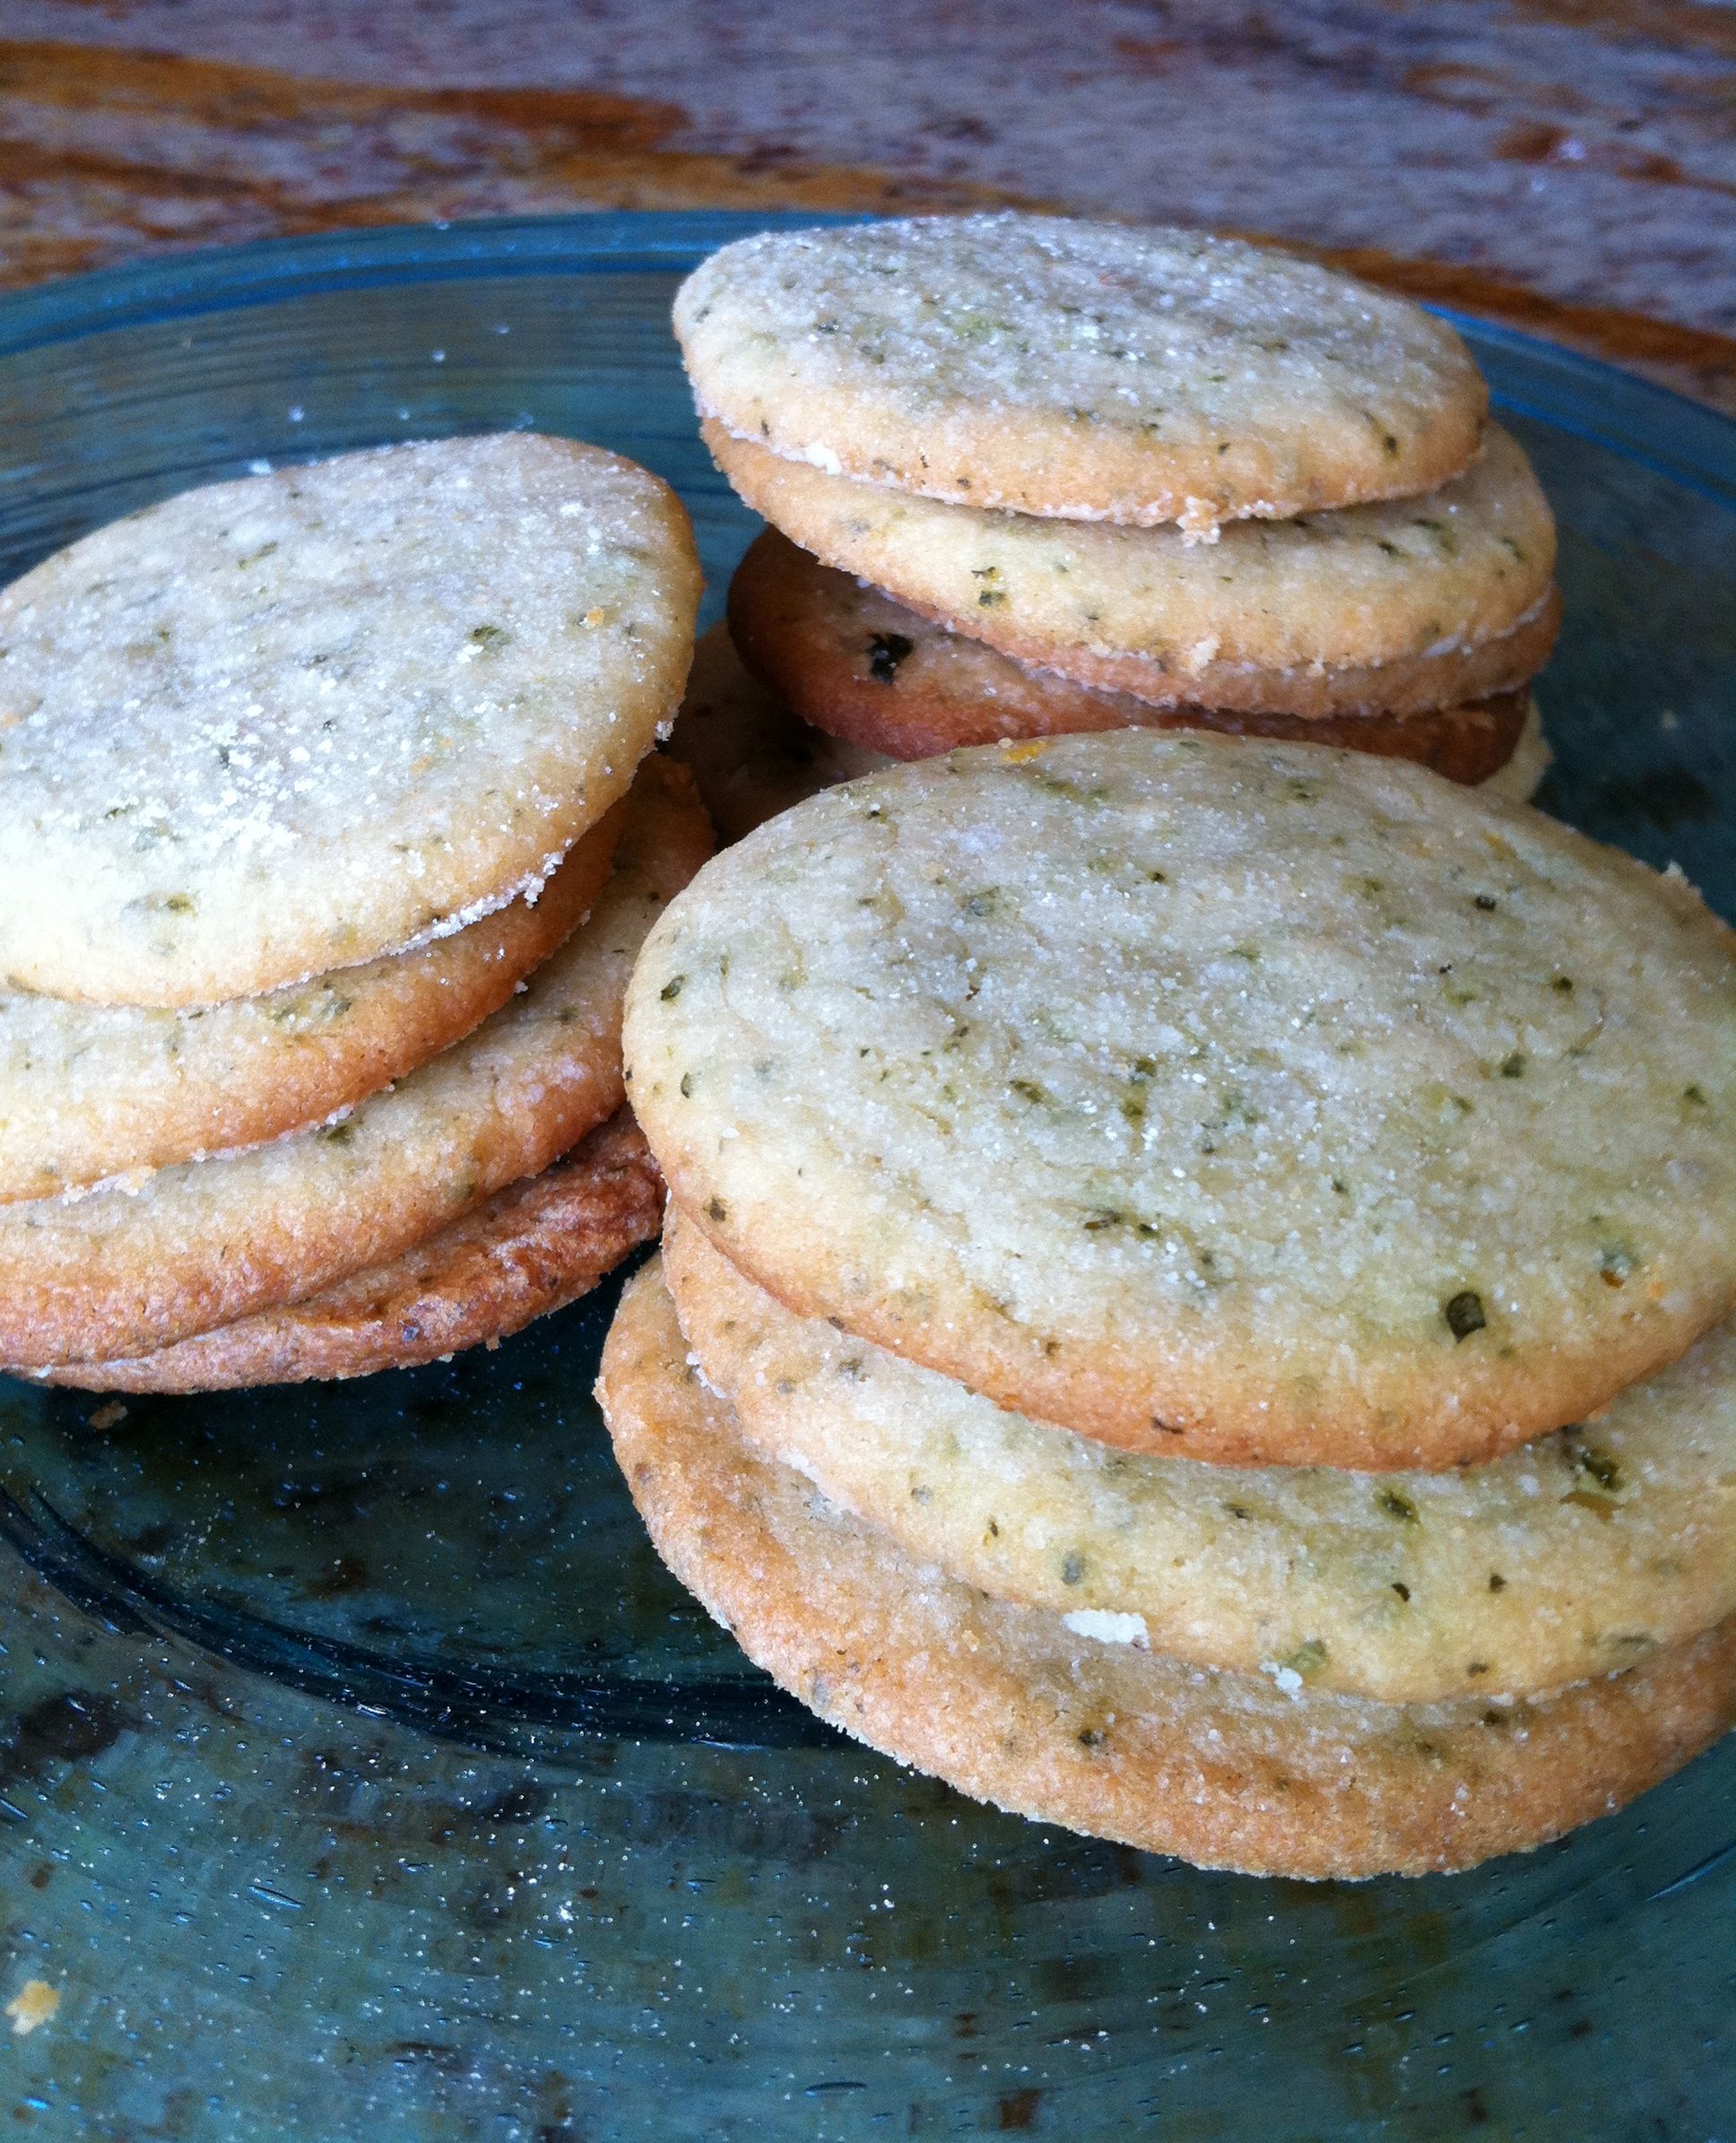 It is indeed an unusual blend of strong lemon and the savory aromatic basil. The recipe intrigued me when I first noticed the cookies in a Bon Appetit feature-- a recipe from their test kitchen. So I finally baked them at 7 AM today. To me, it's a delicious sour-sweet-rich-buttery-savory-basil cookie. Not usual, perhaps odd, but I really like them.
 Method:
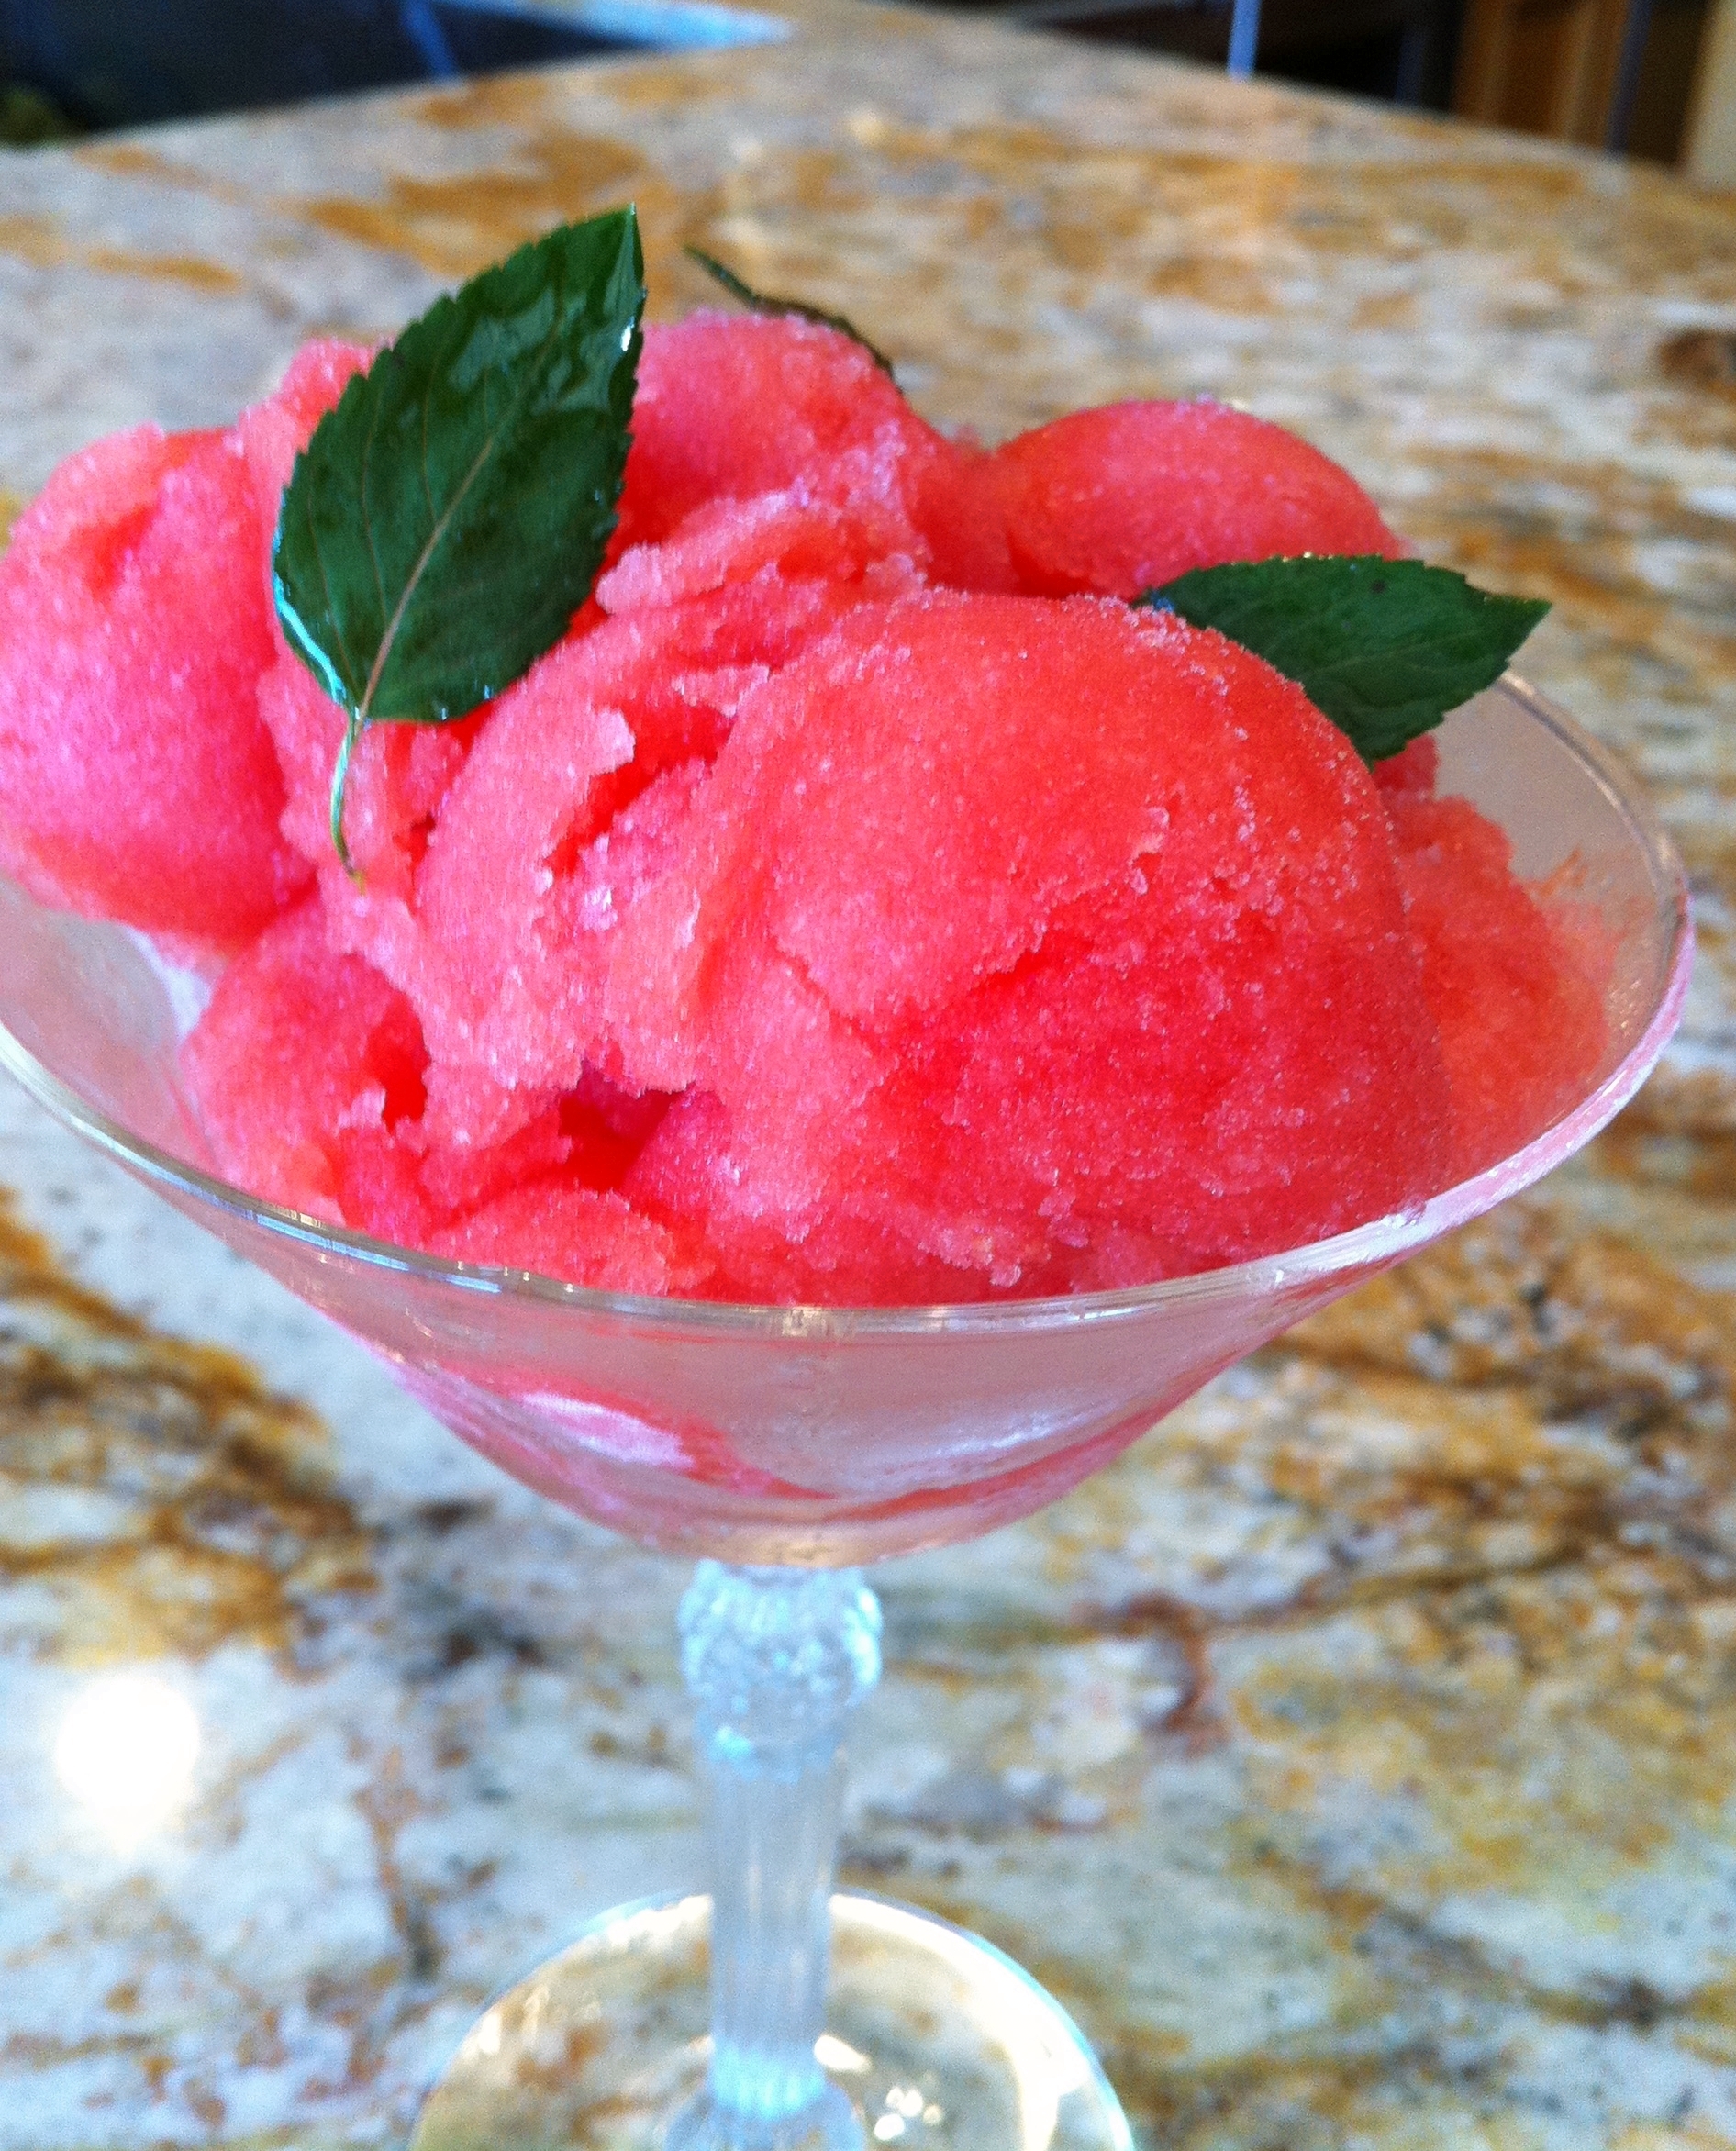 I first saw the Watermelon-Campari combination in an egg-based savory sorbet featured in the new book,
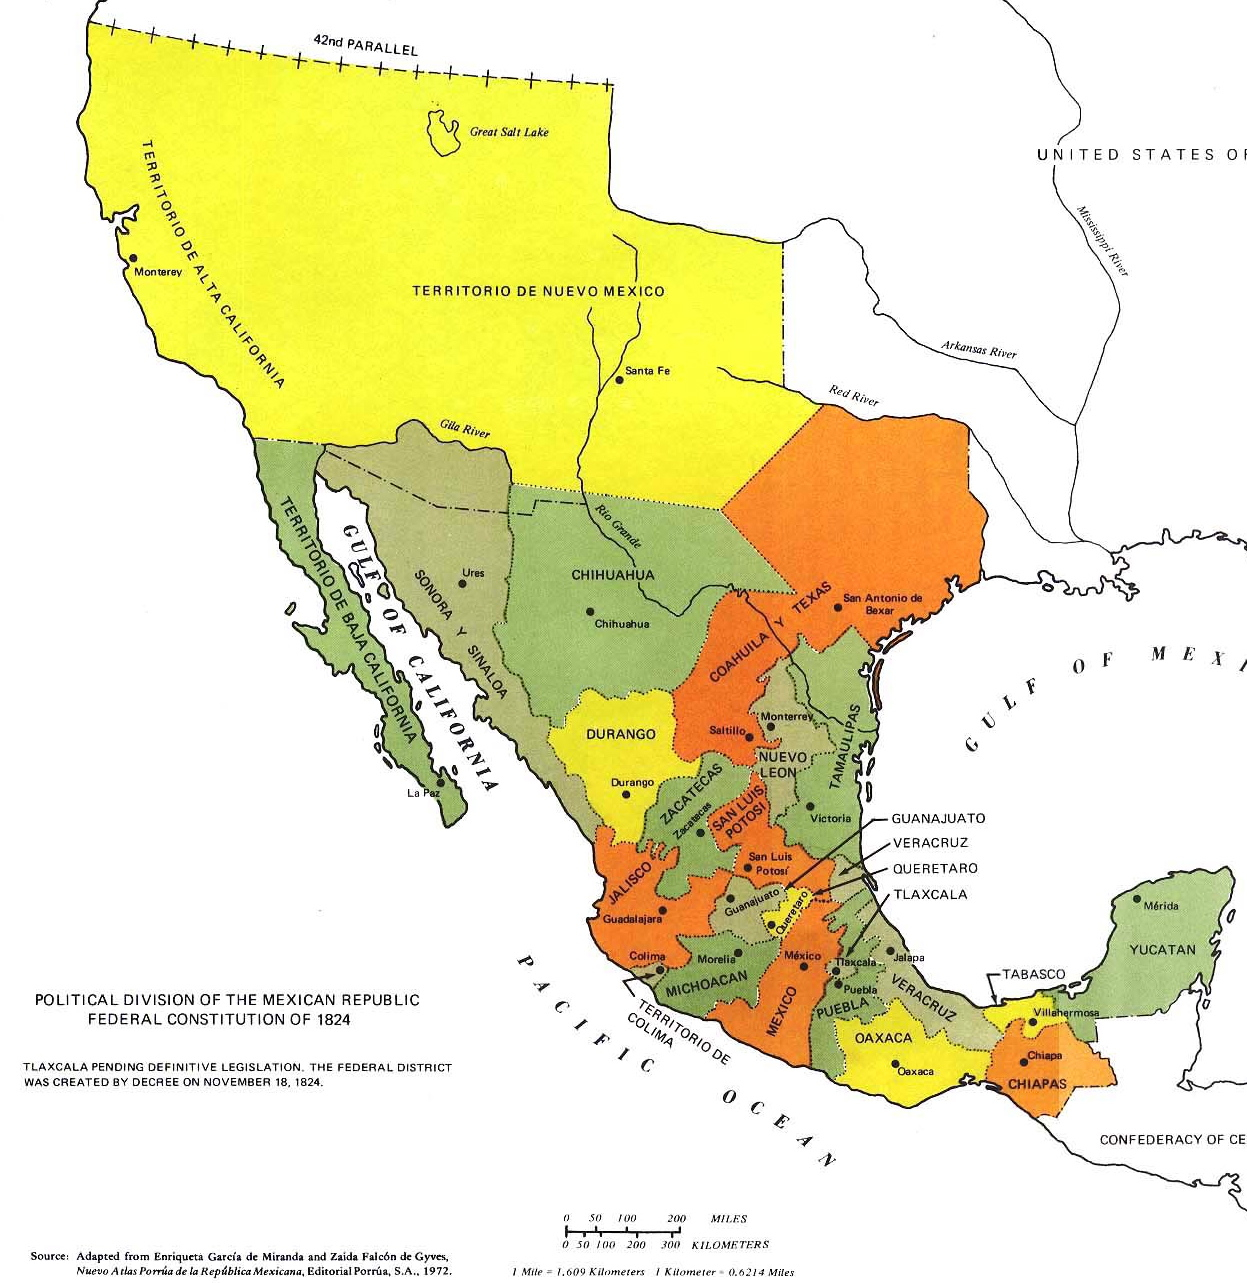 In the Mexican constitution of 1824, the republic of
Mexico included "Coahuila y Texas" as one state. (1) It extended
far North and South of the Rio Grande river which at that time was used in the region for transportation and irrigation.
In the Mexican constitution of 1824, the republic of
Mexico included "Coahuila y Texas" as one state. (1) It extended
far North and South of the Rio Grande river which at that time was used in the region for transportation and irrigation. 
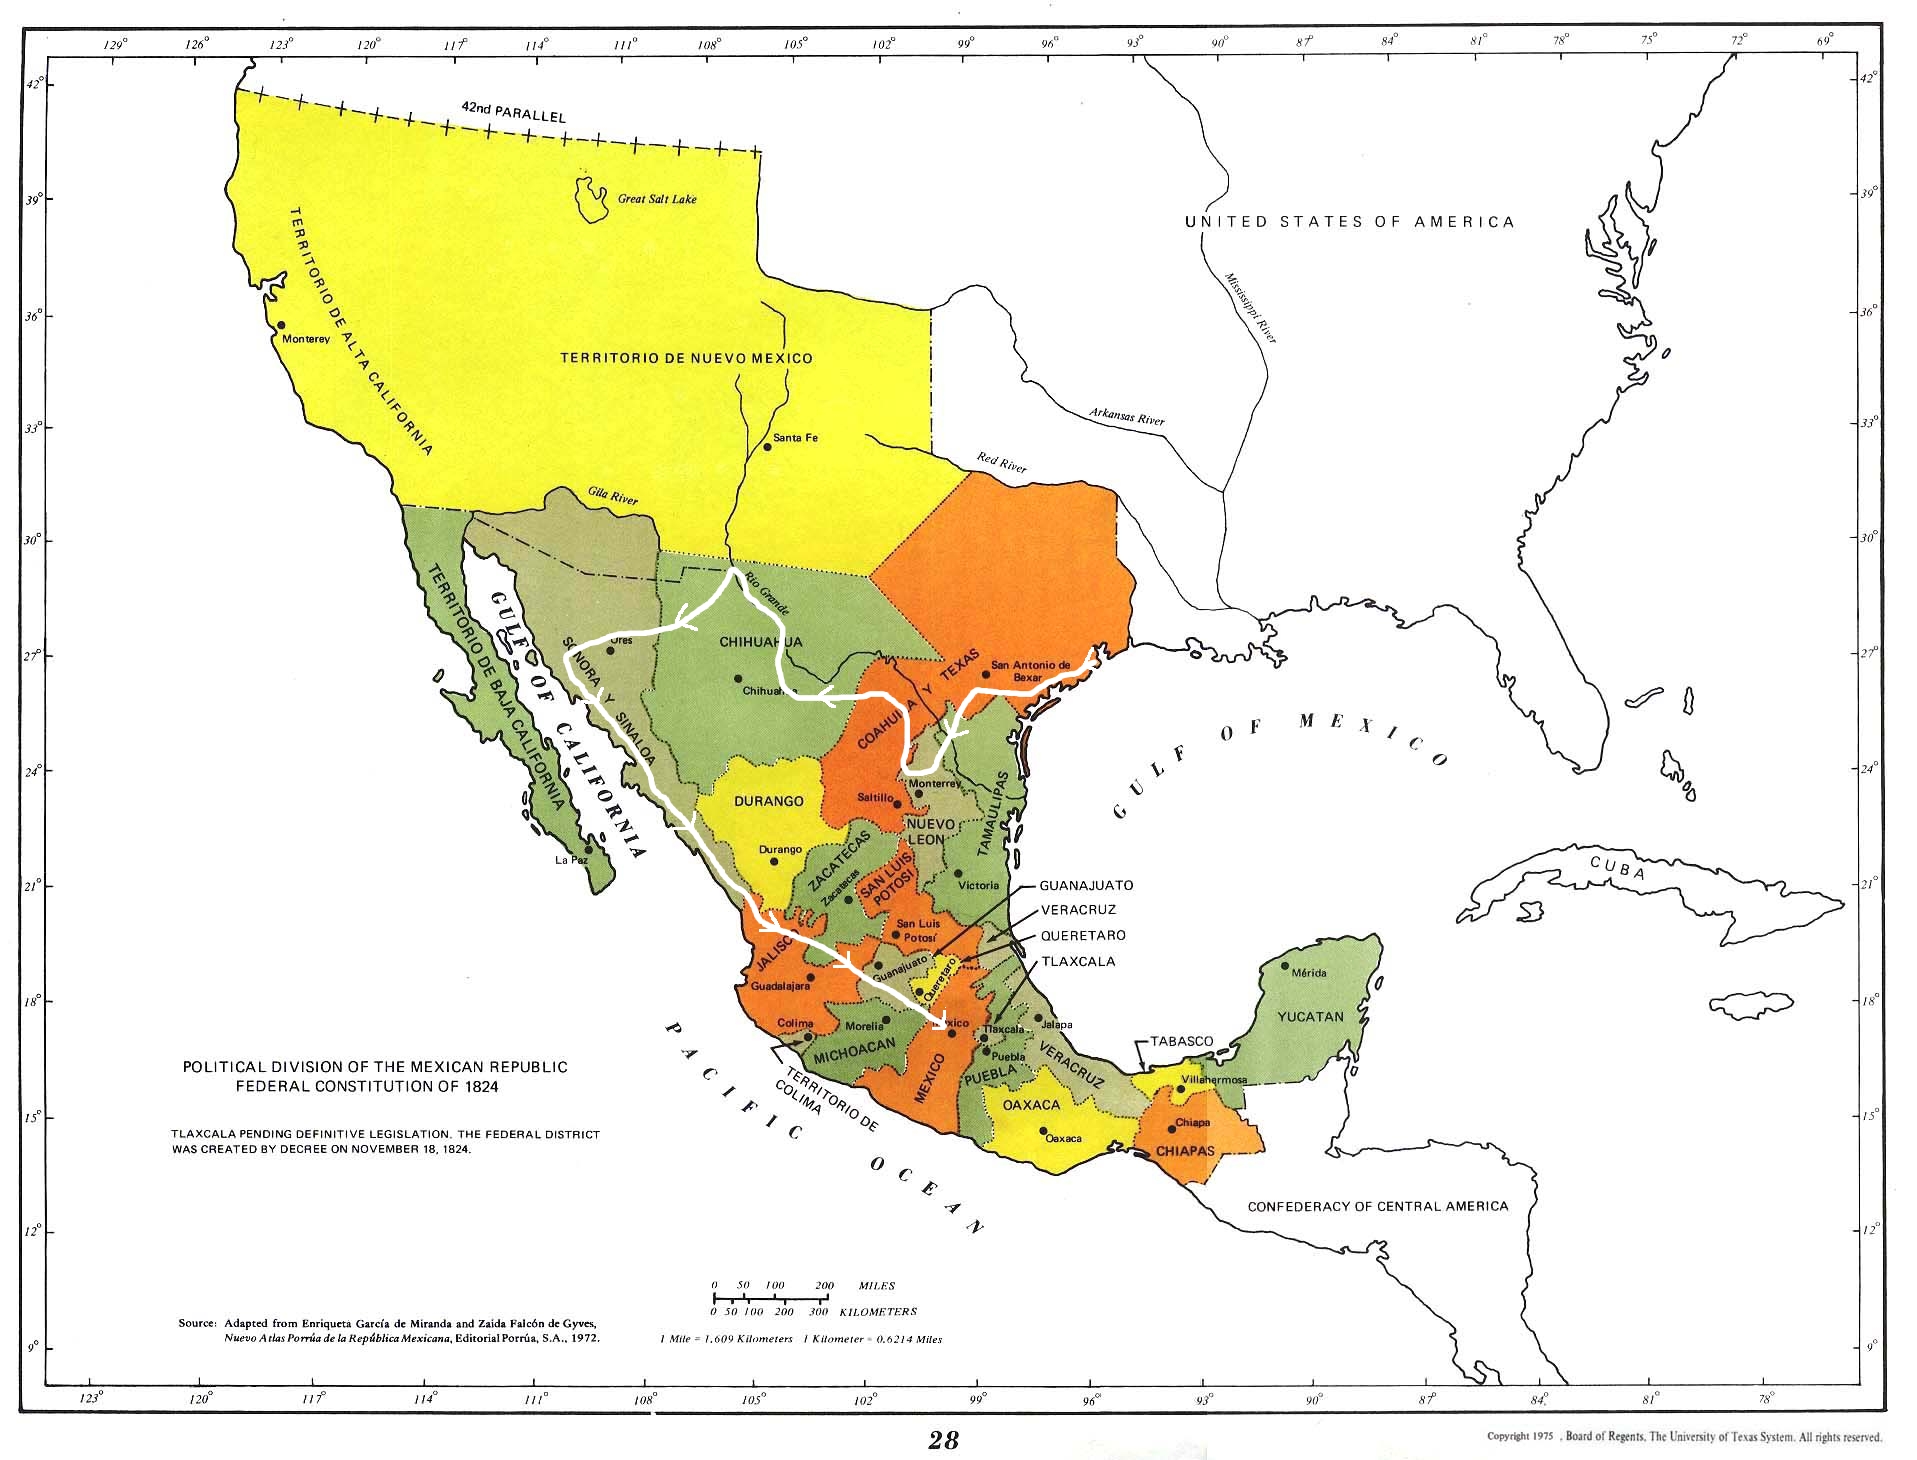 Indeed, on this map of 1824 Mexico(1) I drew the route that Cabeza de Vaca followed in 1500's to travel from Galveston to Mexico City. I traced the white line to show that, as the natives did at the time, he traveled from Galveston all through Sinaloa. (I based this route on the one researched and drawn by Alex D. Krieger, University of Texas Press) There were other similar travel routes that made it commonplace to exchange cooking techniques and ideas.
 The dish uses the combination technique of partially frying (gives form to the
eggs) and then poaching in a chile broth (renders the eggs moist and exquisitely flavorful).
The dish uses the combination technique of partially frying (gives form to the
eggs) and then poaching in a chile broth (renders the eggs moist and exquisitely flavorful).

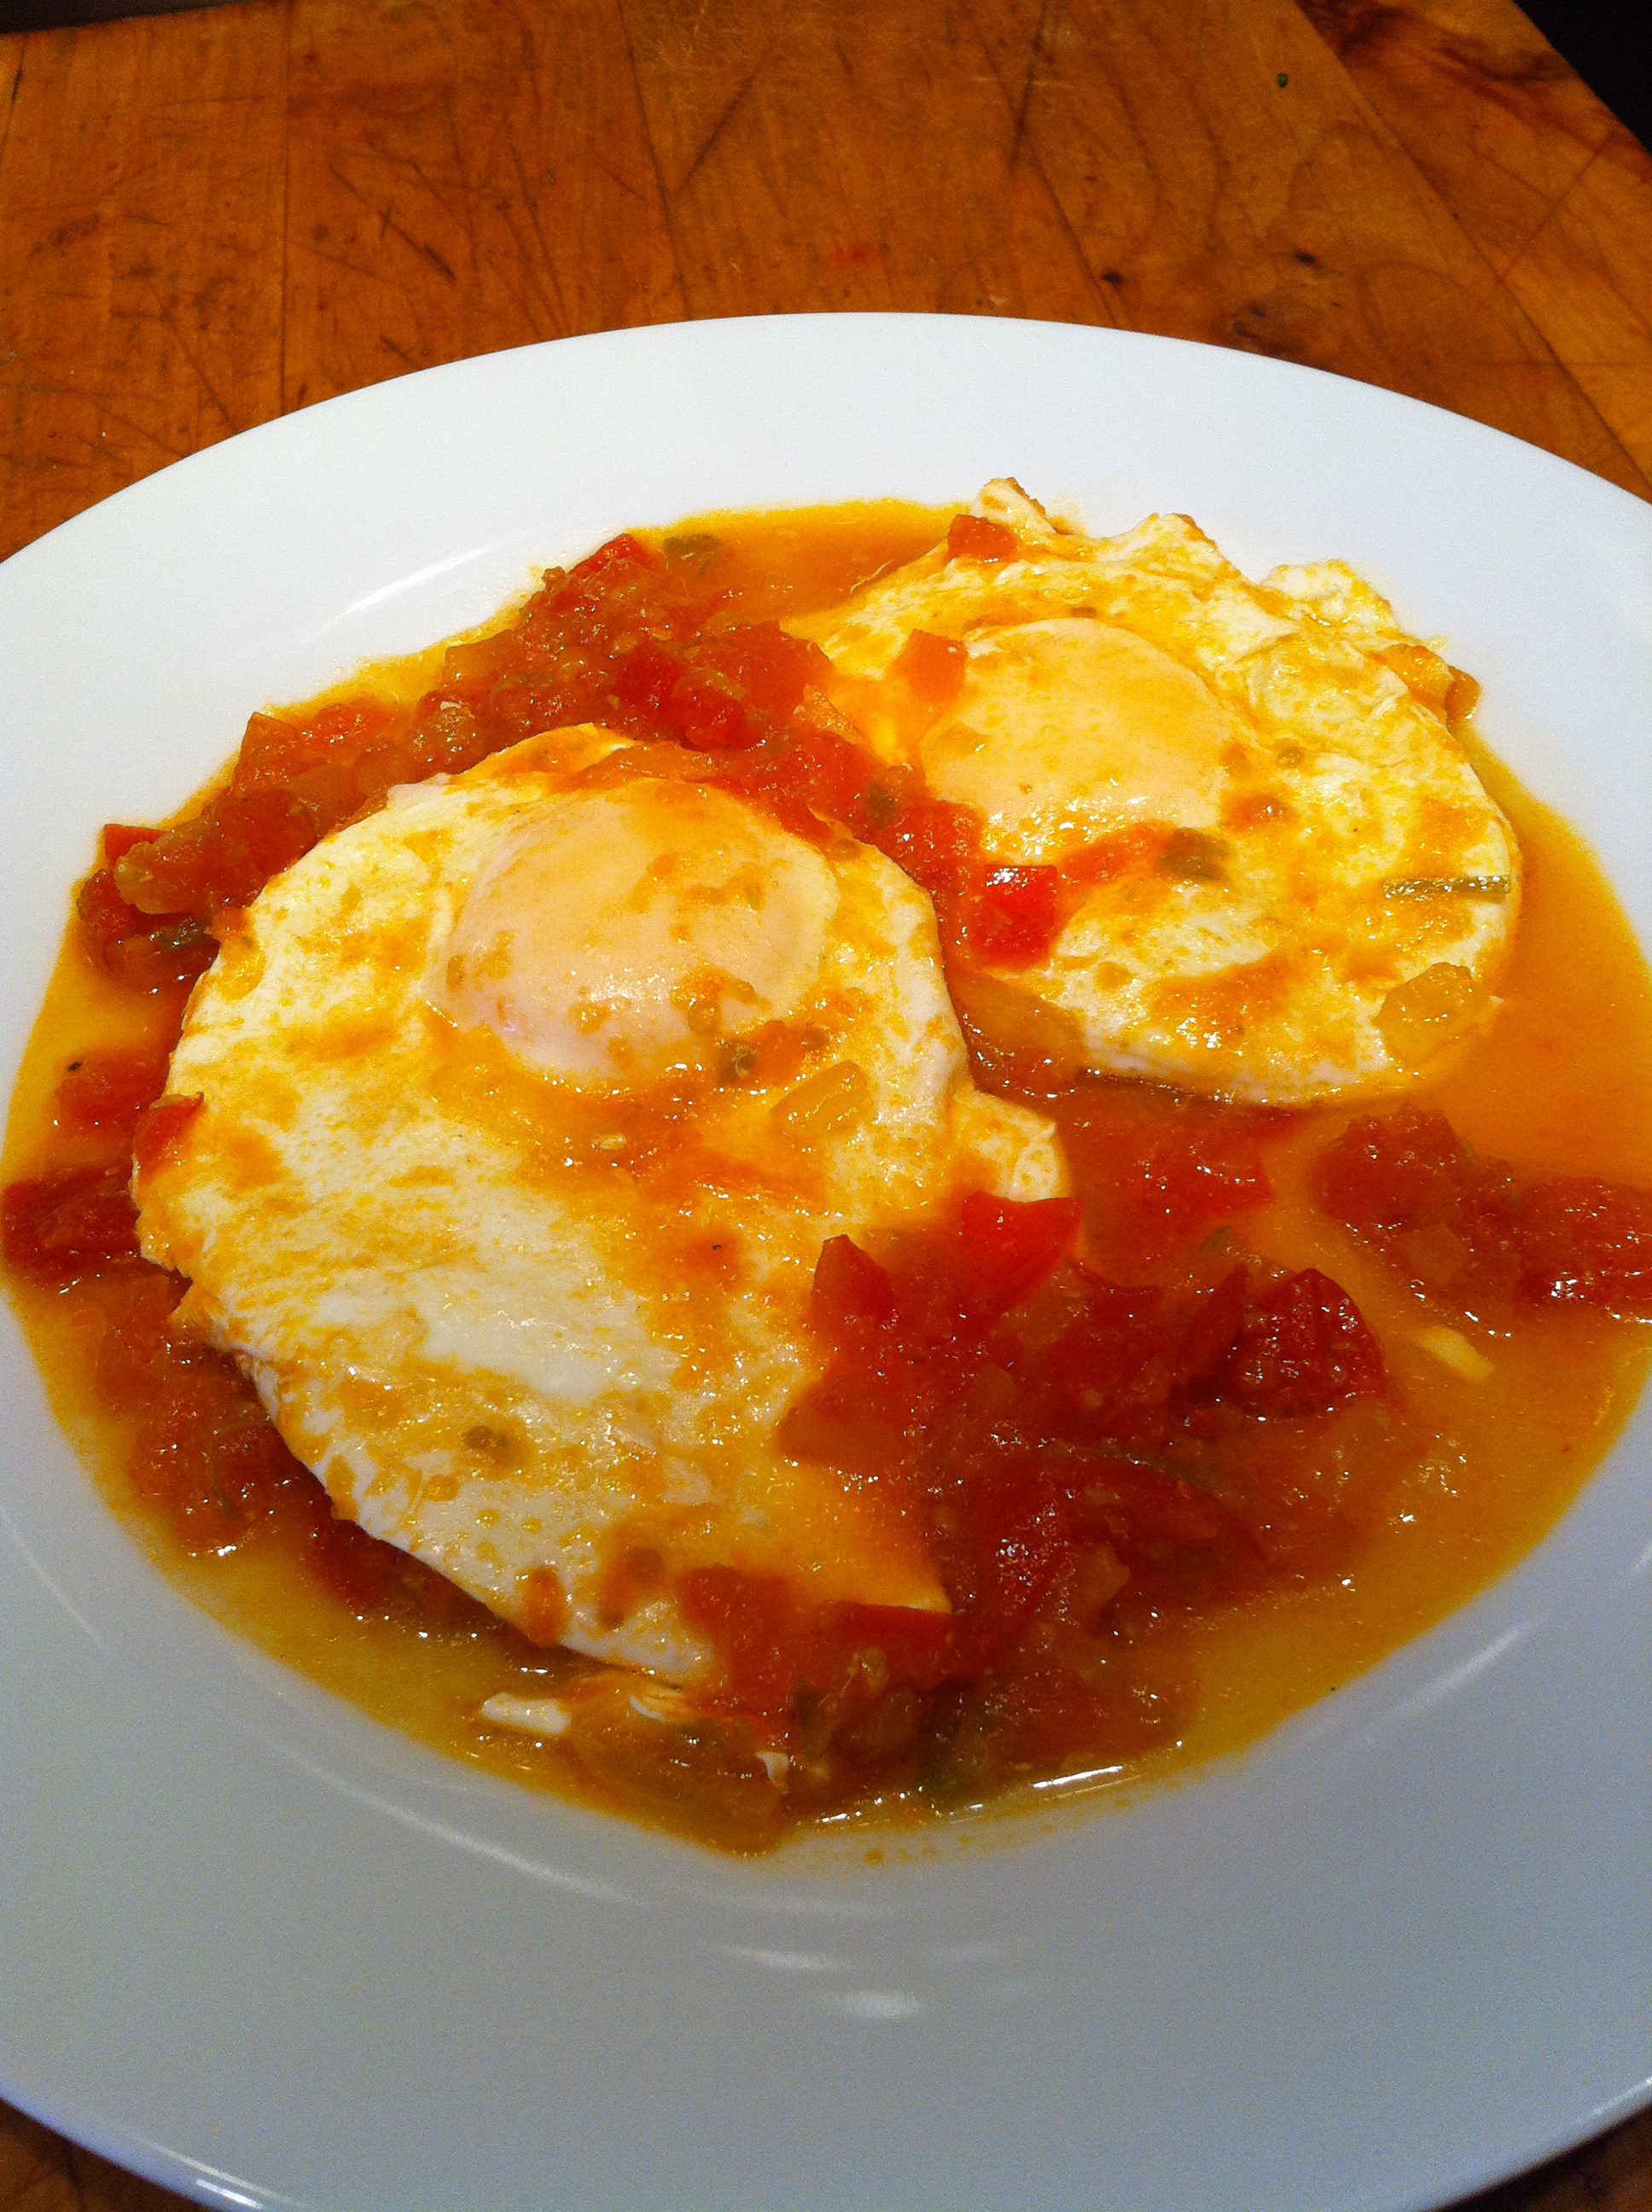 This gives eggs
a quick solid form and also a tender texture.
This gives eggs
a quick solid form and also a tender texture.
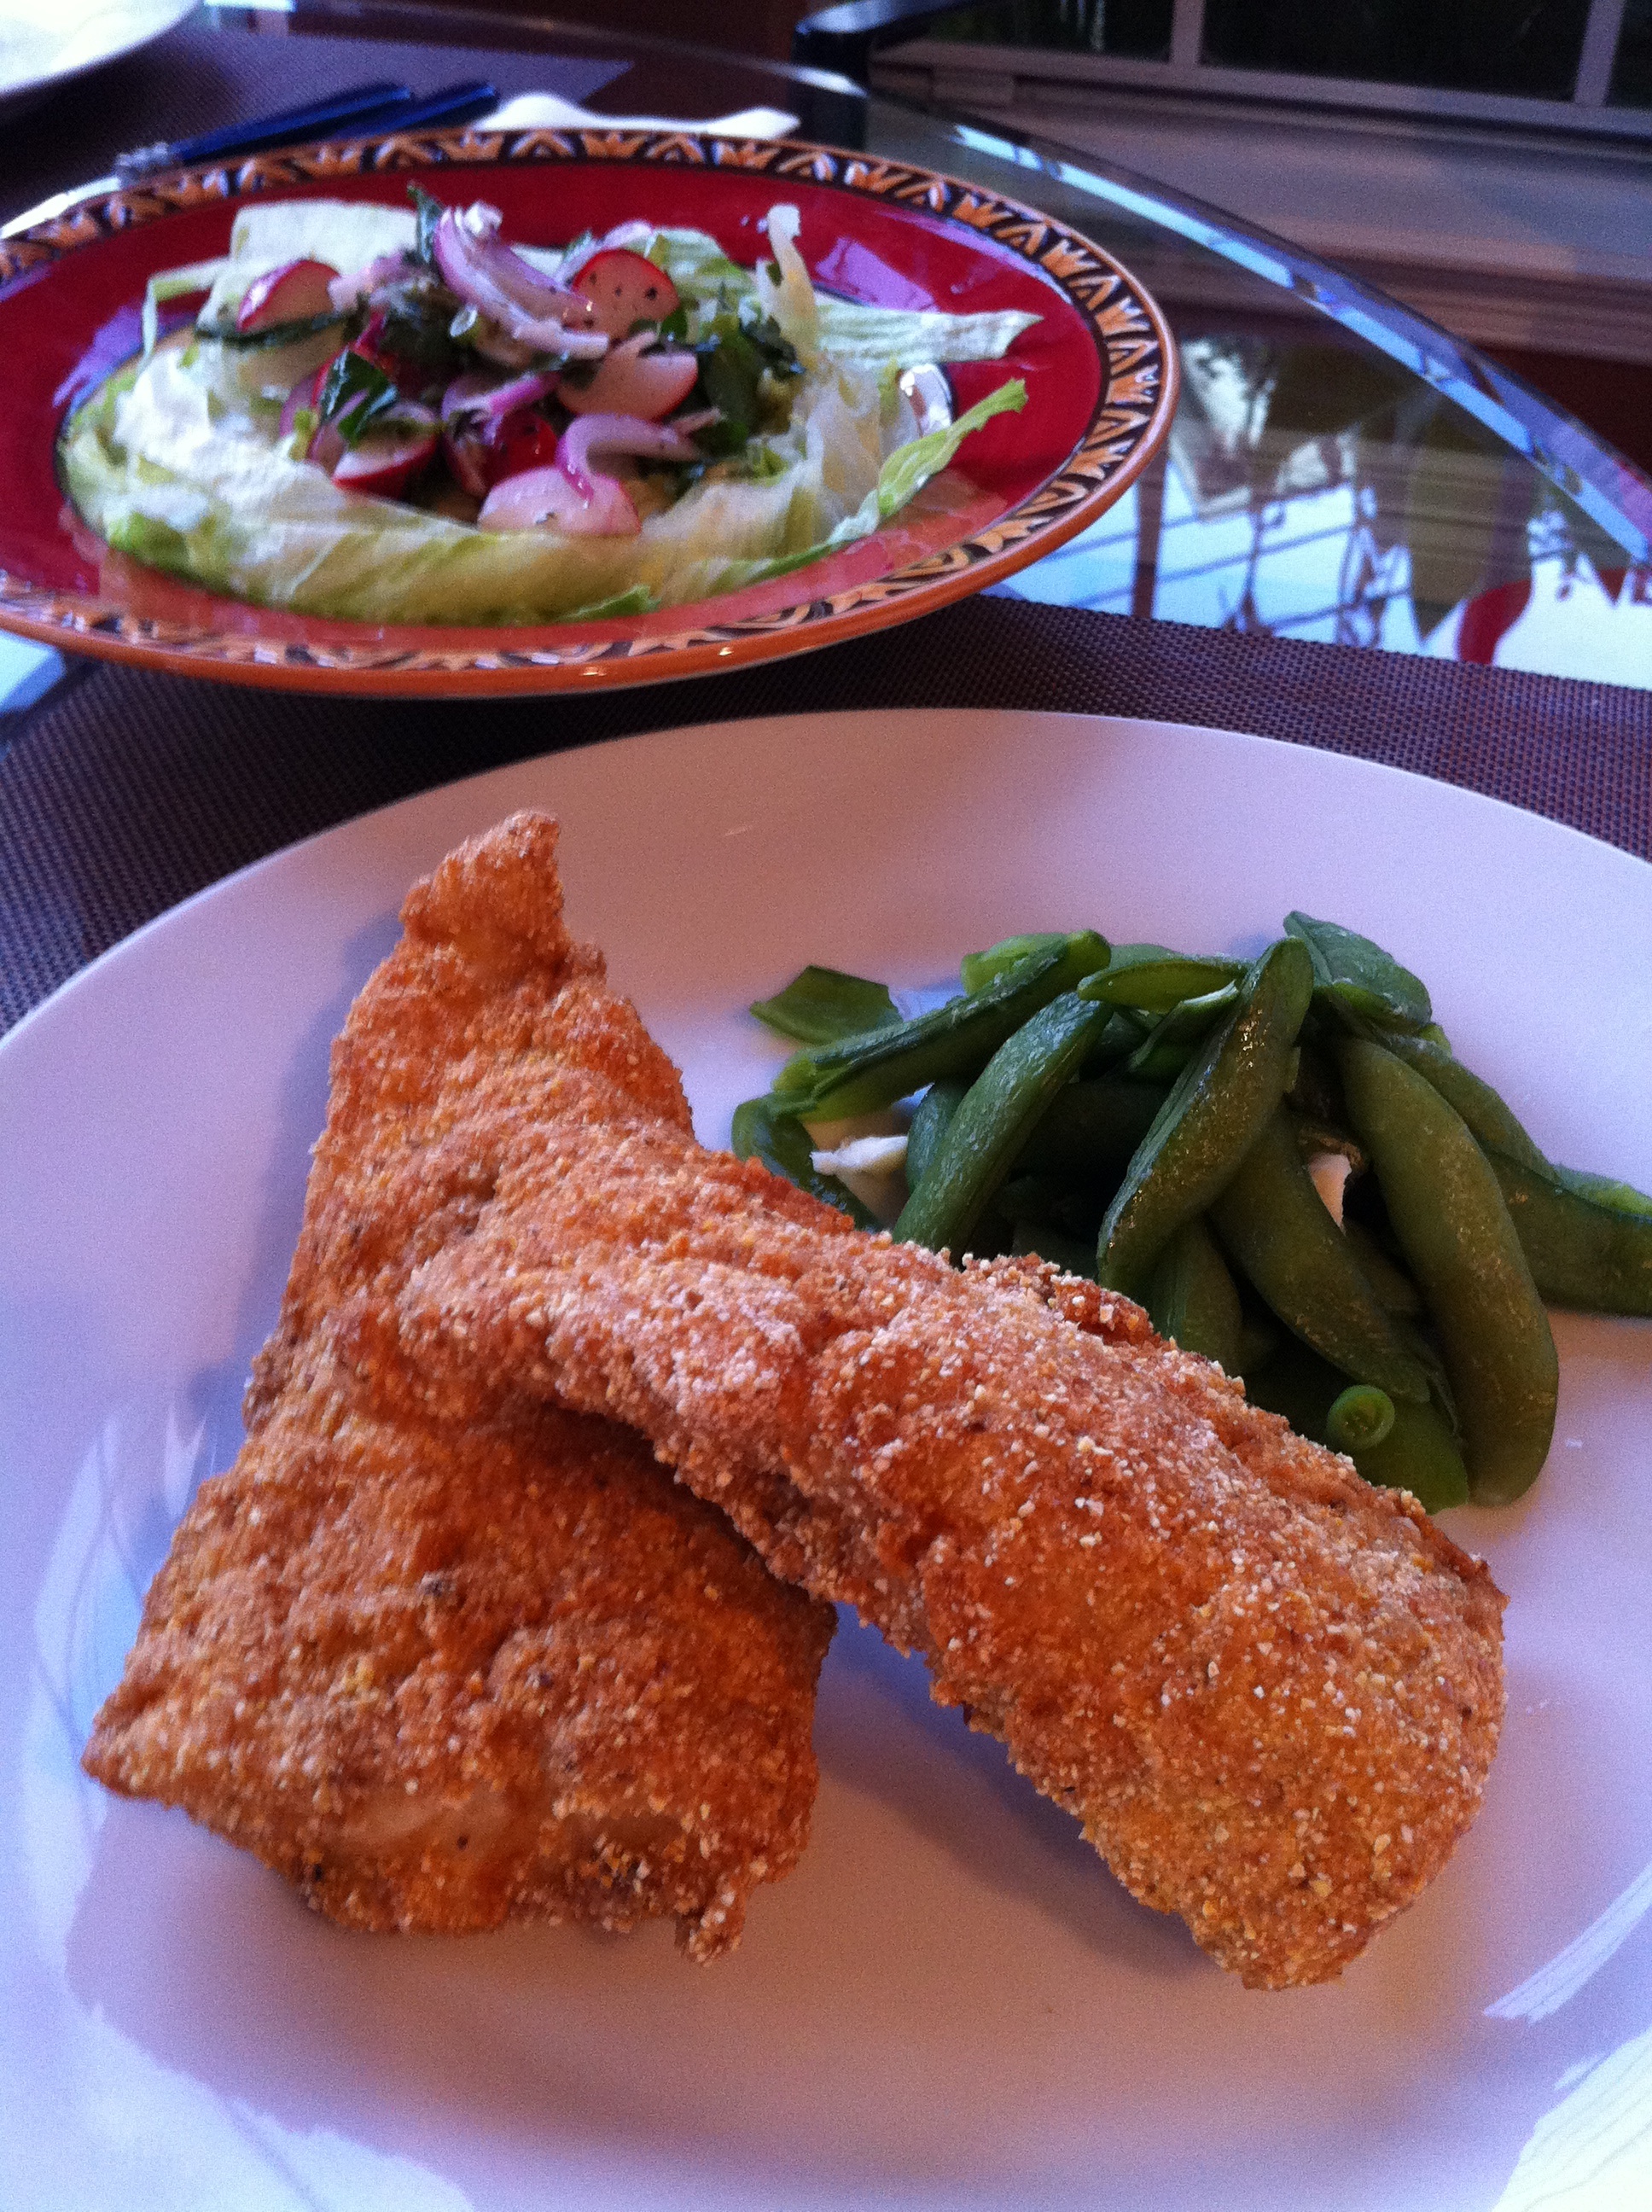 This fried fish method is straightforward and reflects the penchant for coupling the flavors of fish with corn, that elemental grain that was everywhere, even in our creation myths, all the way down to what is today Southern Mexico.
 Mayonnaise Sauce: makes one cup (I love this remoulade sauce. The French arrived in Texas in 1600's)
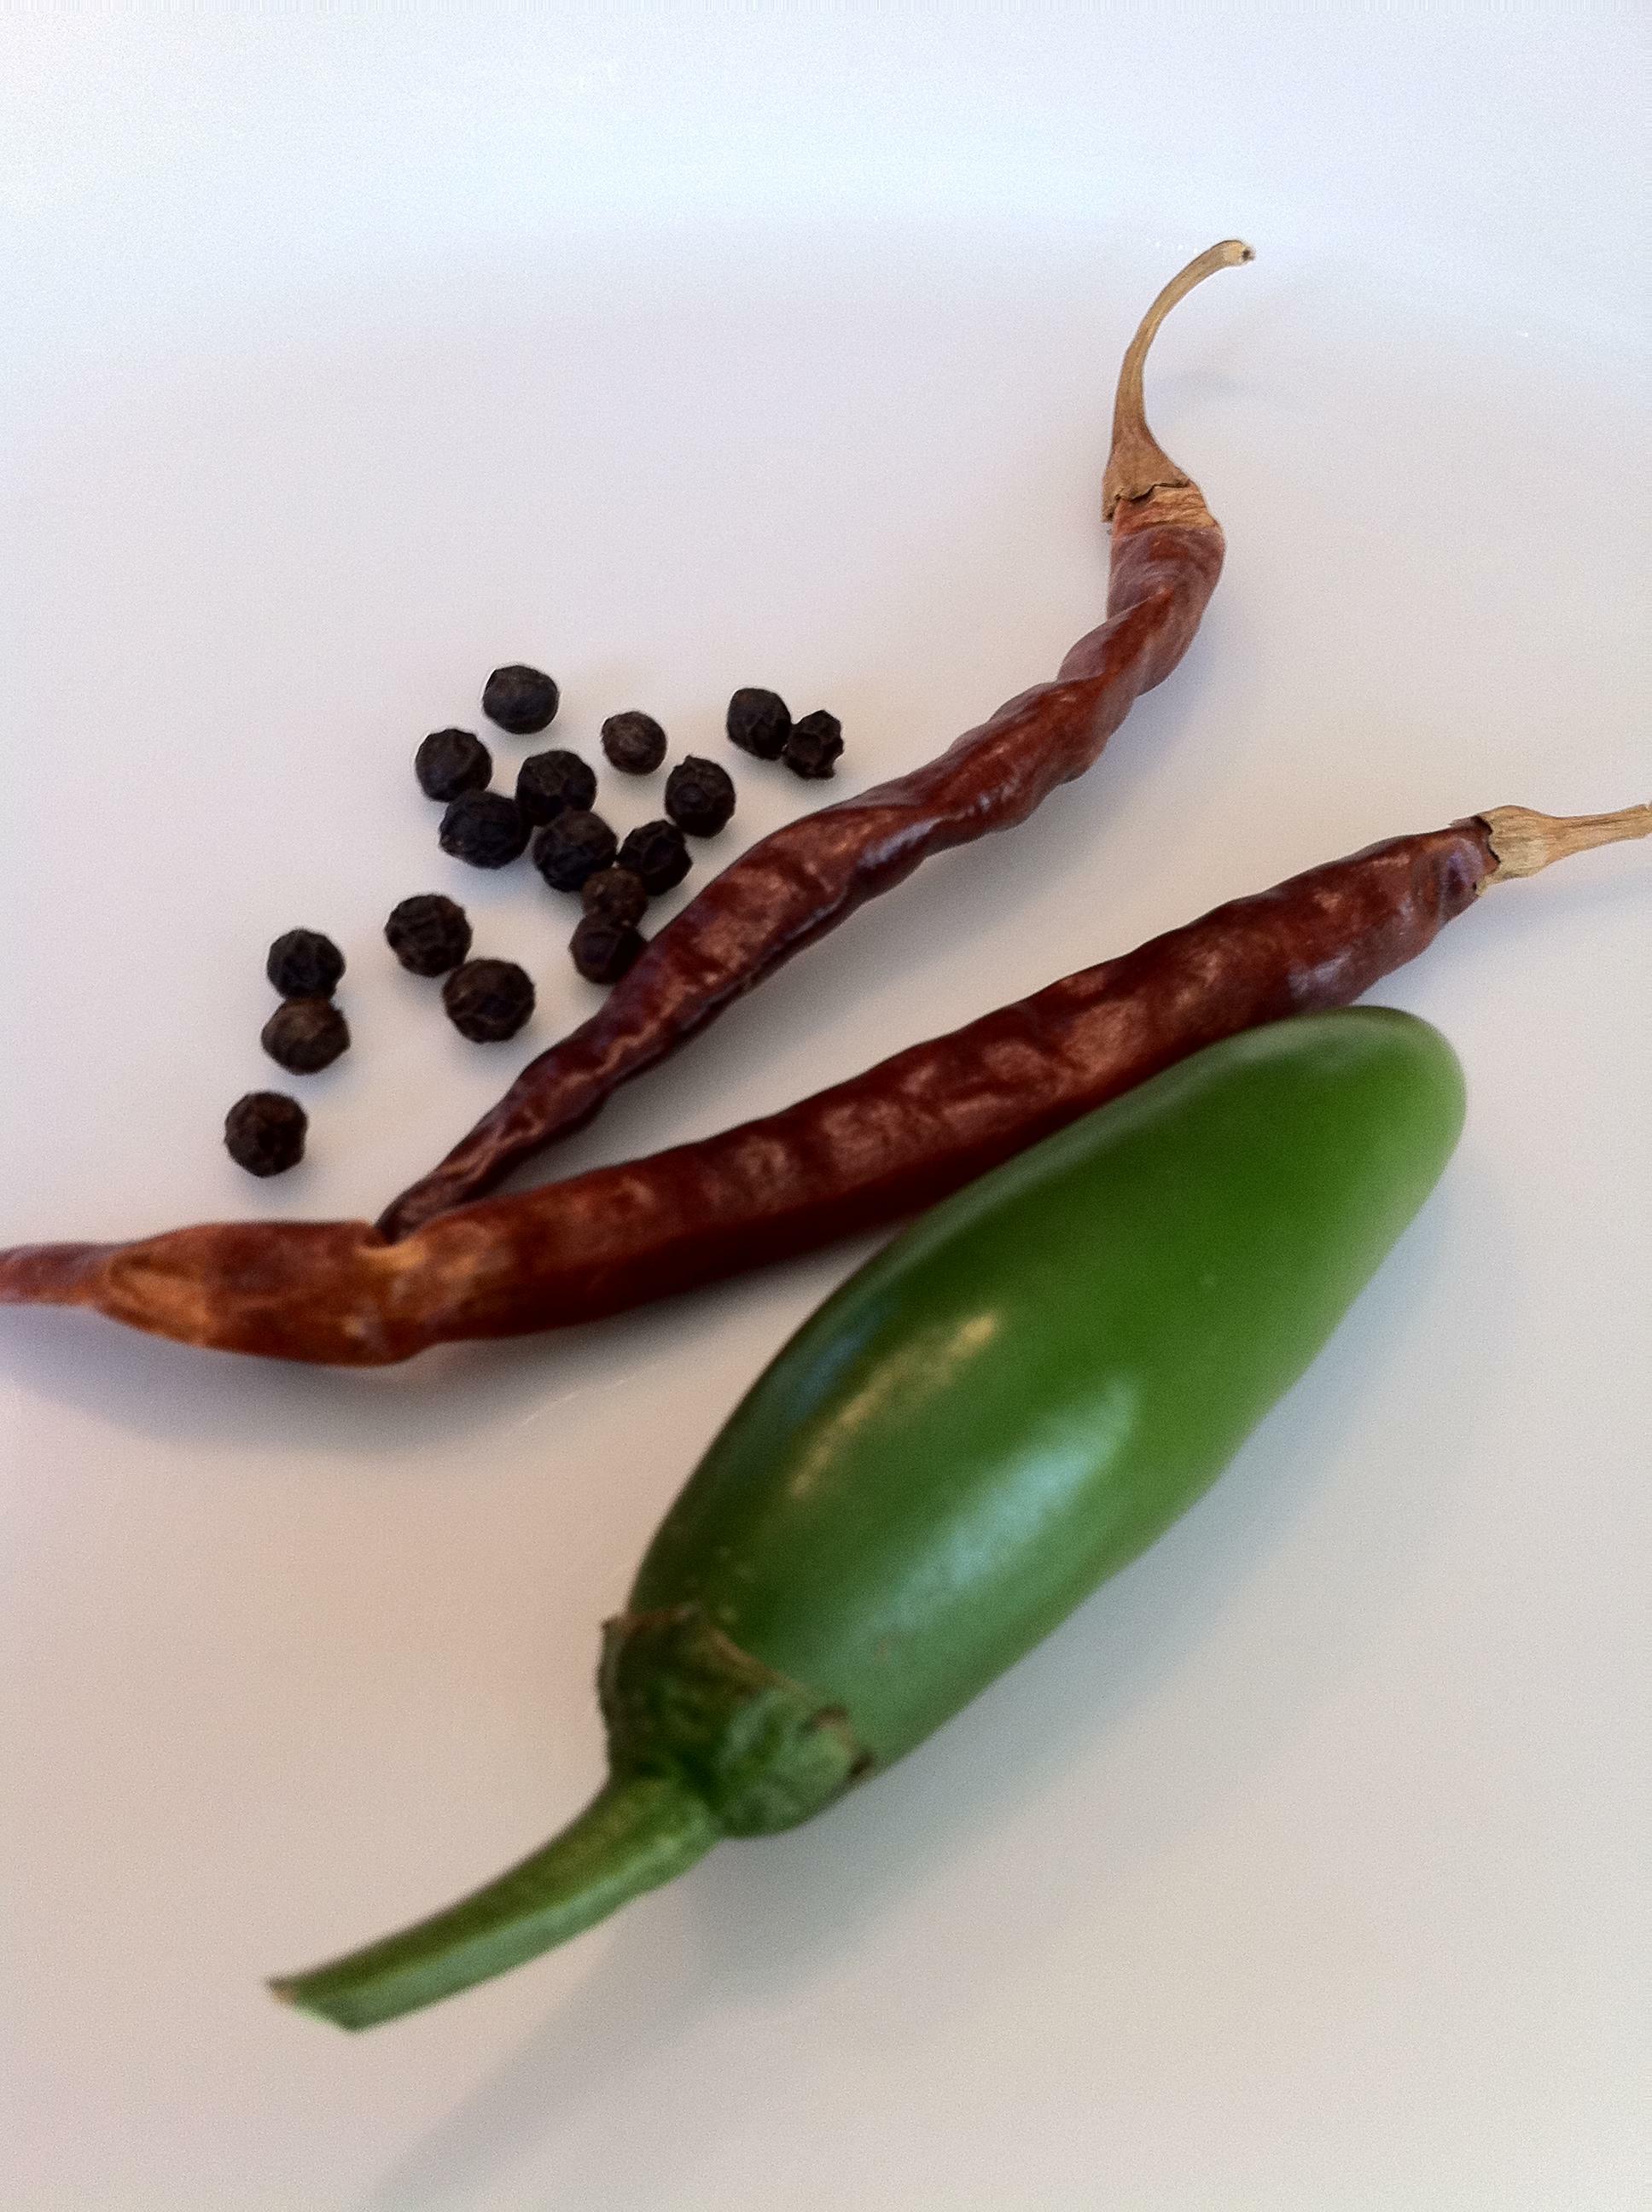 When our European ancestors, searching for India, landed instead in South America and found chiles, they used the default name with which they were familiar, "pepper." They also called the South American natives "Indians," but that's another story.
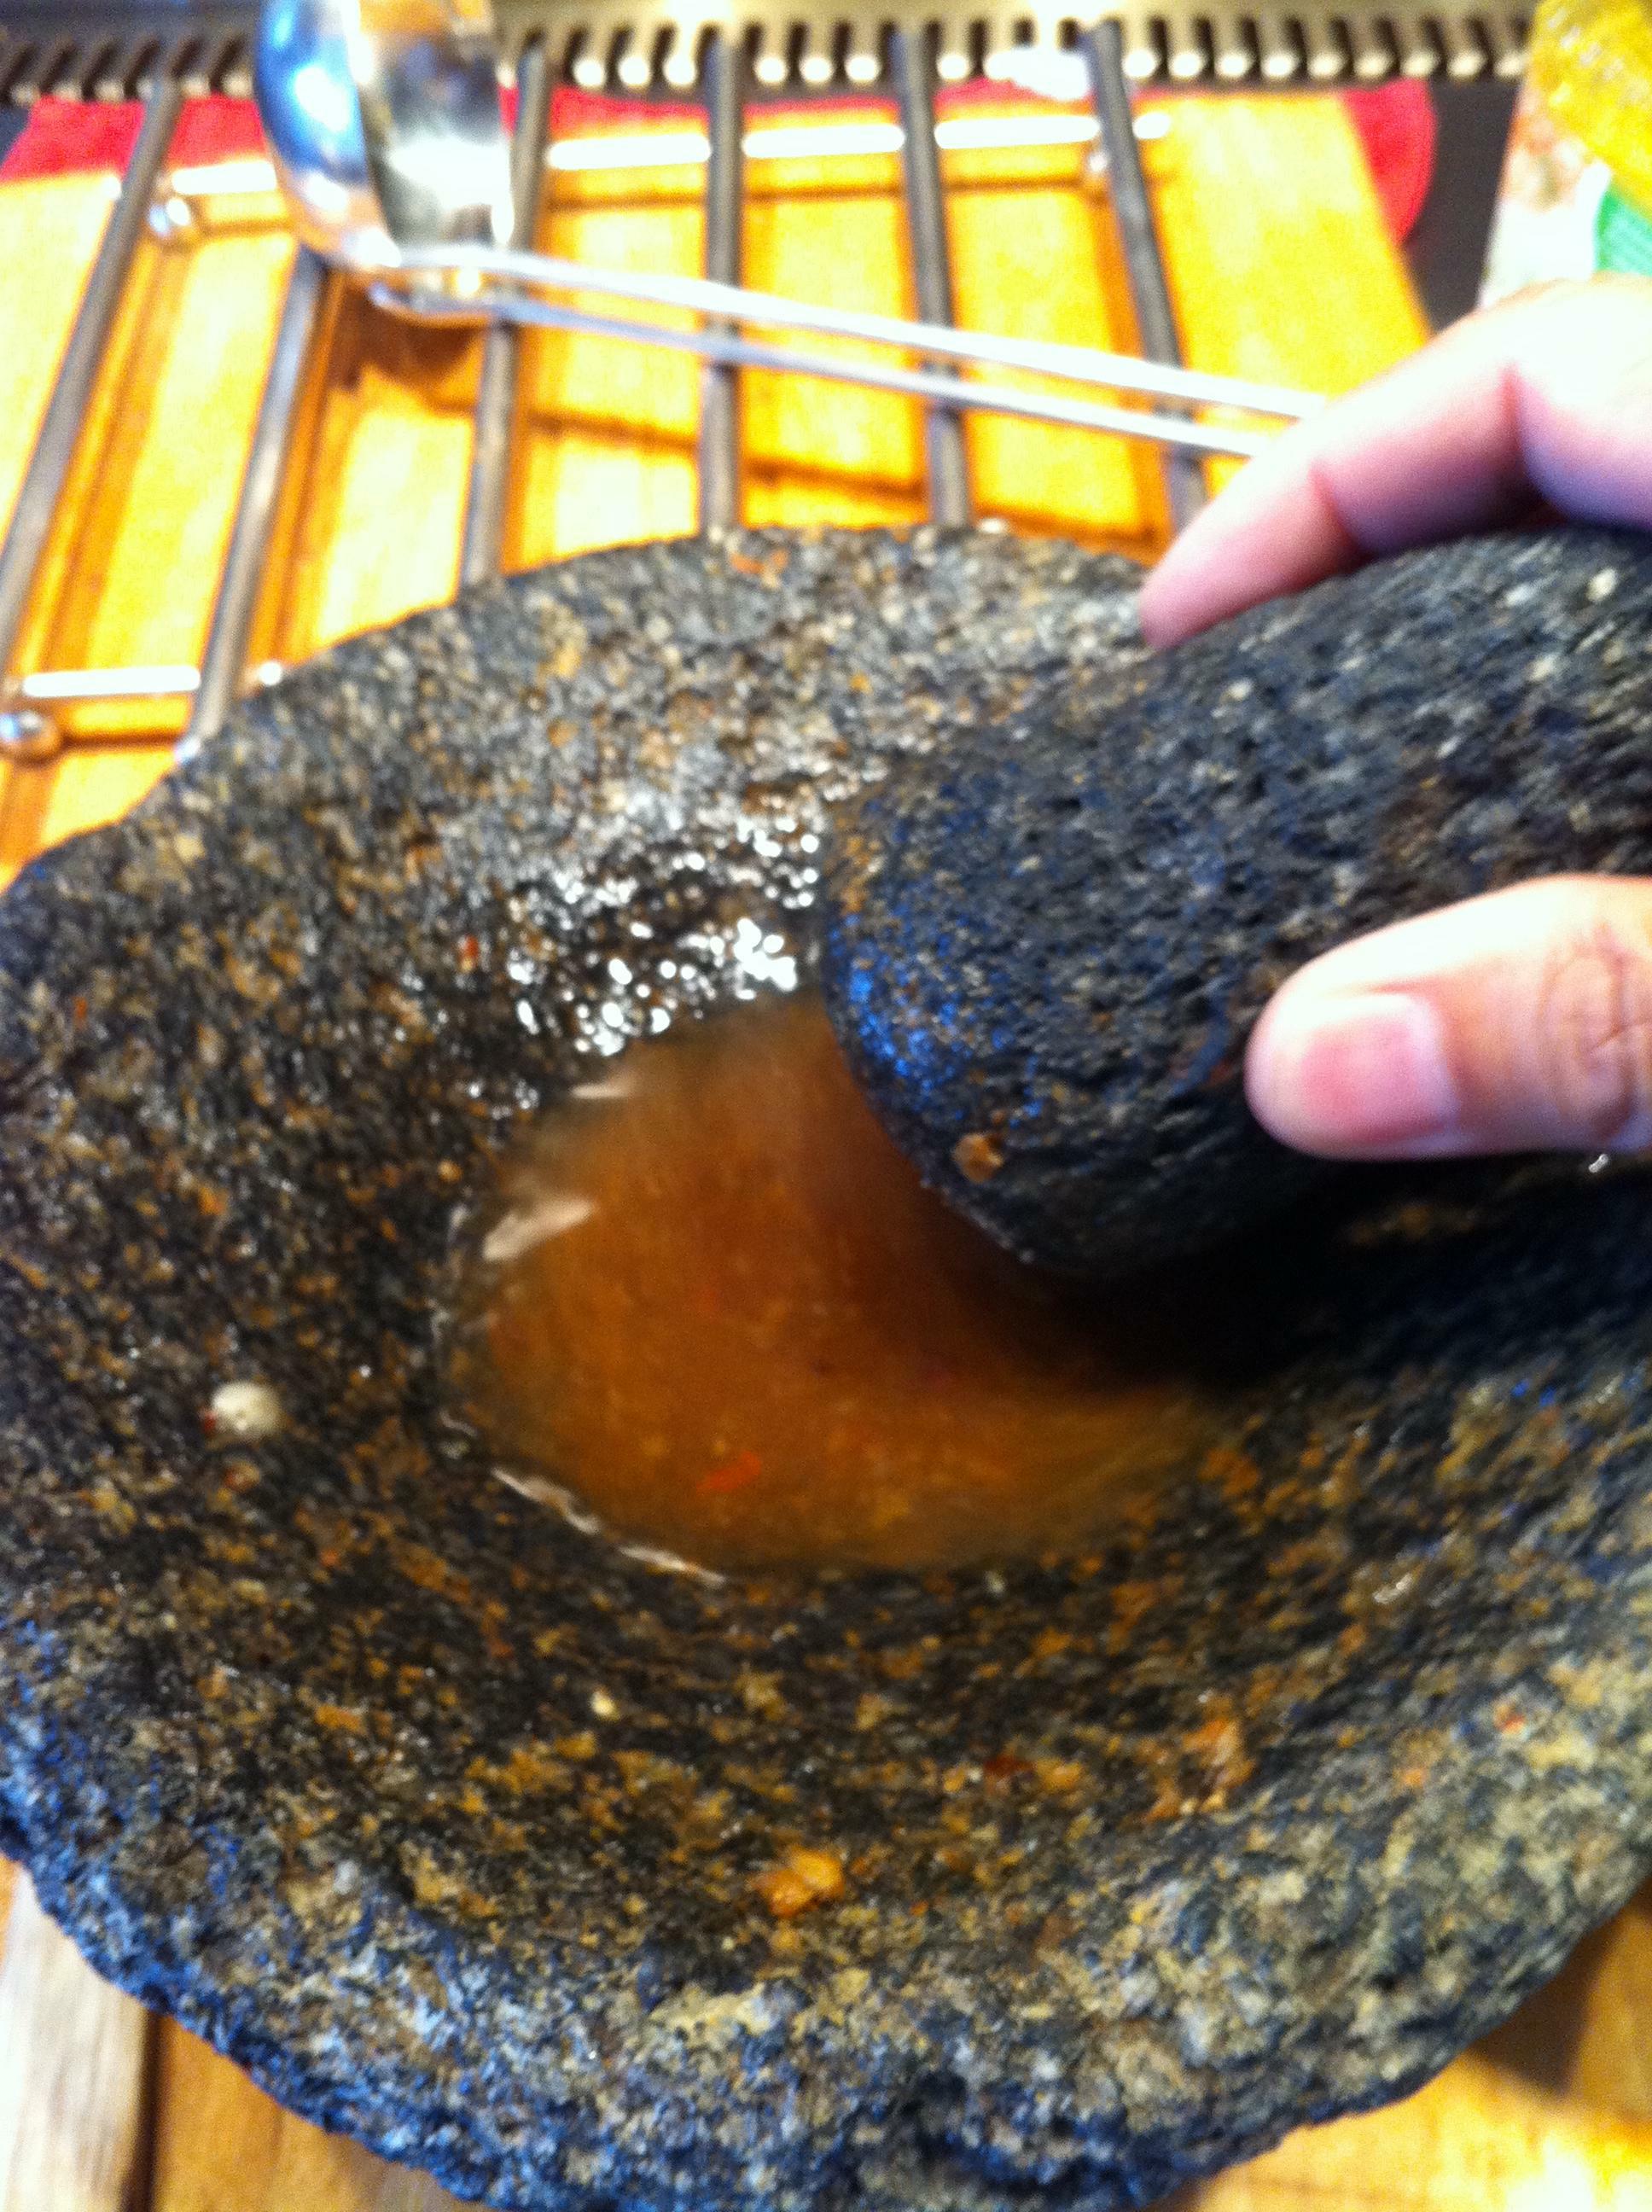 In my opinion, achieving the correct flavor profile of Carne Guisada depends entirely on what you grind in your Molcajete. The following recipe is my family's variation and of course I love it, but you can refine it according to your taste. Just remember that the focus should be on your Molcajete: the mixture of ingredients to include cumin, garlic and BOTH pepper and chiles.
  Let me know how this recipe turns out for you. ¡Buen Provecho!
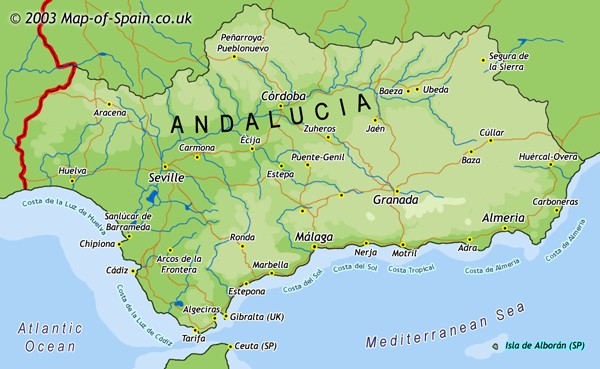 Within these boundaries Gazpacho has as many variations as there are Spaniards with opinions.
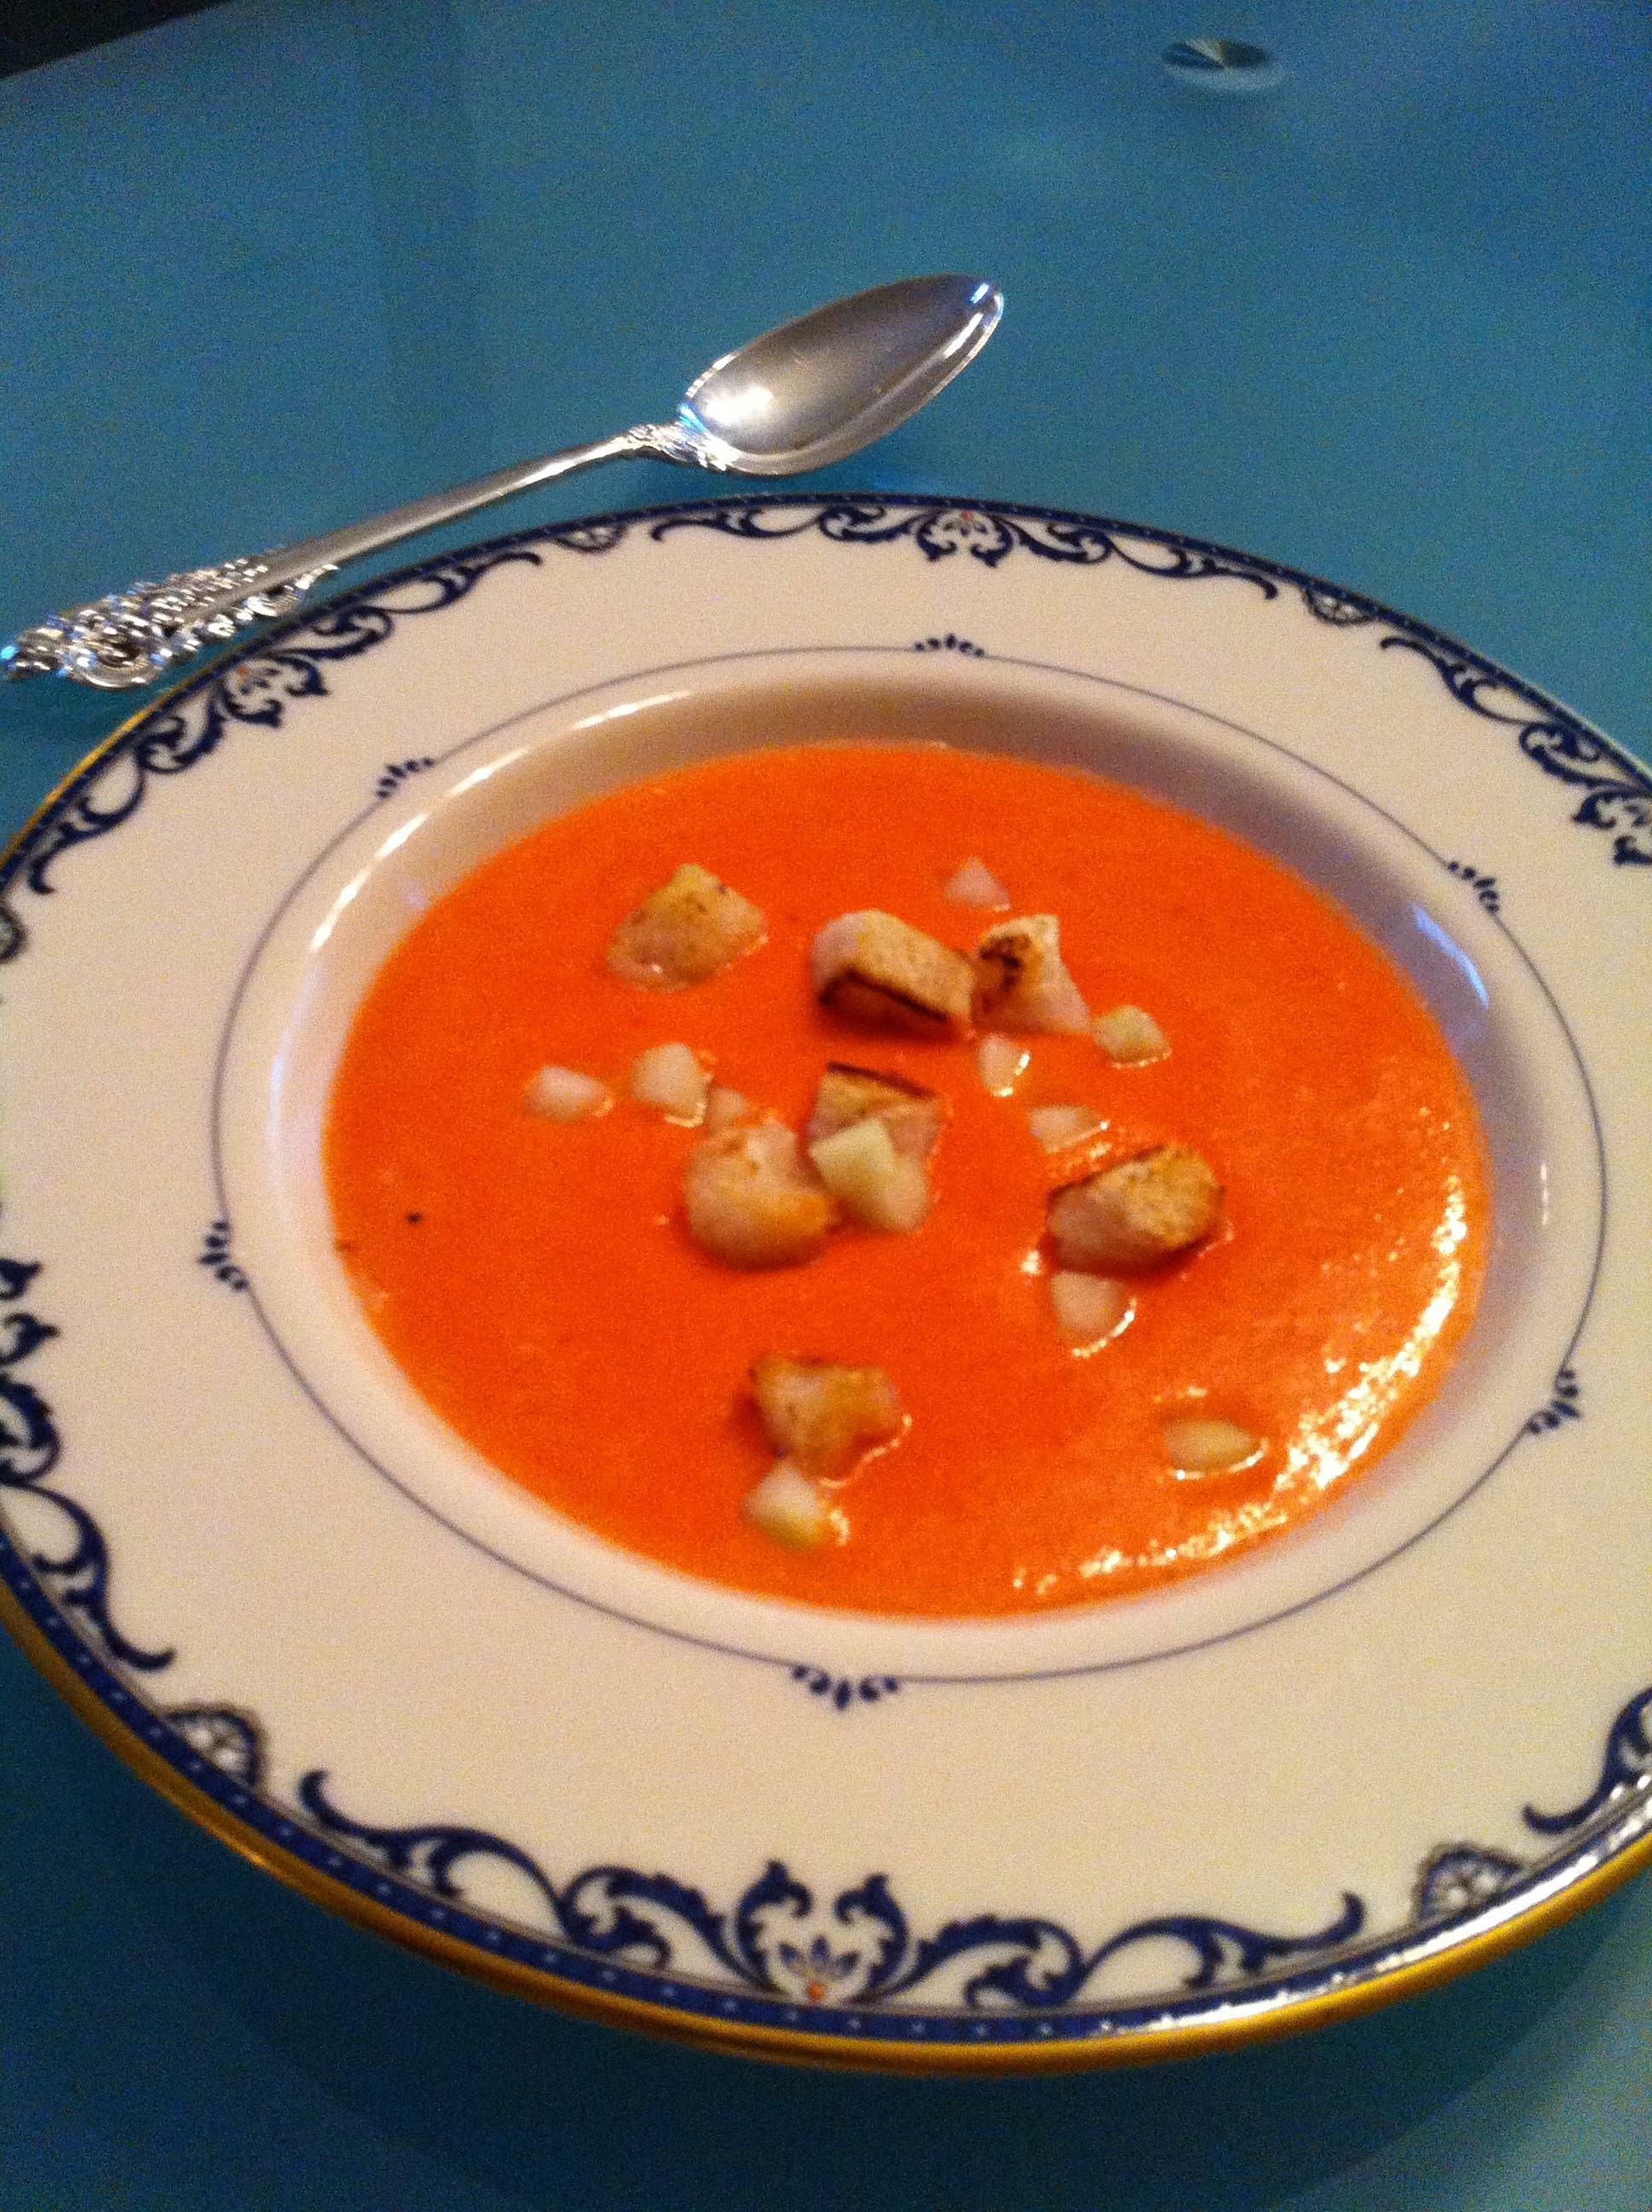

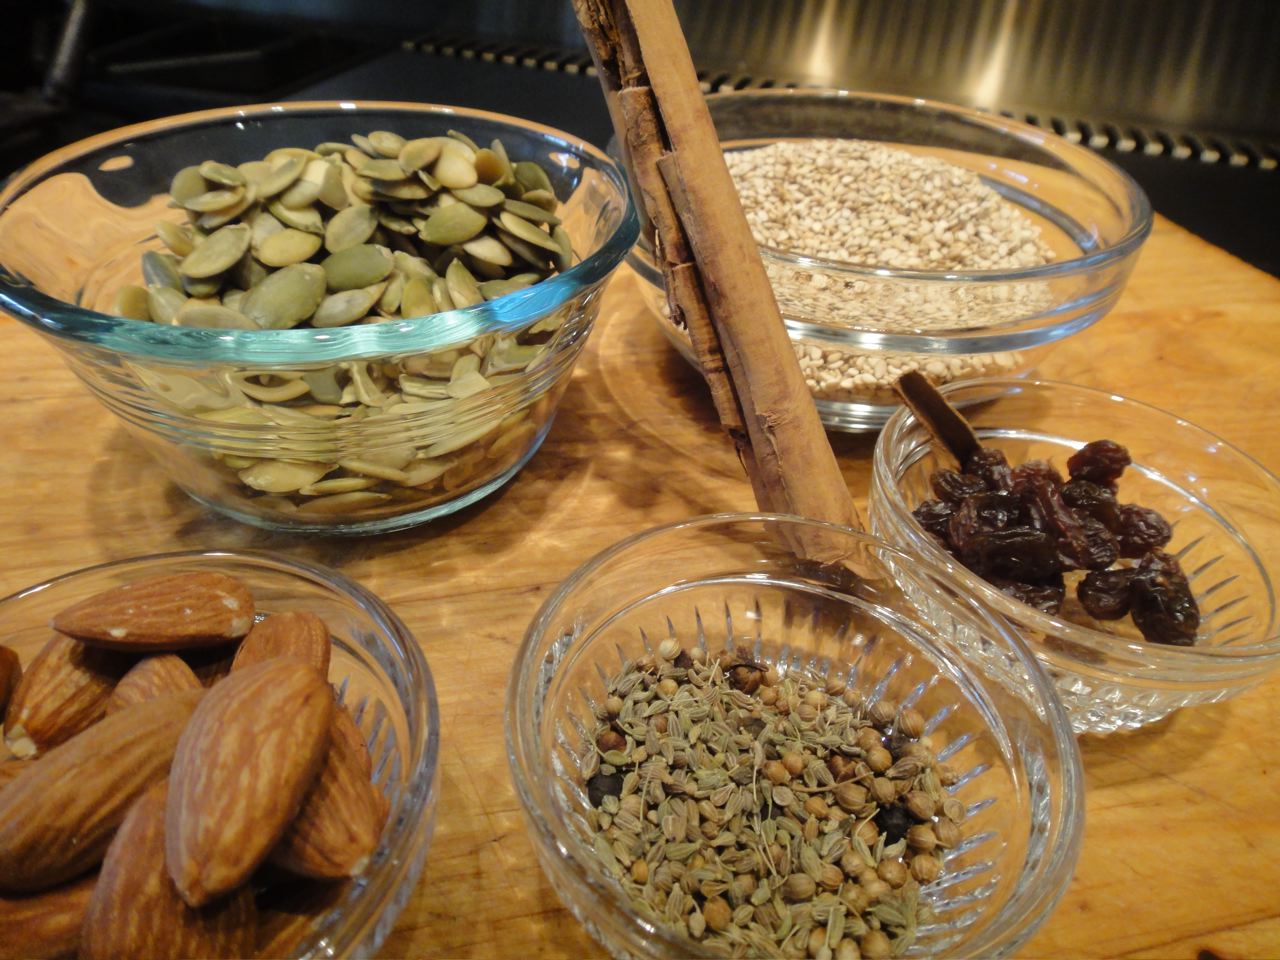
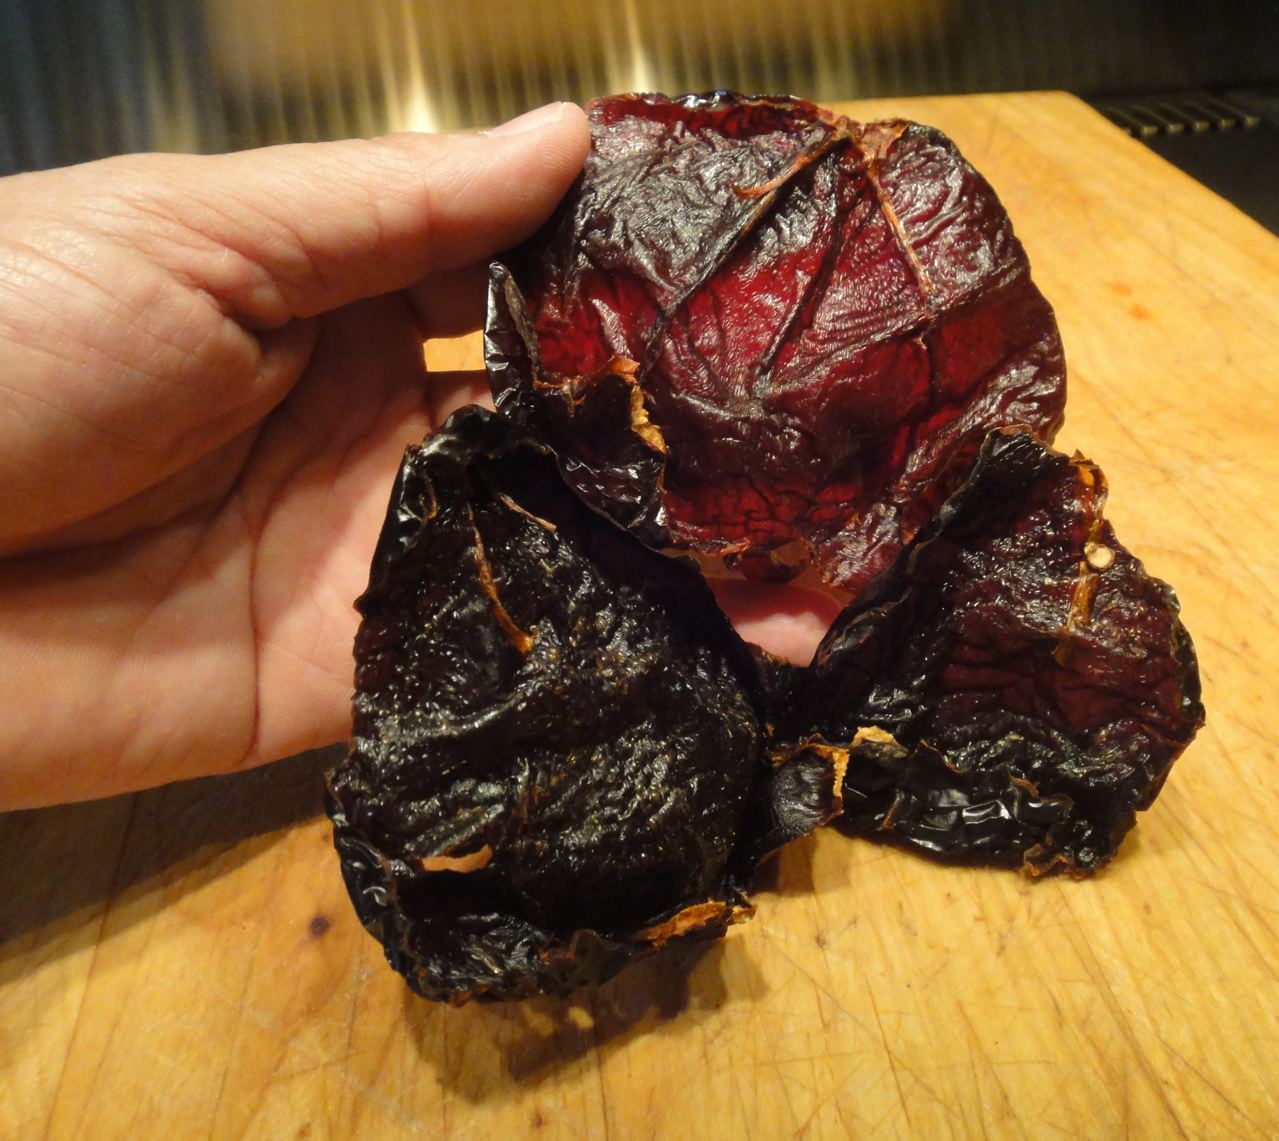
 I think mole is becoming more available in Texas and Northern Mexico because of digital media and travel. Travel routes connecting today's Texas, Northern Mexico and Southern Mexico date back to the Texas Indians prior to the 1400's. The Mexico-US "Camino Real" of the Spaniards, was built upon one of these routes. These ancient routes enabled our native ancestors to learn about each other's cuisines (types of chiles, corn, cooking utensils, pottery, types of beans). With today's digital media I can blog. I think this accelerated sharing will increase the presence of Mole Poblano on our tables here in Texas and Northern Mexico.
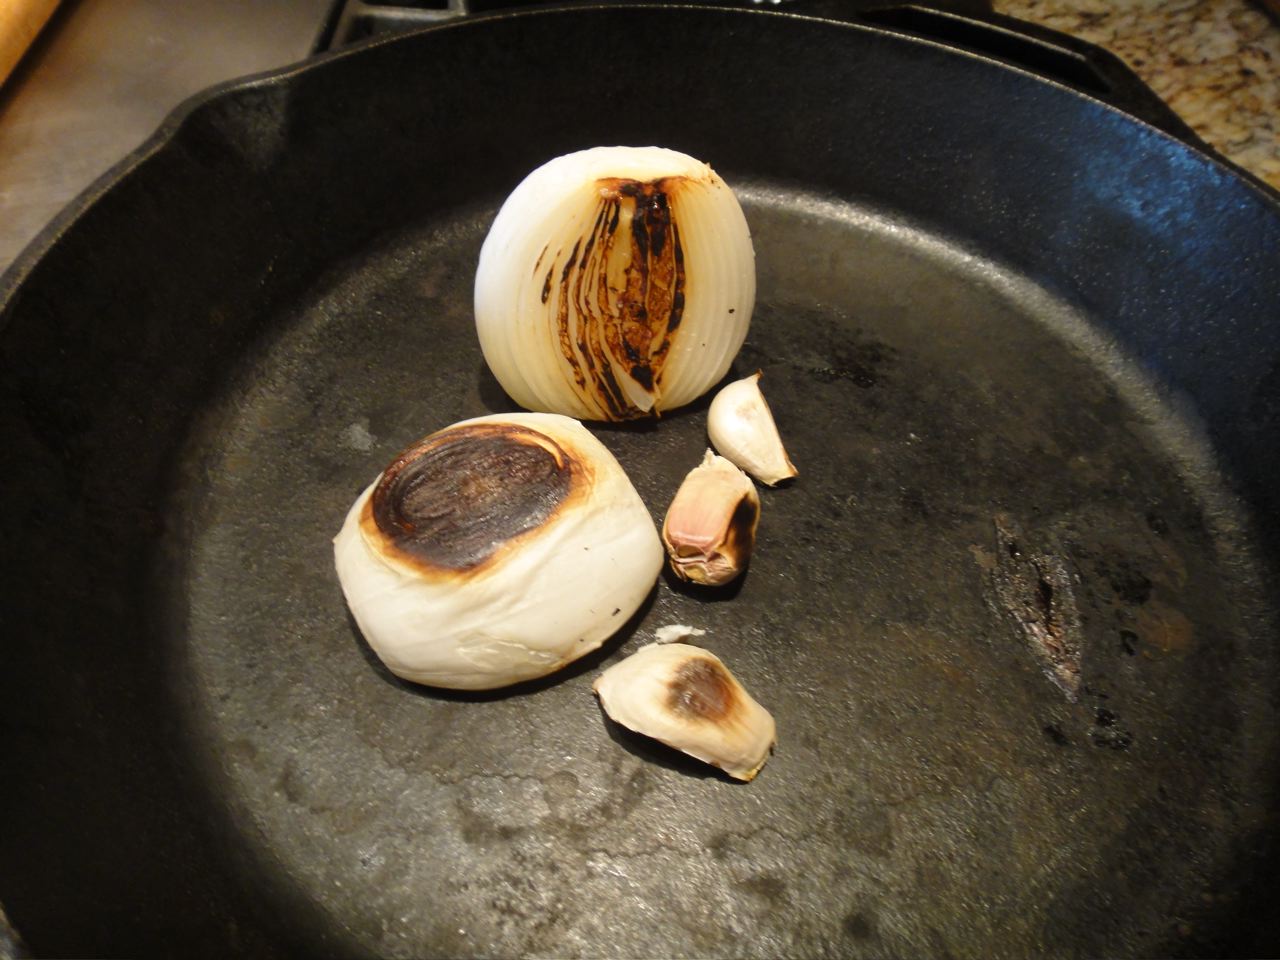
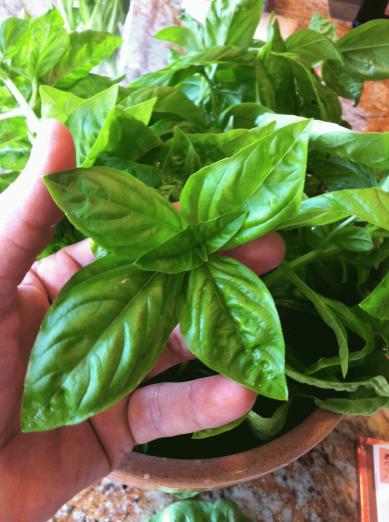 I find that in Houston the basil plant has to be in the shade during the blazing heat so either plant it next to a building, a tall bush or place a patio umbrella next to it.
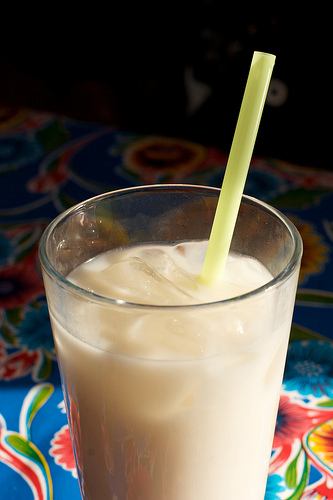

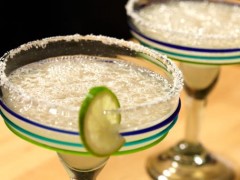 My friend, Chef Iliana de la Vega, shows how to make THE margarita. Perfect for Cinco de Mayo guests but also year-round. Cinco de Mayo is not the celebration of Mexican Independence. It remembers the battle of Puebla, a city just about 100 miles south of Mexico City, where Mexicans successfully fought against the attack of a much larger army of French invadors.
 Our region is called the Coahuiltecan Region (Just N & S of the Rio Grande River) and I'm proud to say that our indigenous recipe is as delicious as ever!
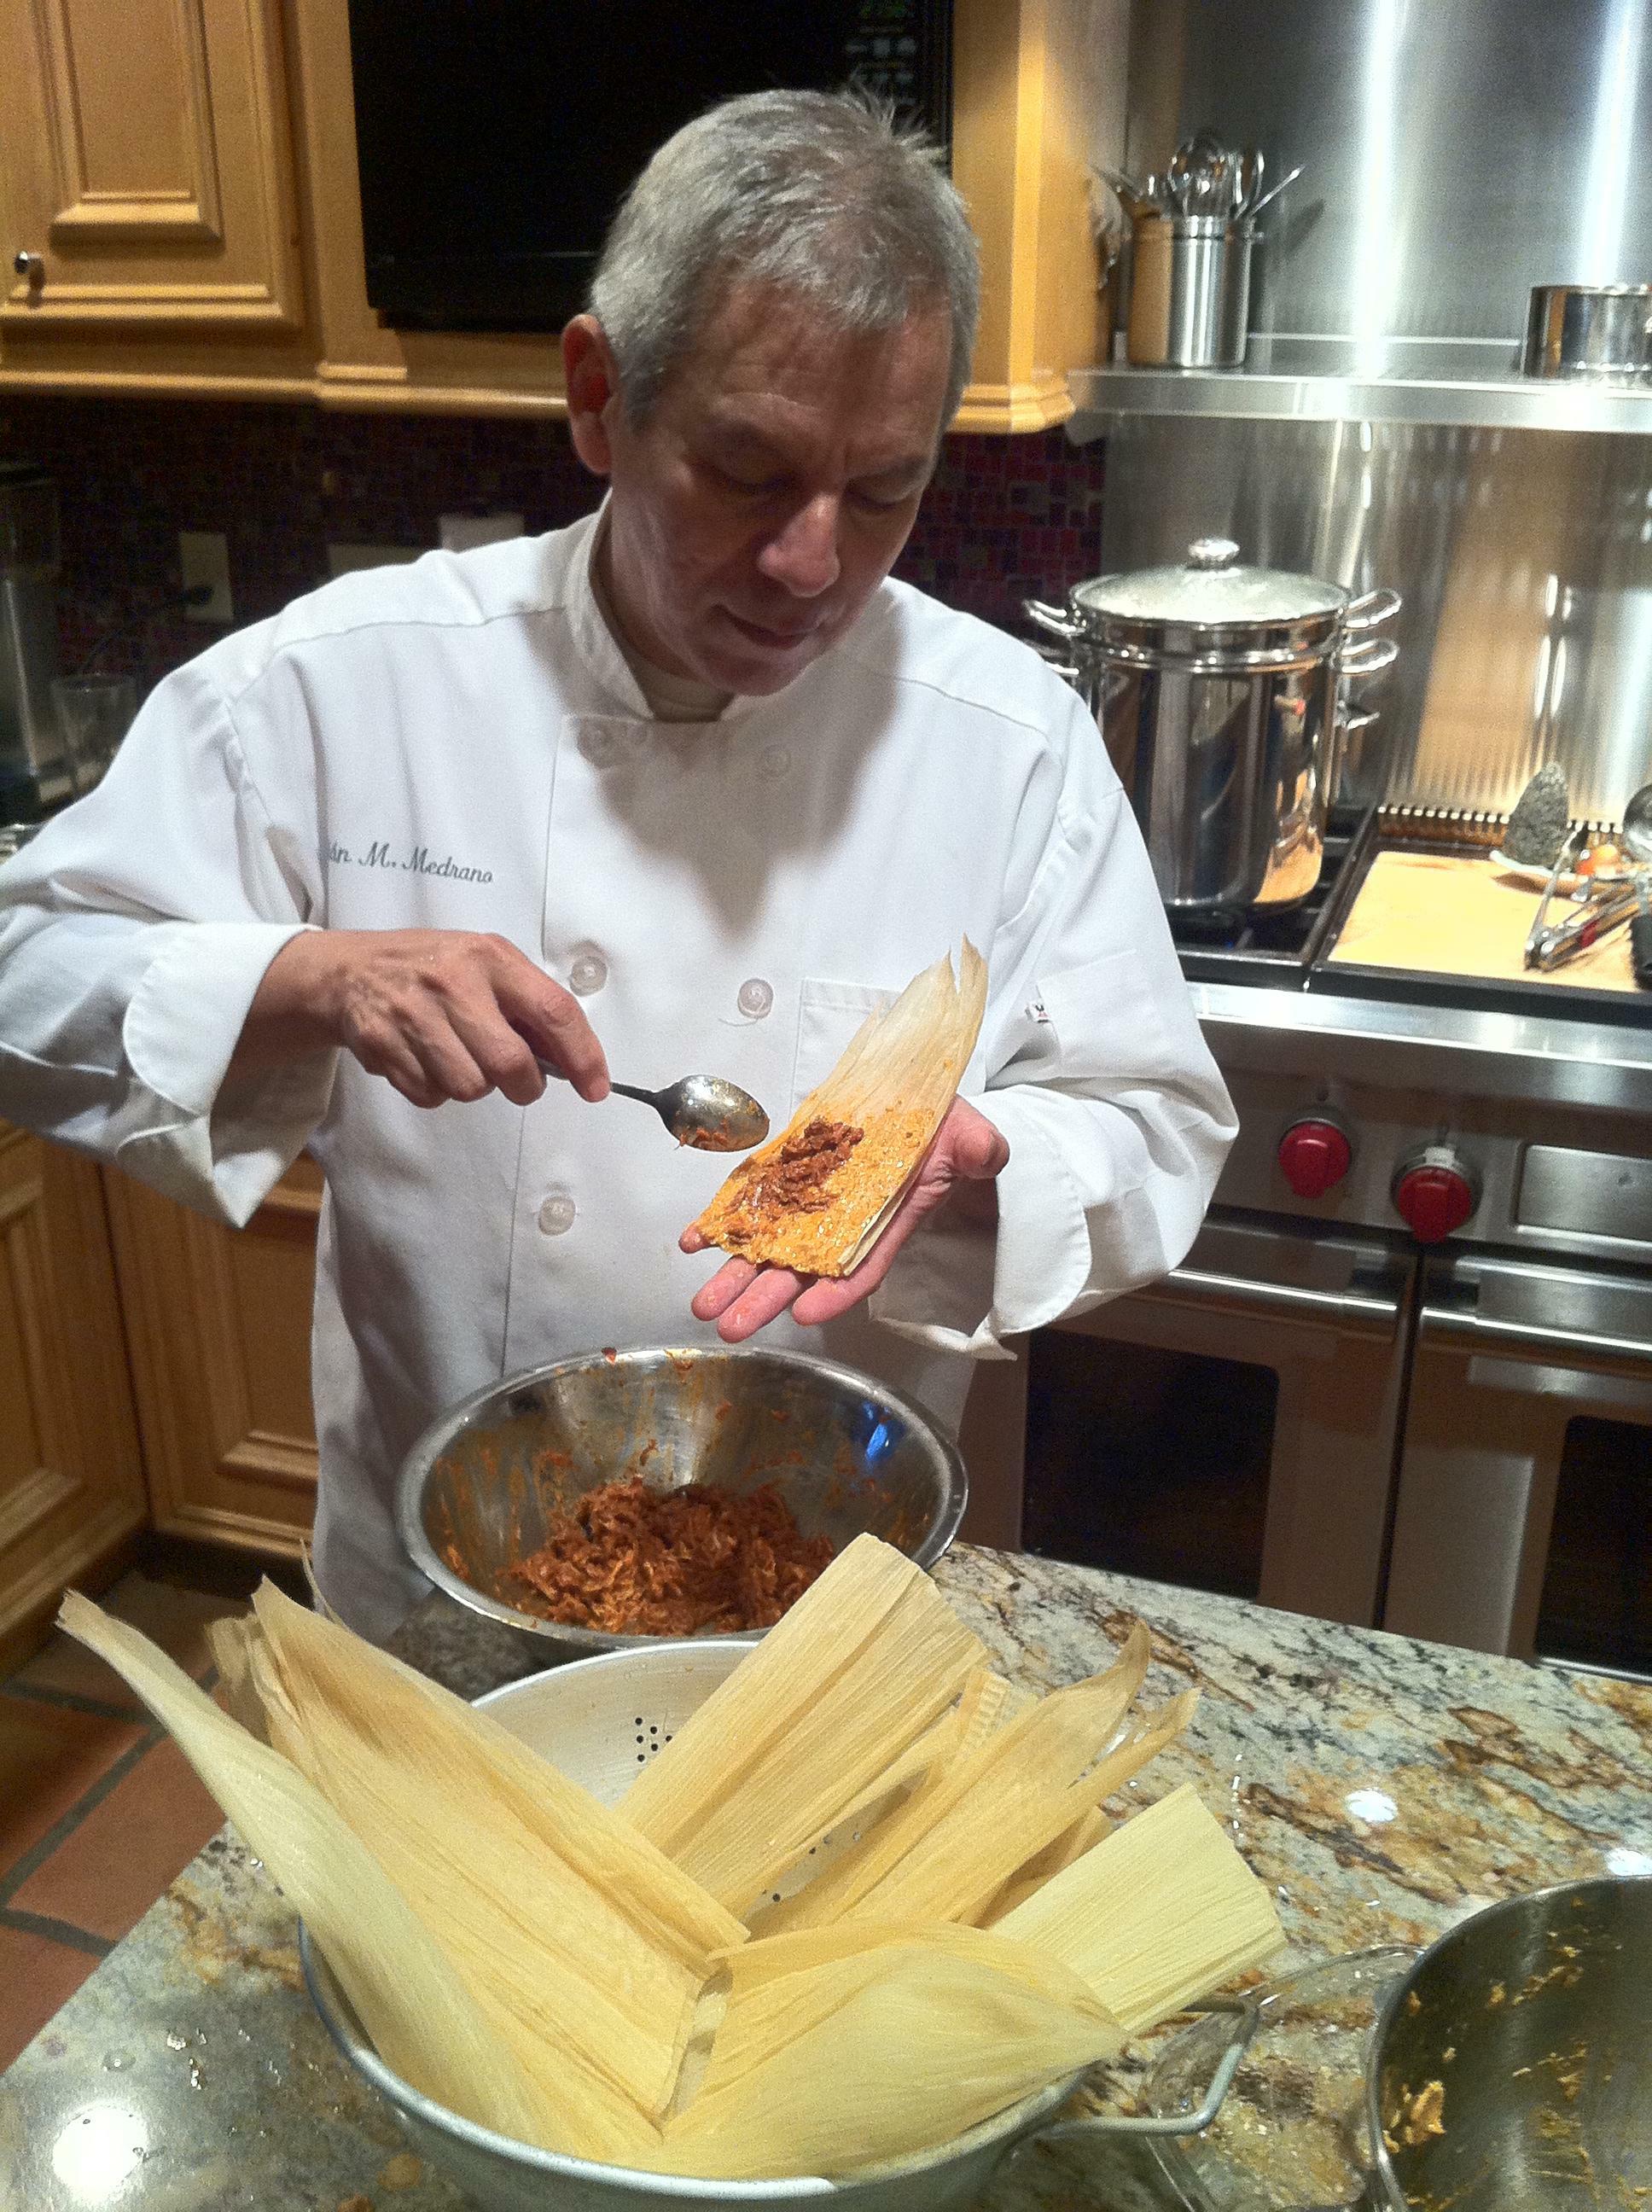
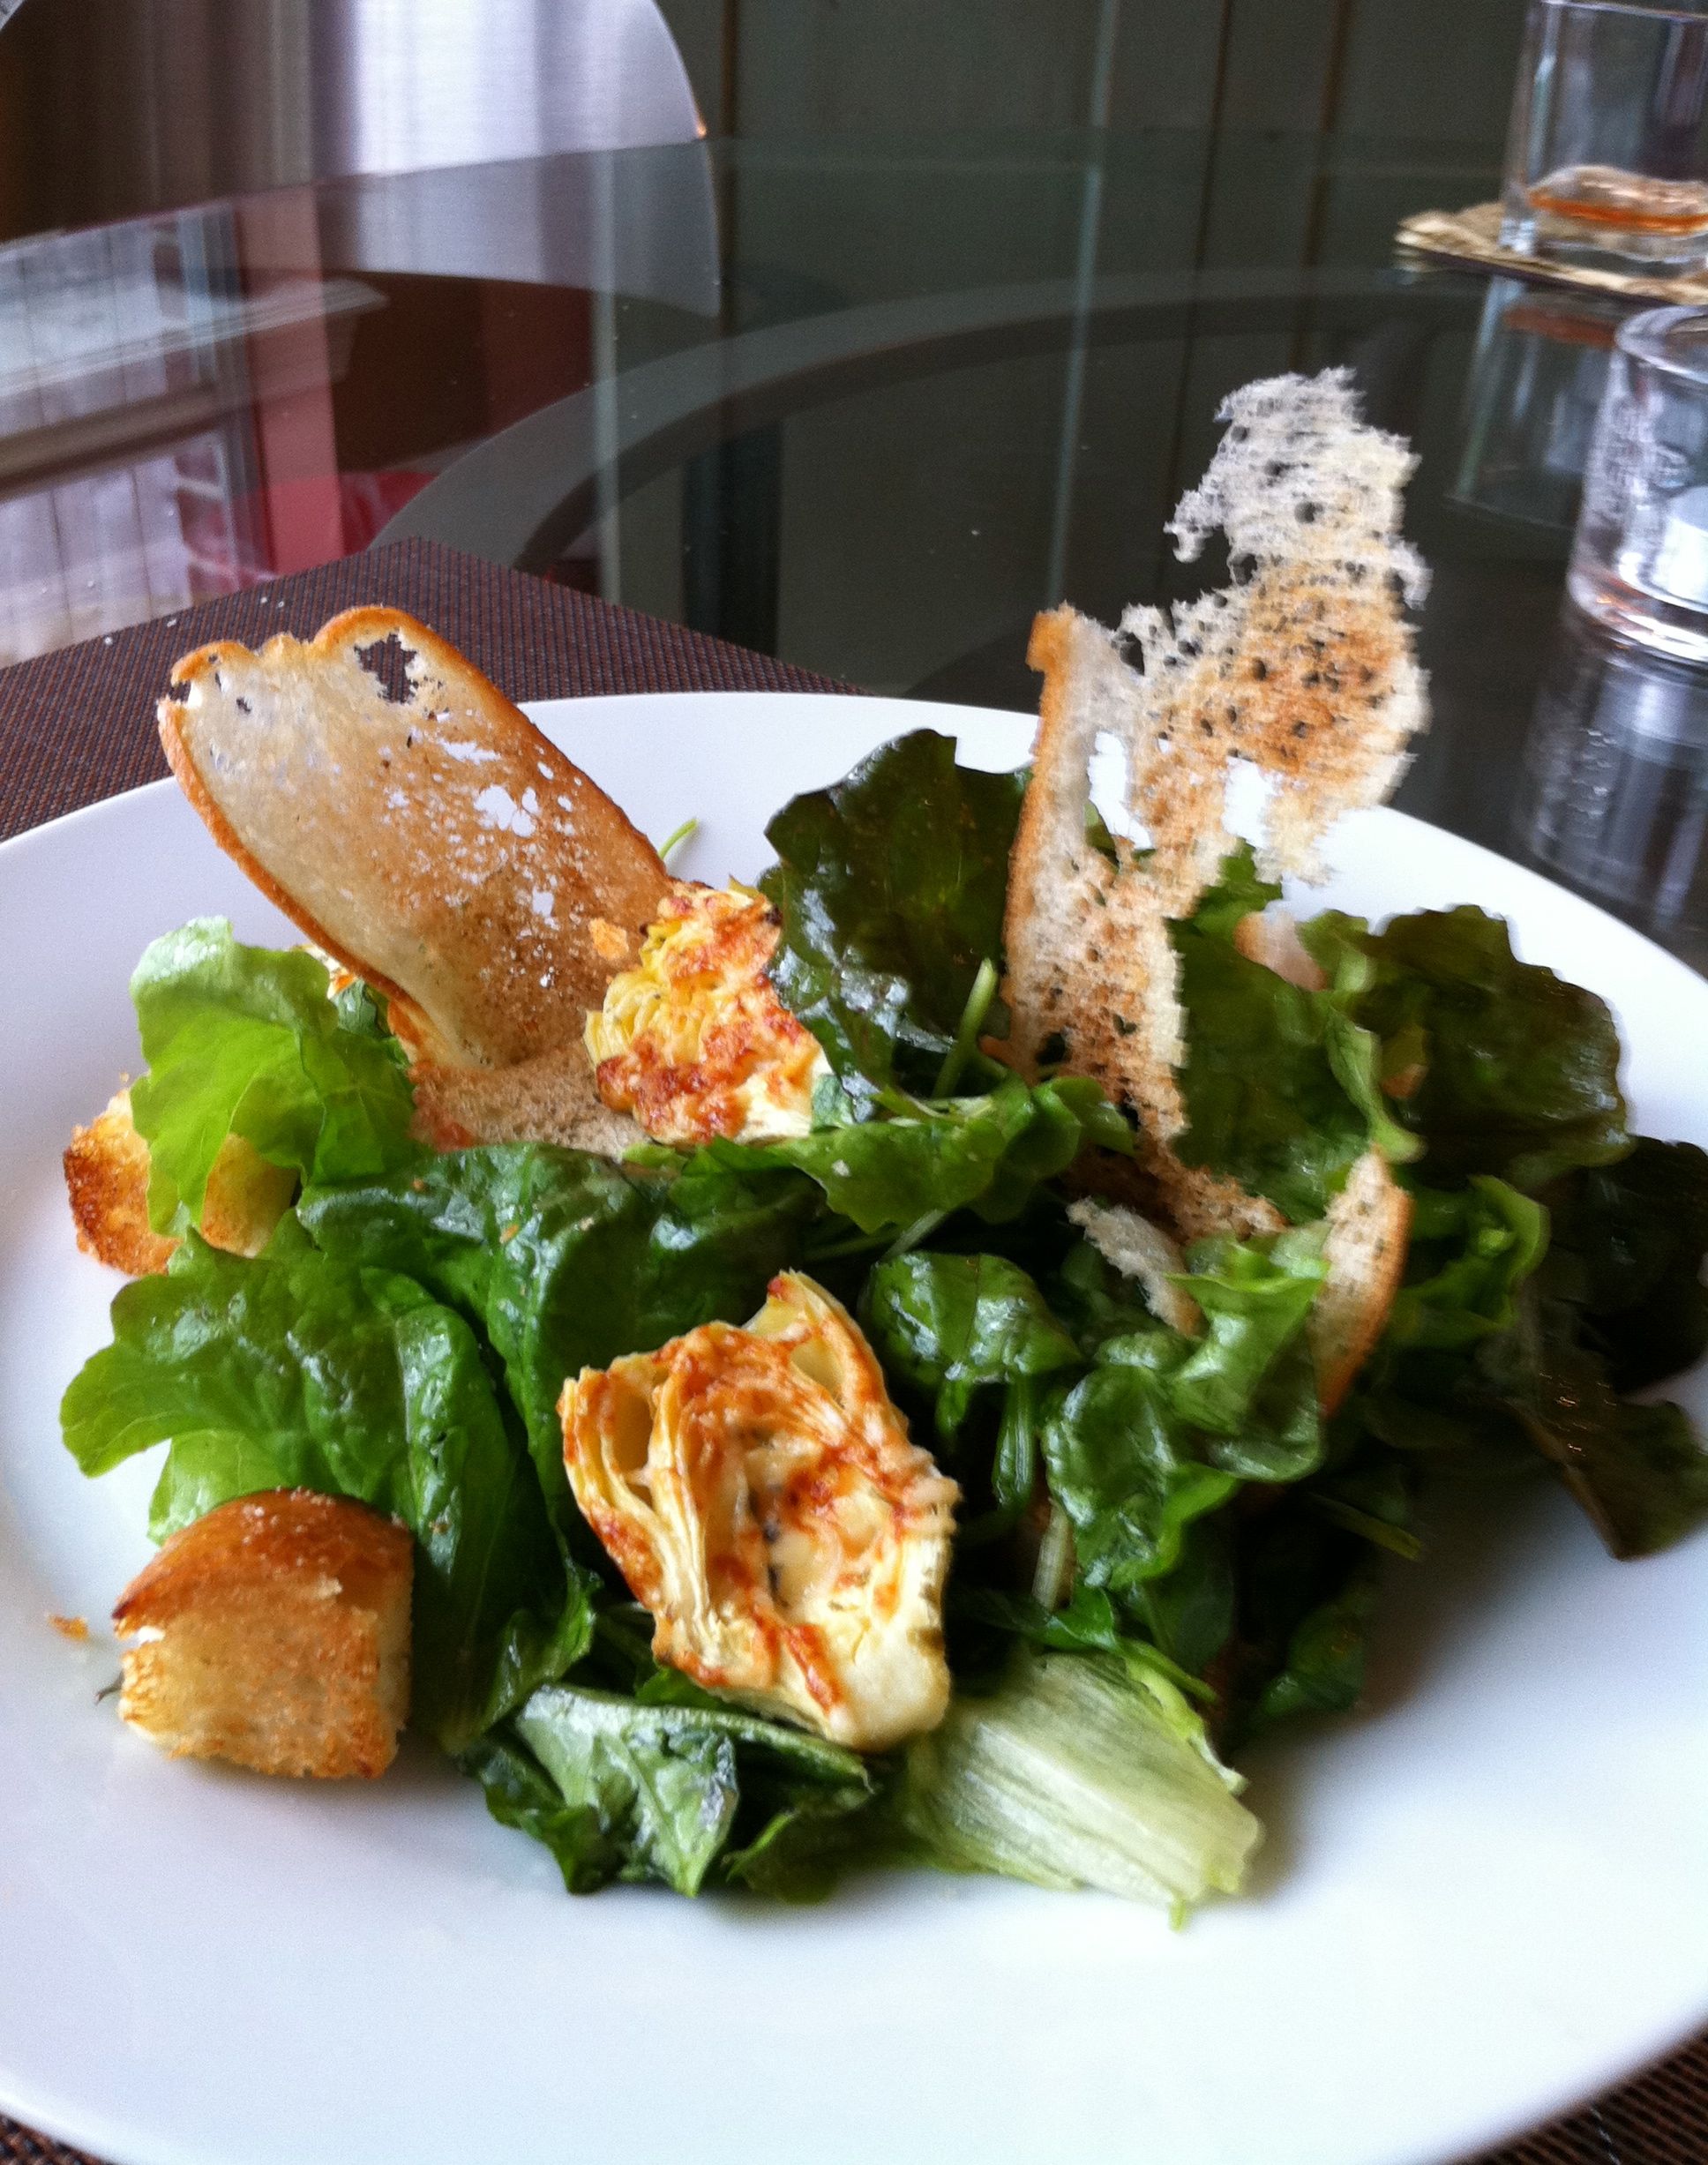
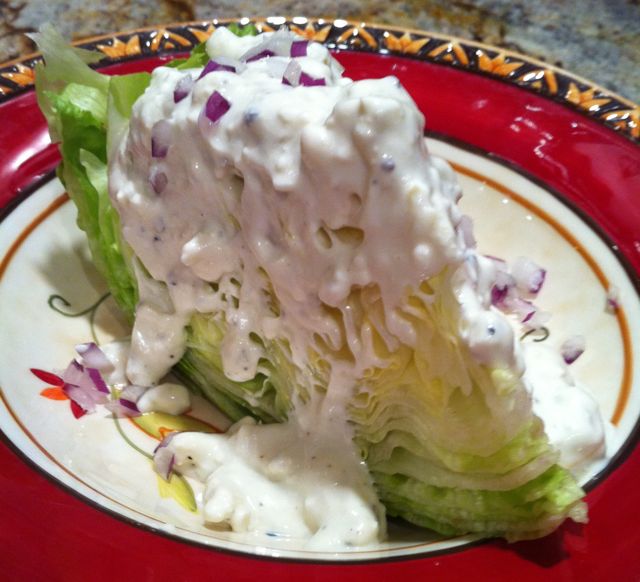 We can eat Iceberg these days, so I served my recipe last night. The Iceberg wedge with blue cheese dressing (gooey, lava-like, creamy, delectable) will take you to a place of nostalgia and hopefully solidarity.
 This crunchy salad gets a velvety, unctuous mouthfeel from a vinaigrette infused with chervil.
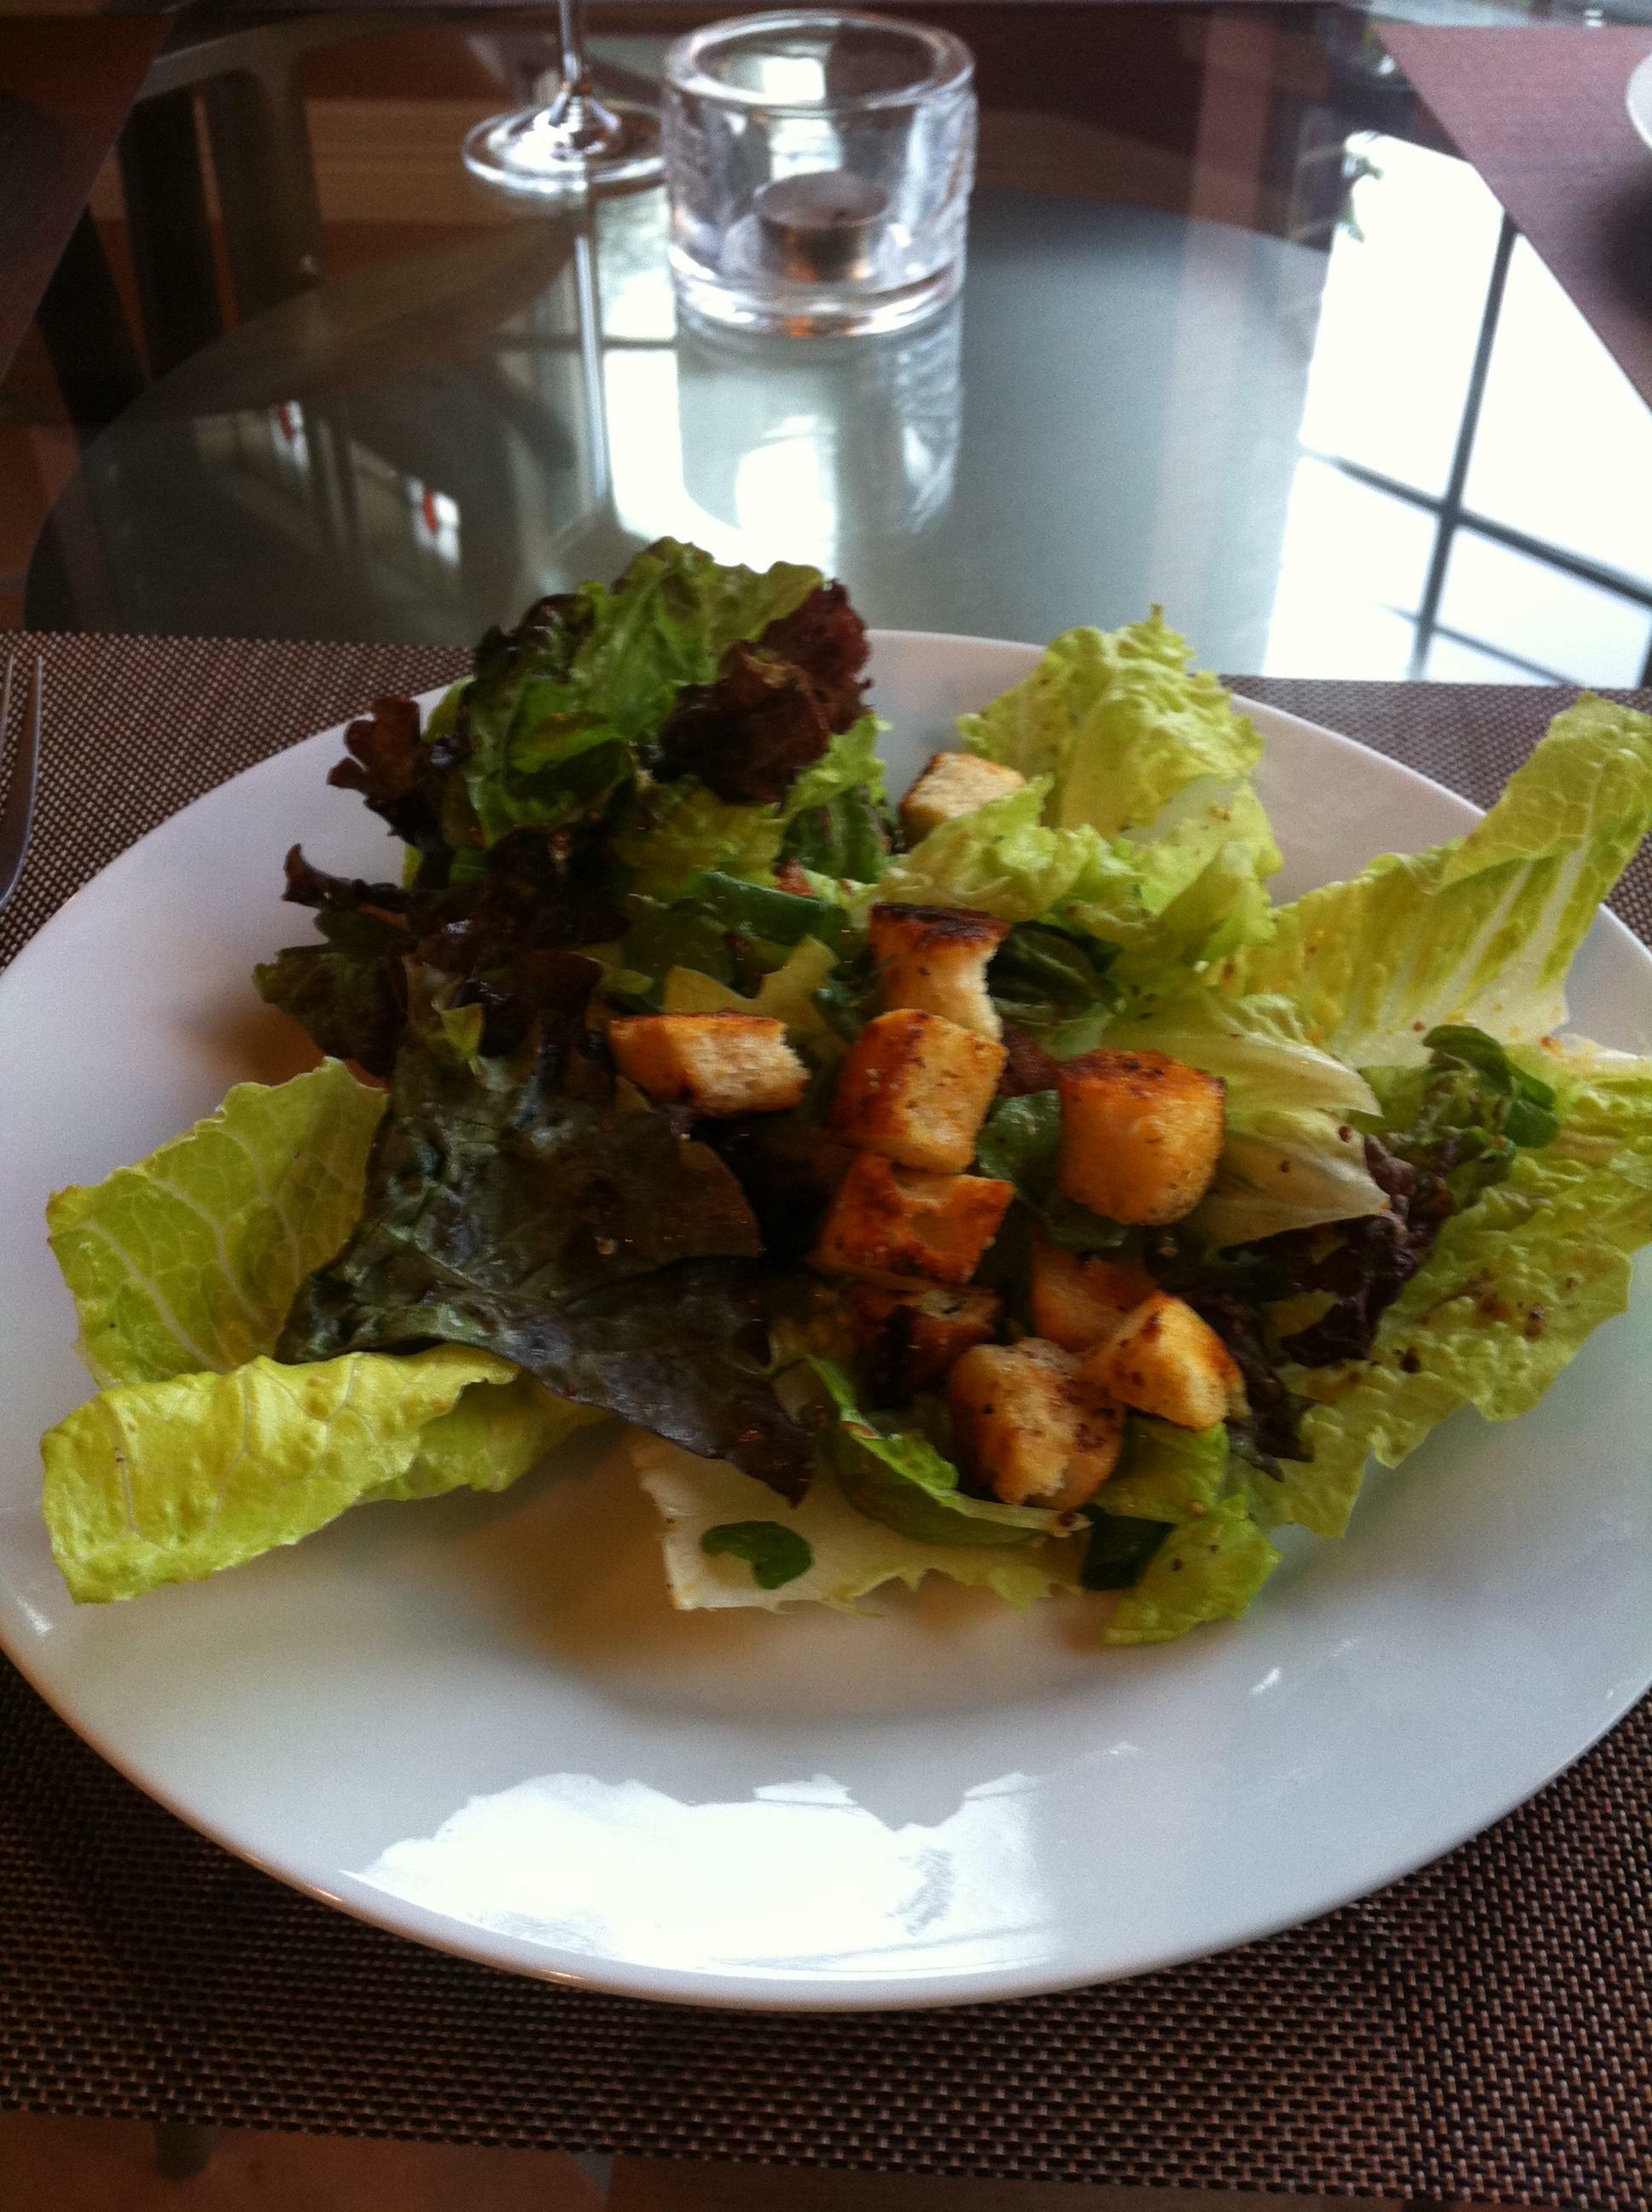
 I'm with Mark Twain who lambasted the Catholic church in his early years but later was more accepting and understanding yet cool. I like Mark Twain because he is said to have once proclaimed, "Too much of anything is bad, but too much champagne is just right."
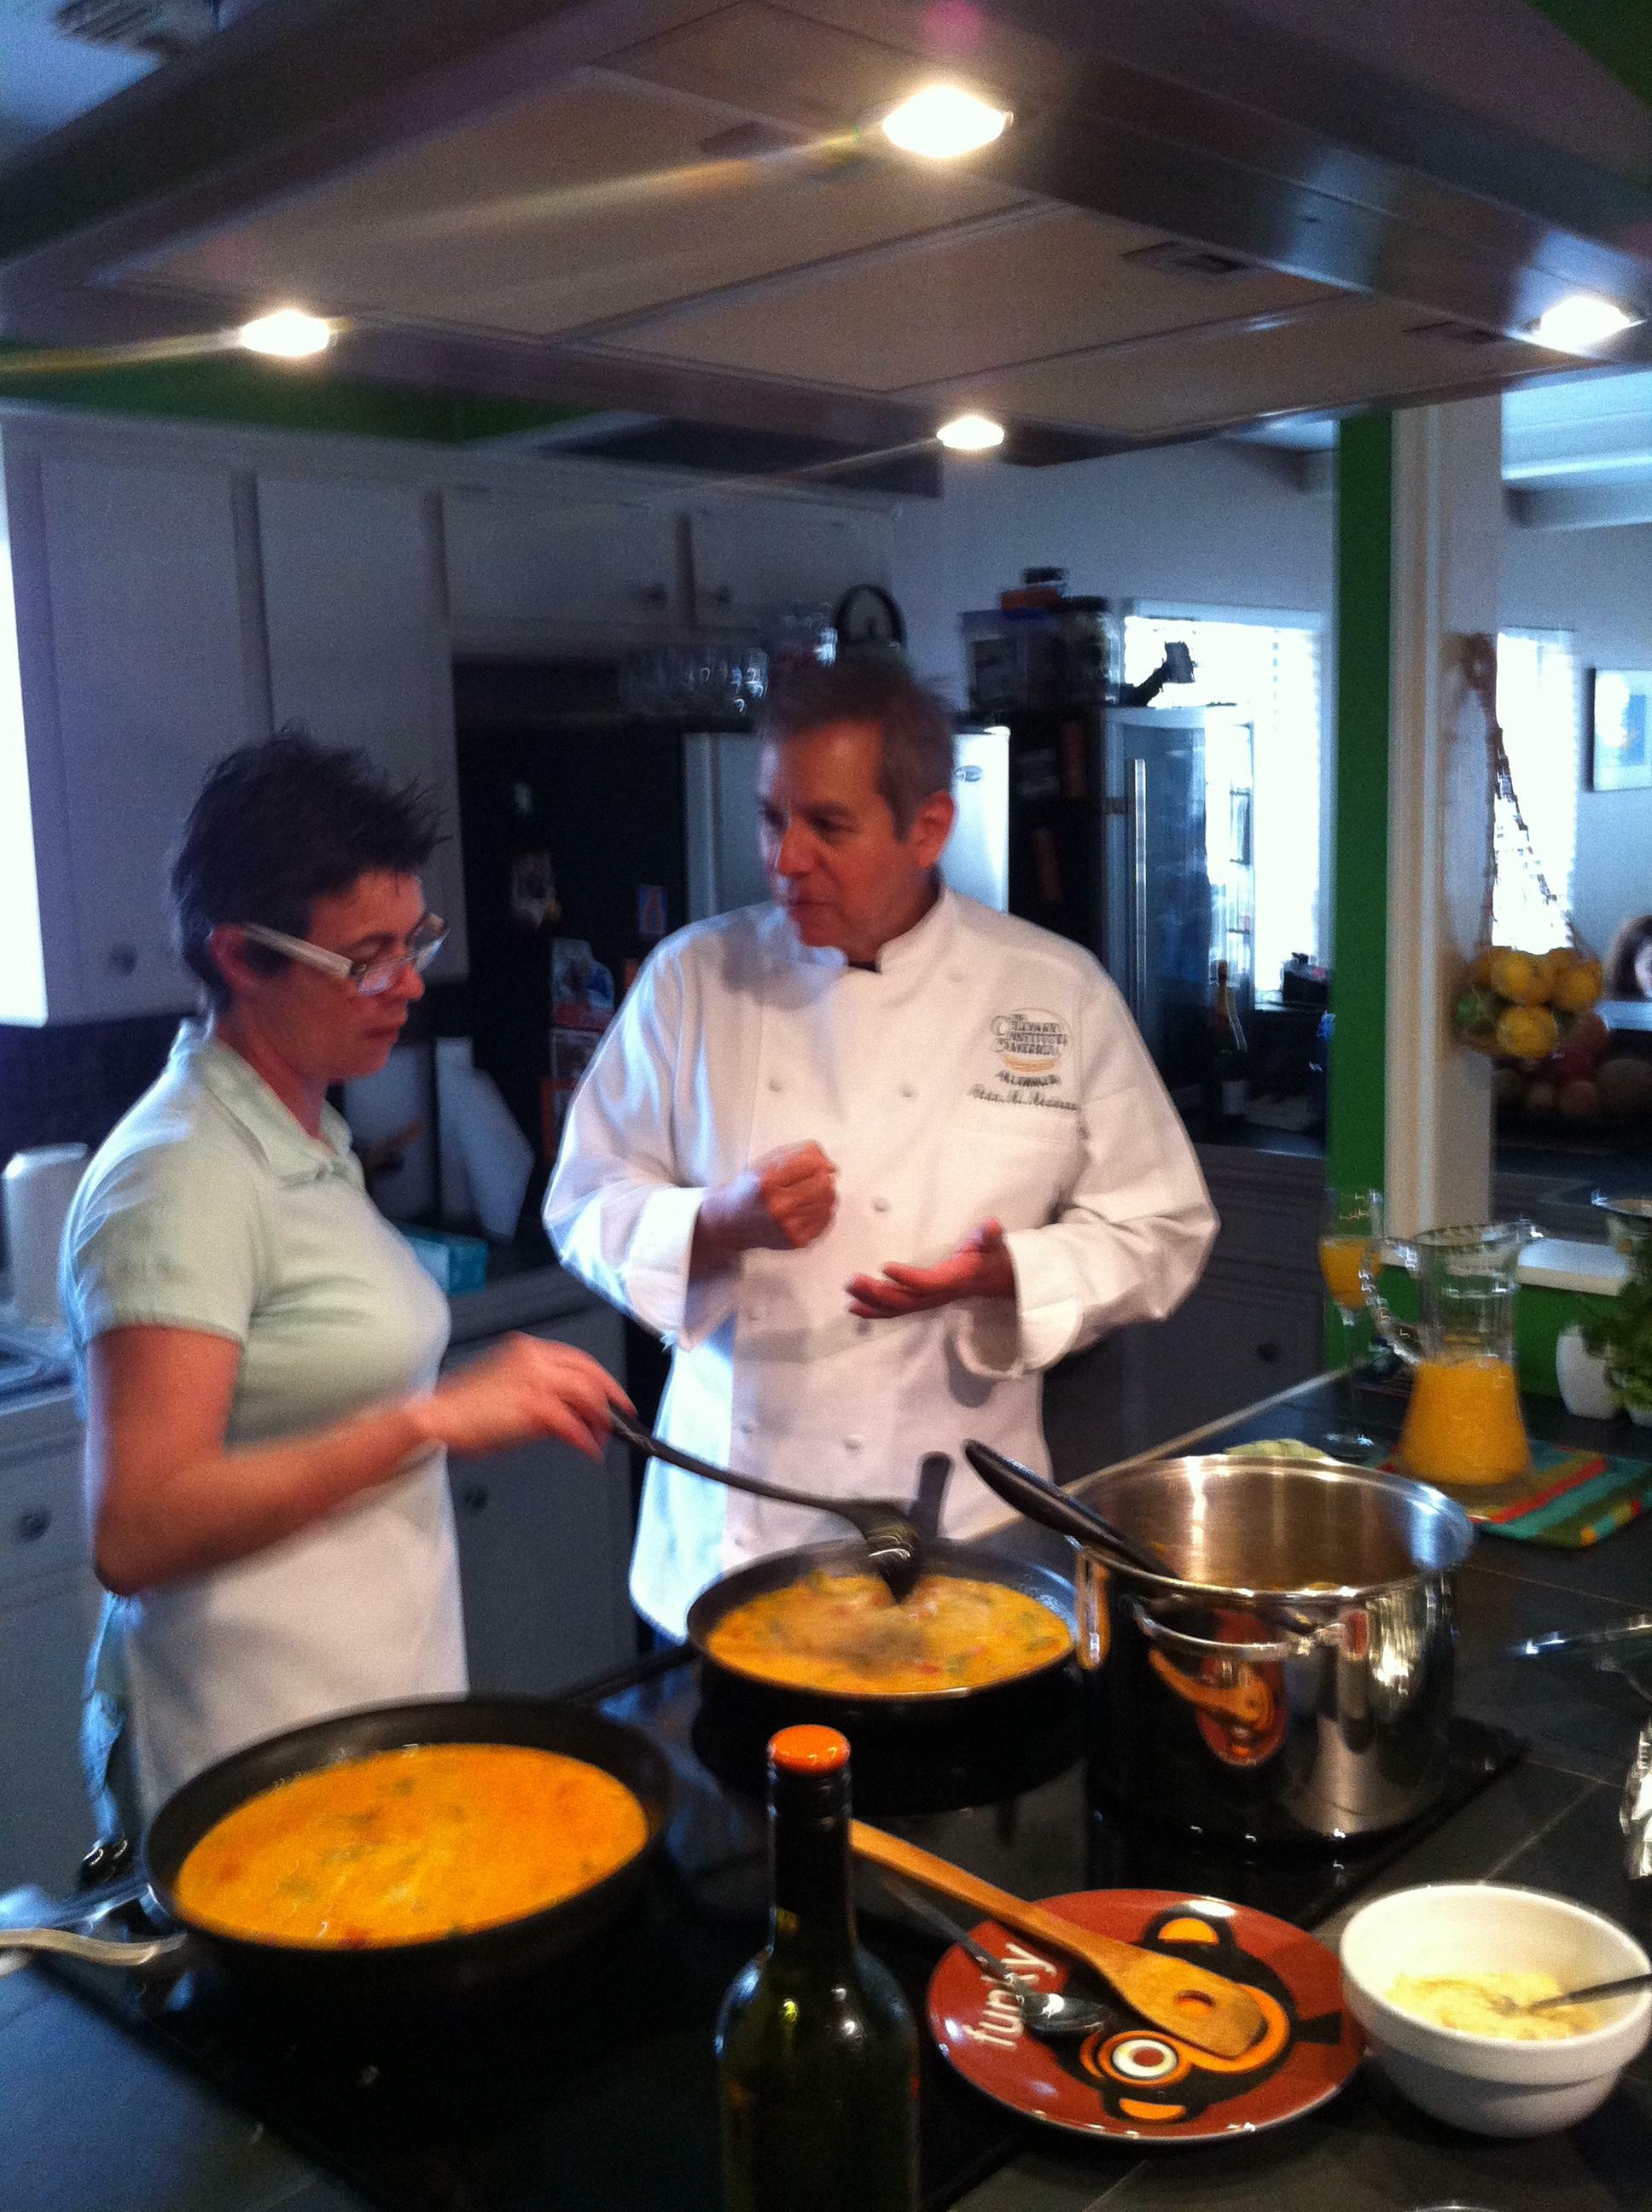 I have found that the best way to learn is to cook and eat with friends who have enjoyed the food all their lives.
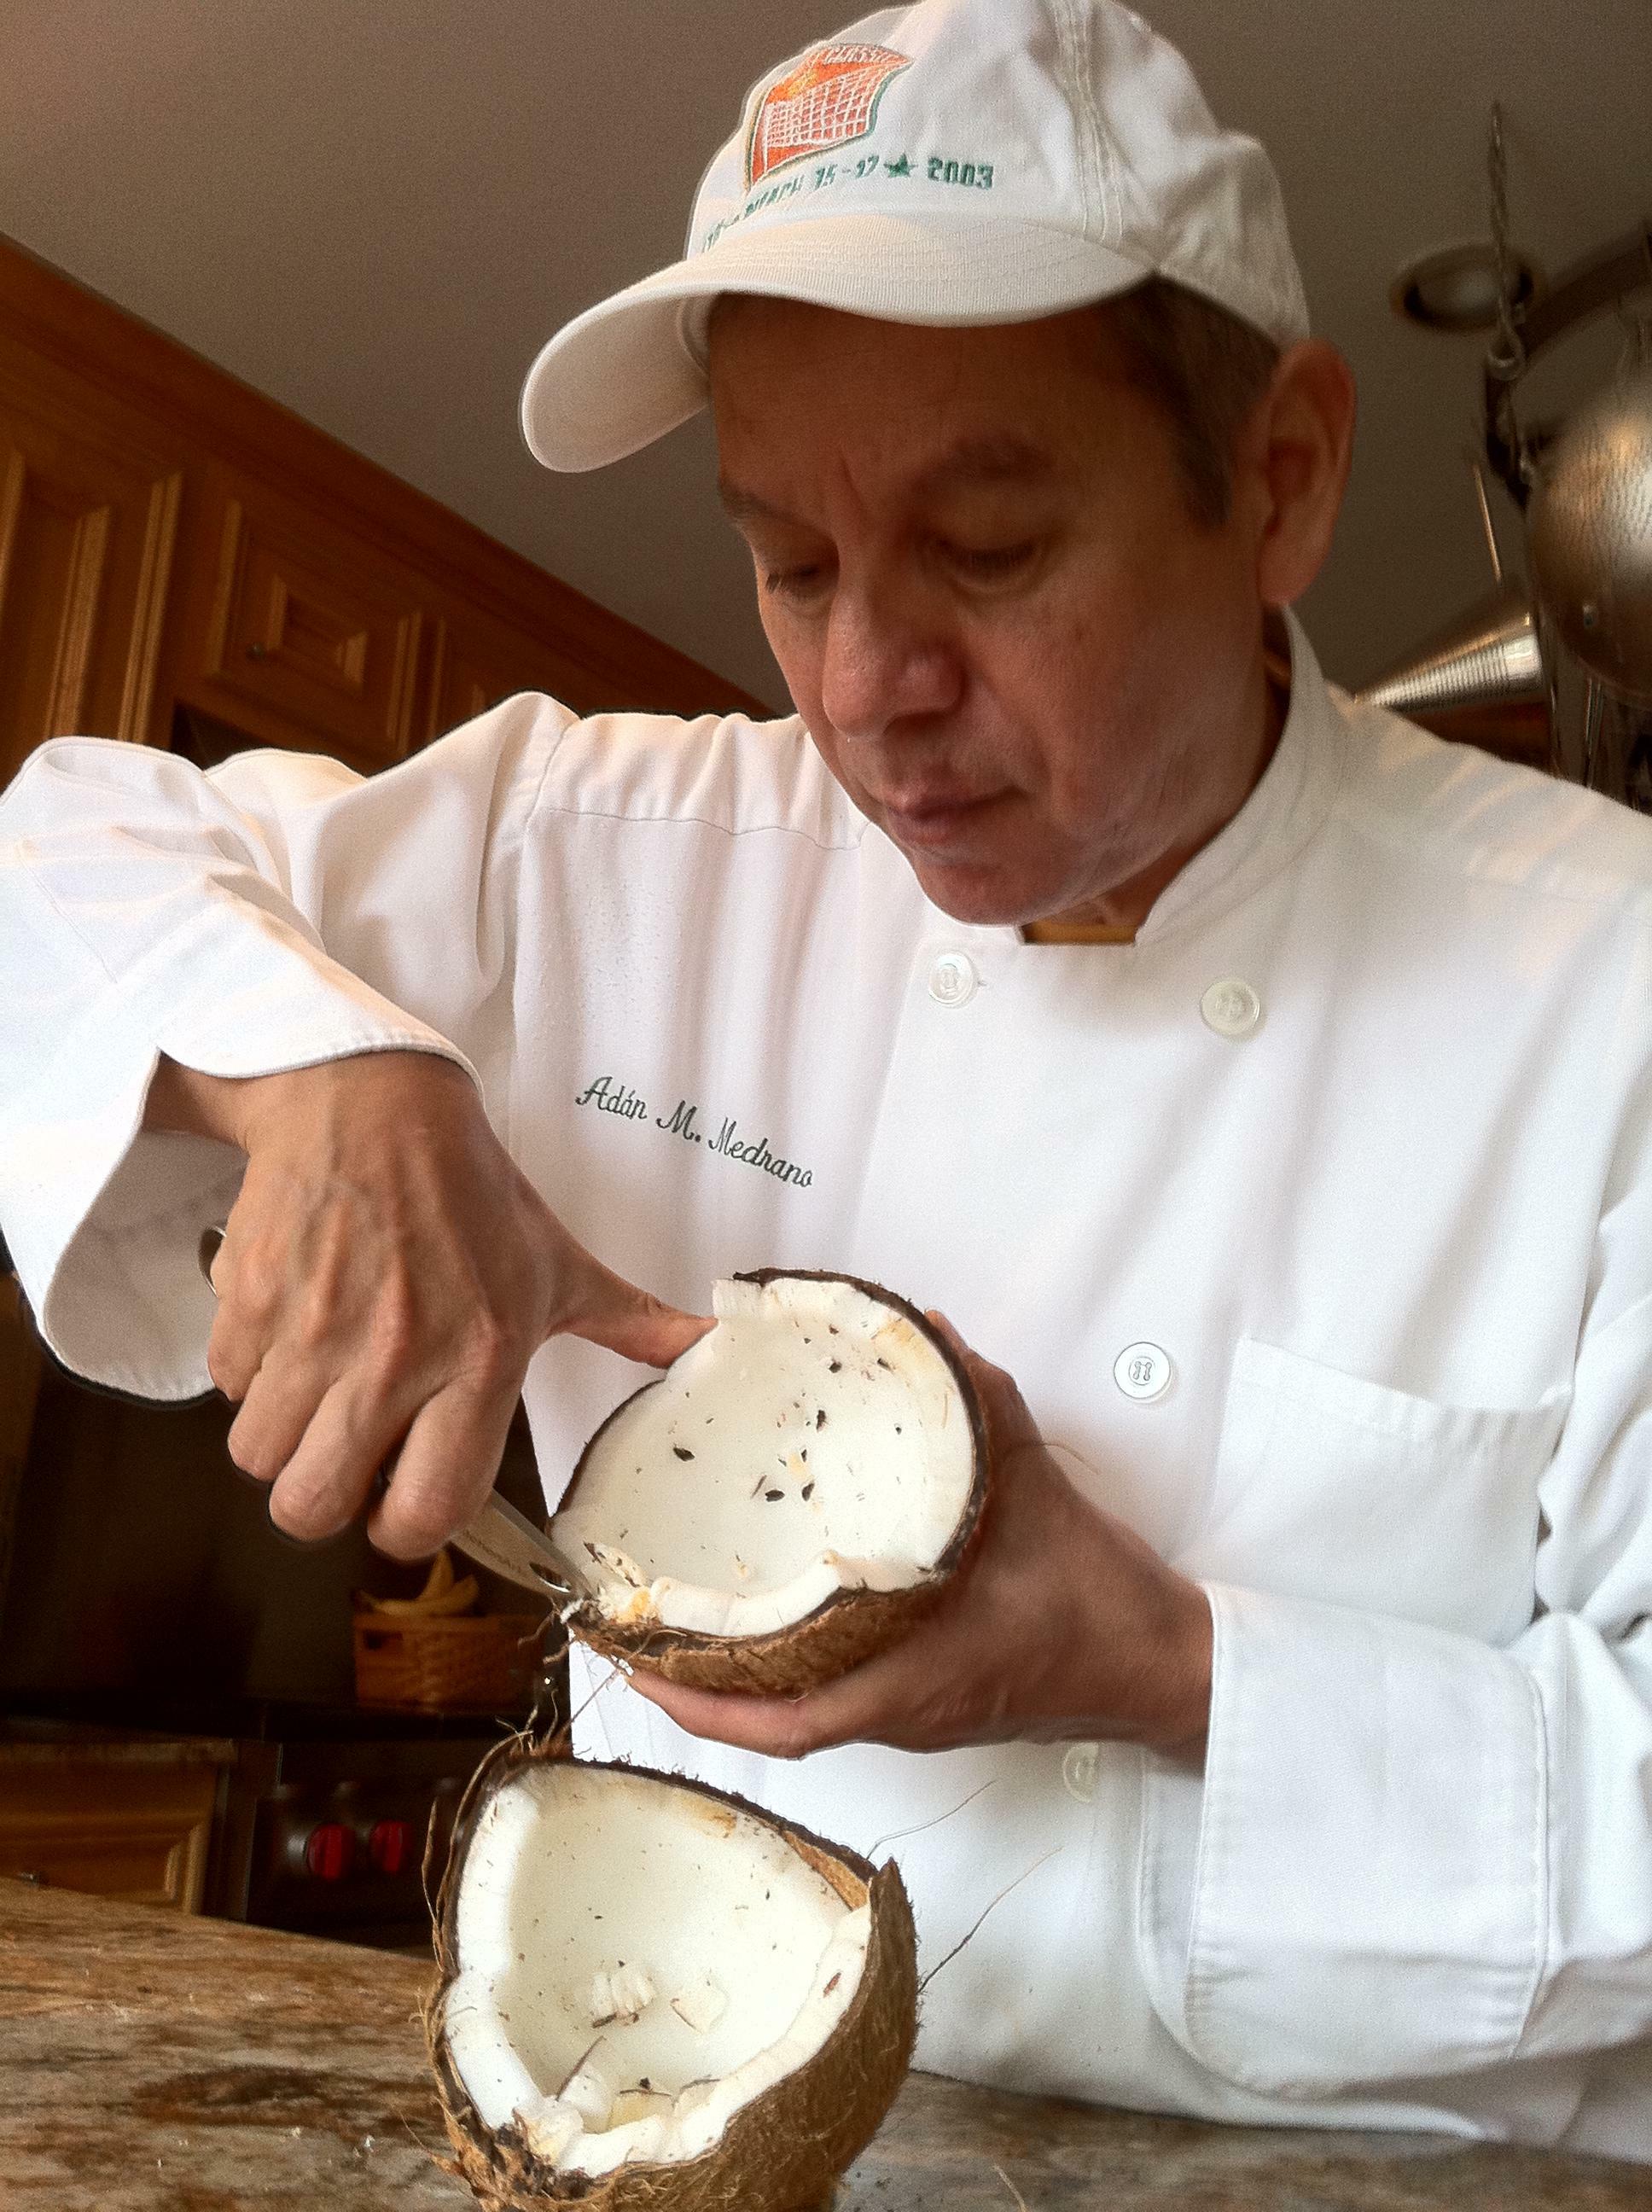
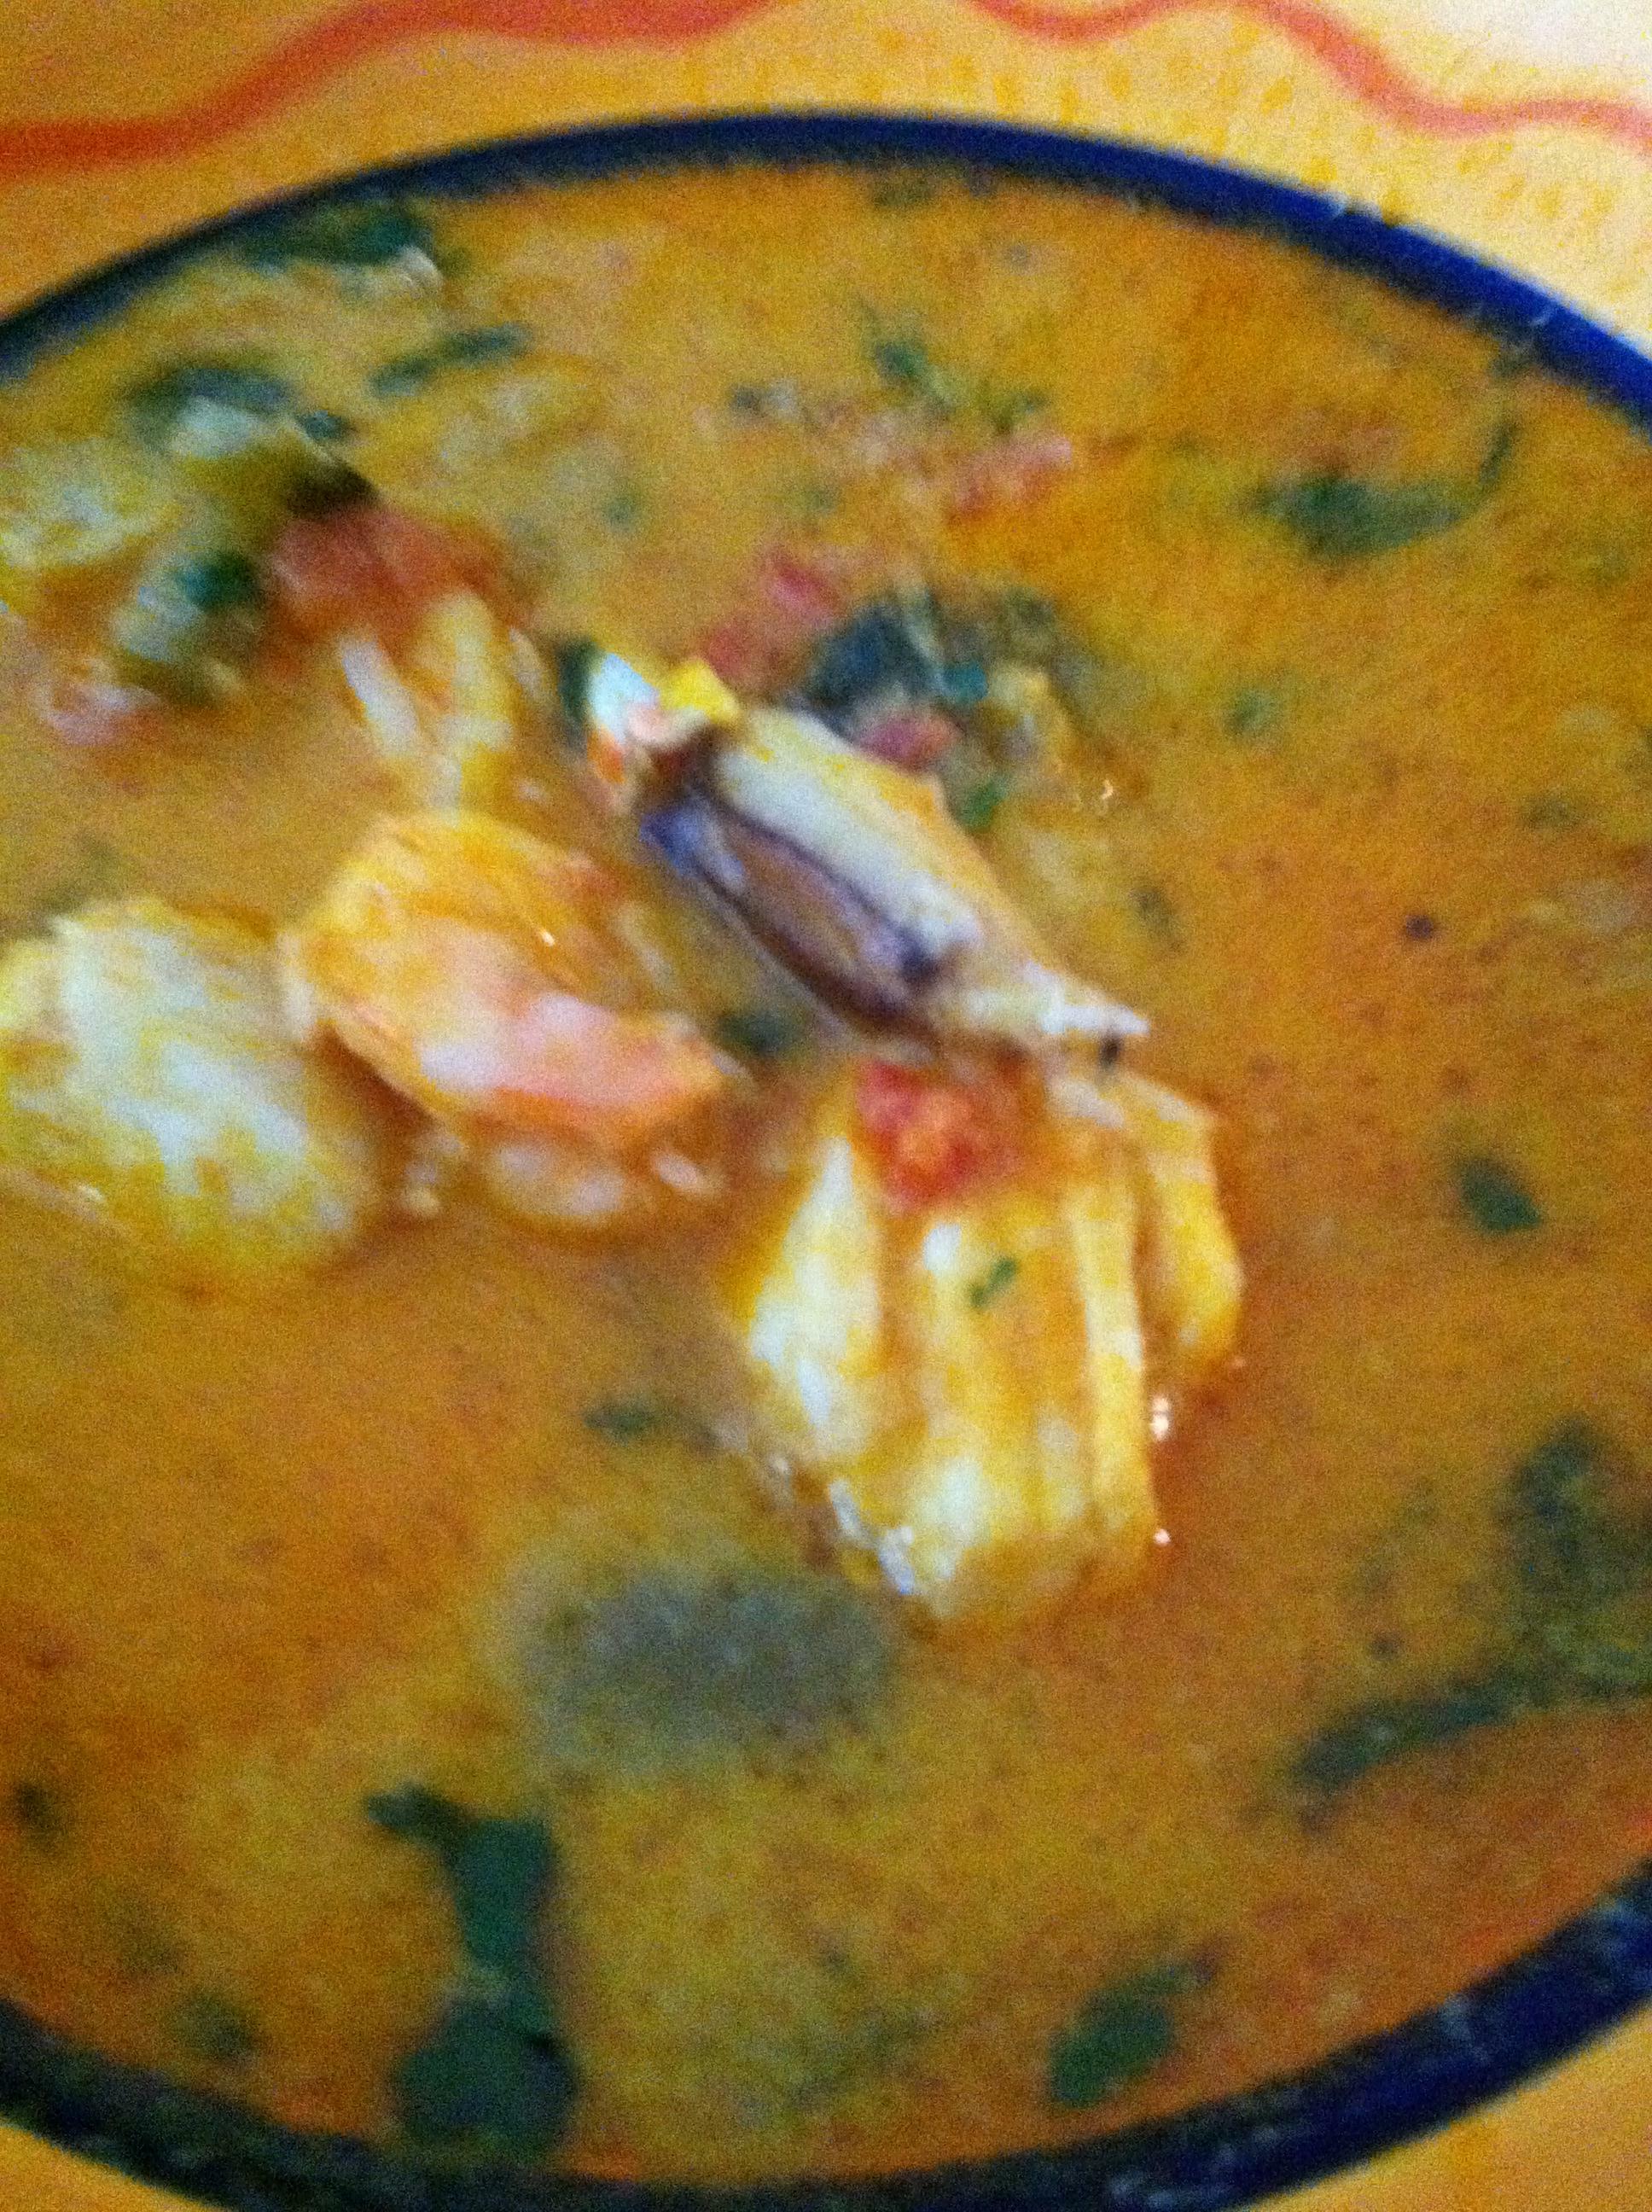 Once the vegetables are soft, add the coconut milk. Simmer gently for 1 hour, a bit longer is ok, so the flavors develop fully and the broth is reduced.
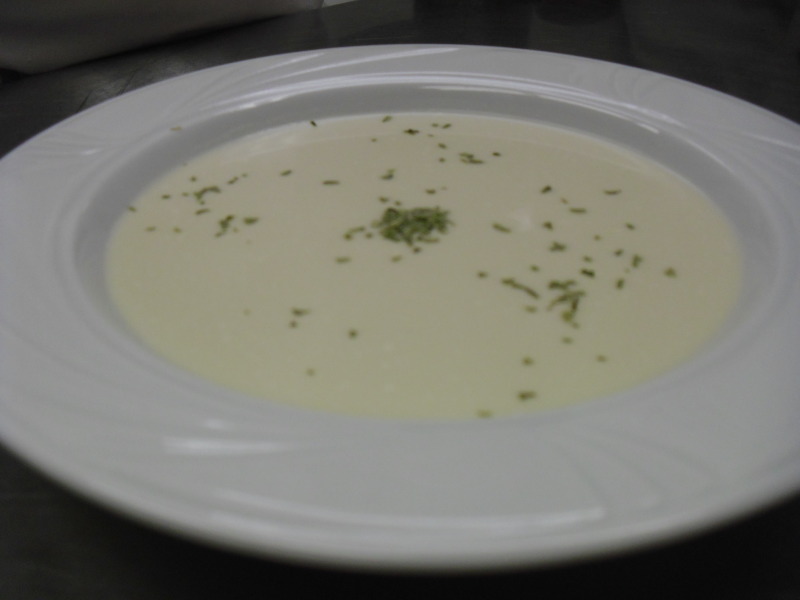


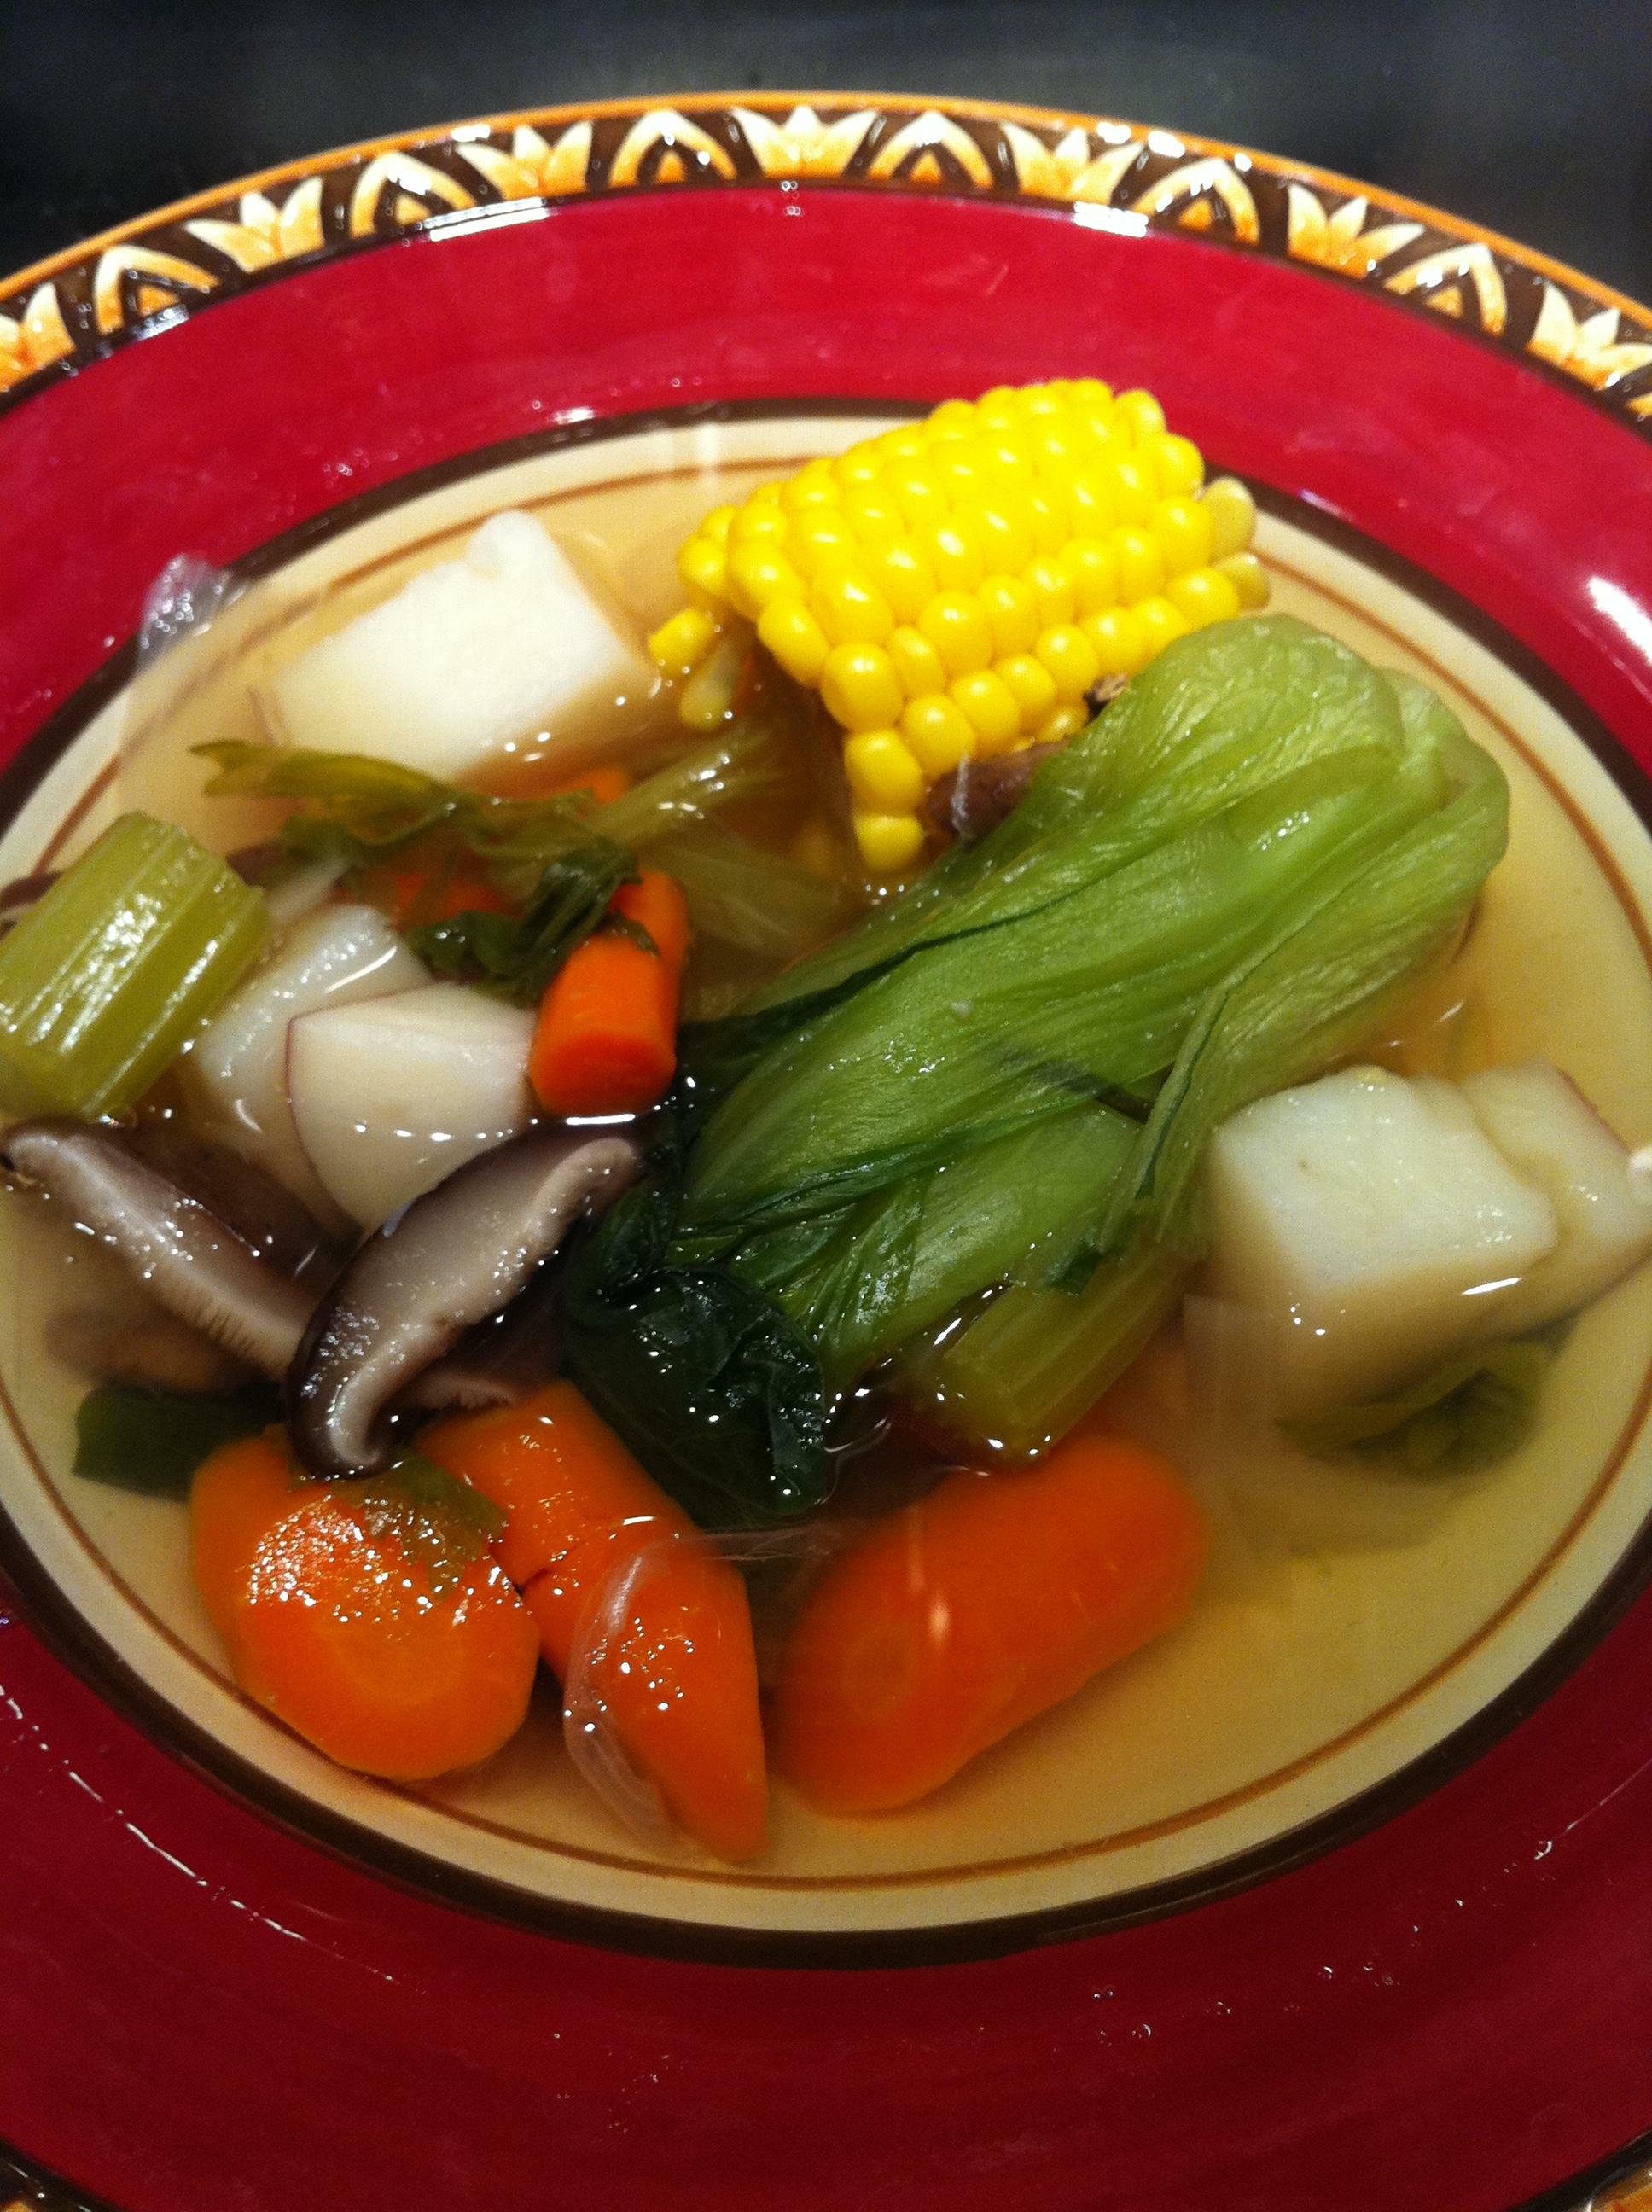 The recipe for the soup:
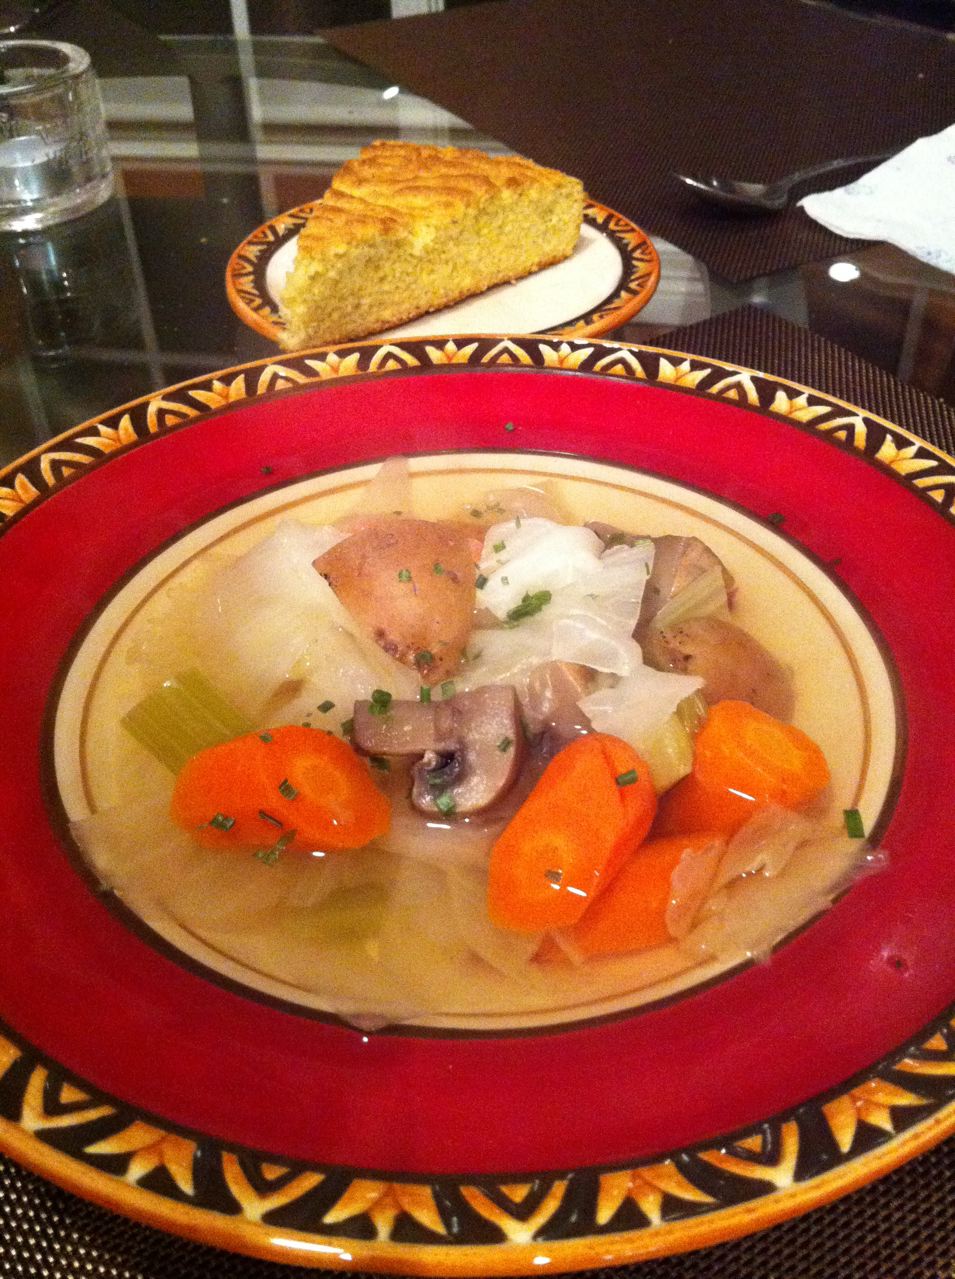
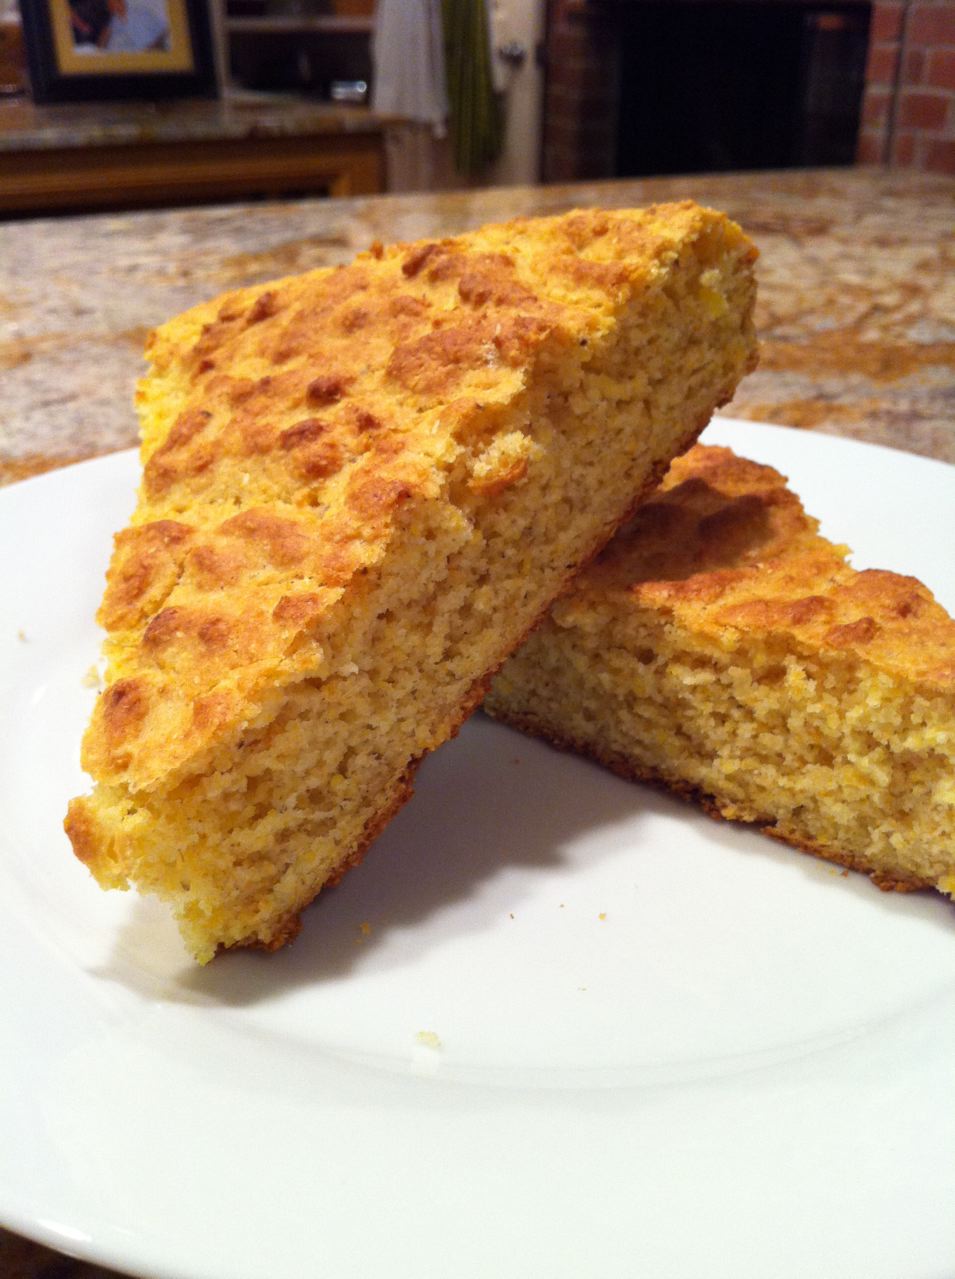 Both regular and coarse stone-ground corn meal are used to give the slices
 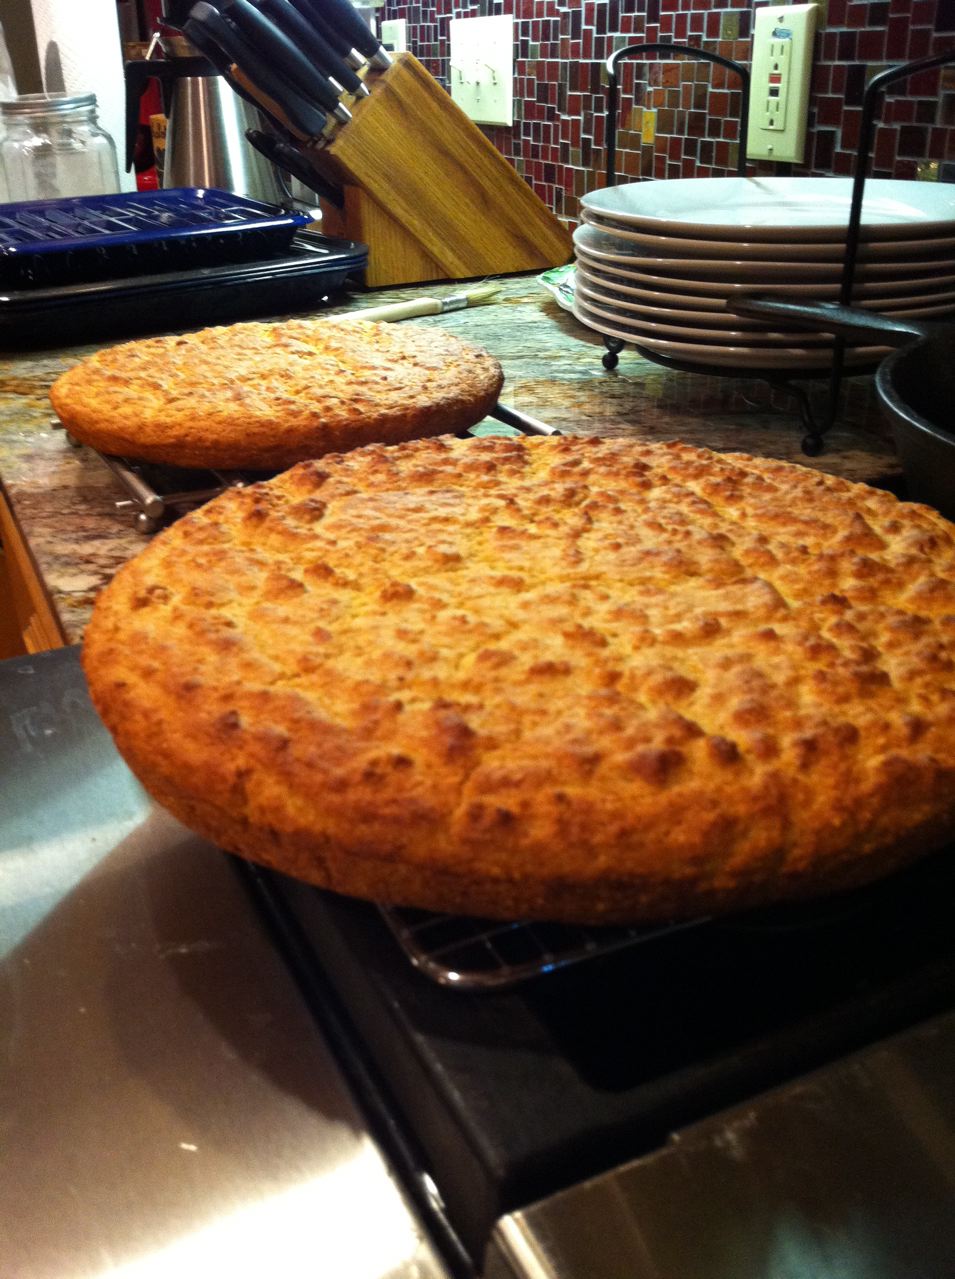 a strong crunchy taste and texture.
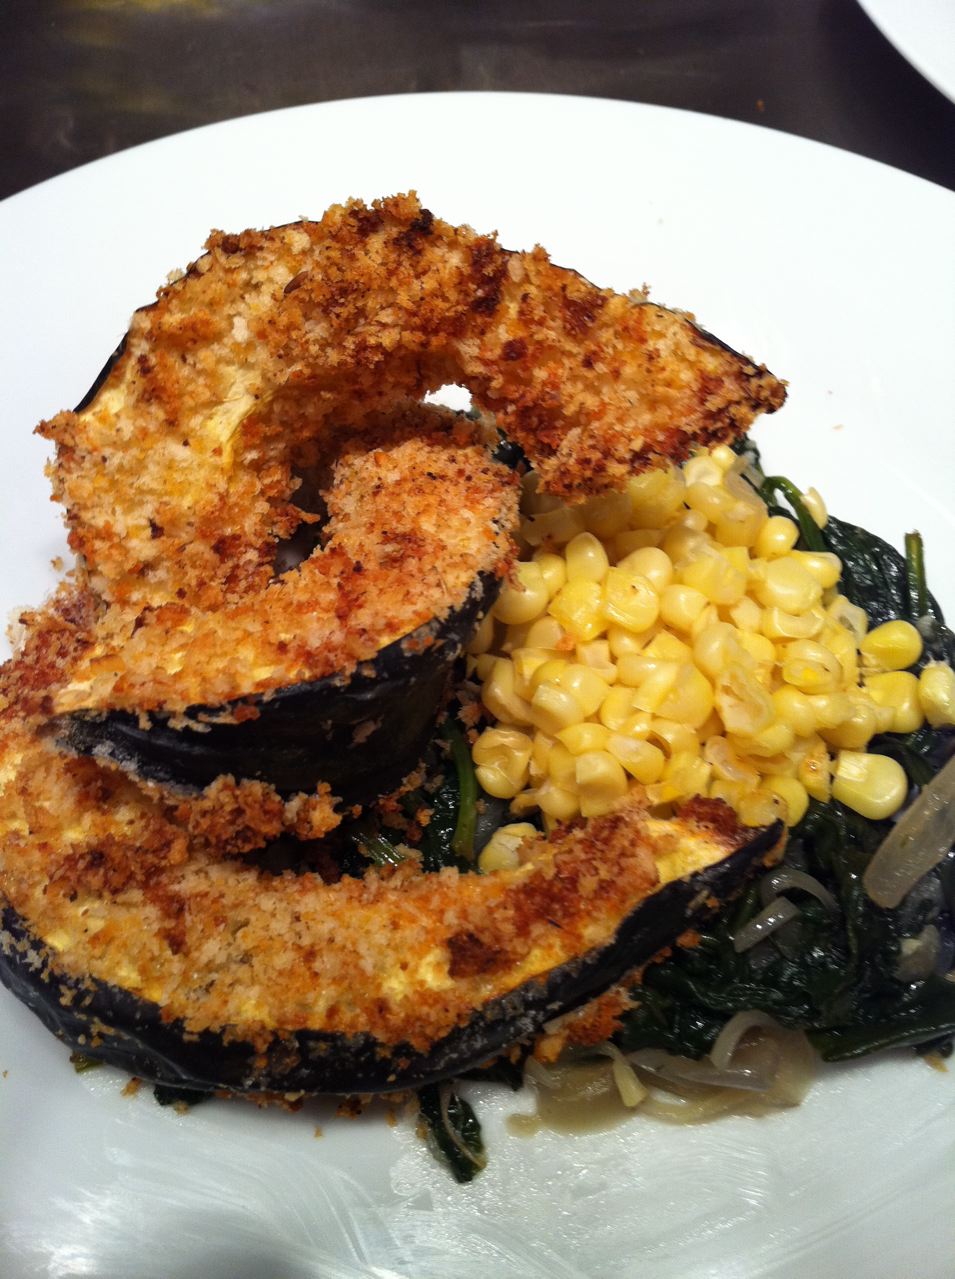 slices of baked breaded acorn squash on a bed of spinach wilted with shallots and garlic. Steamed corn complements the sweetness of the acorn squash.
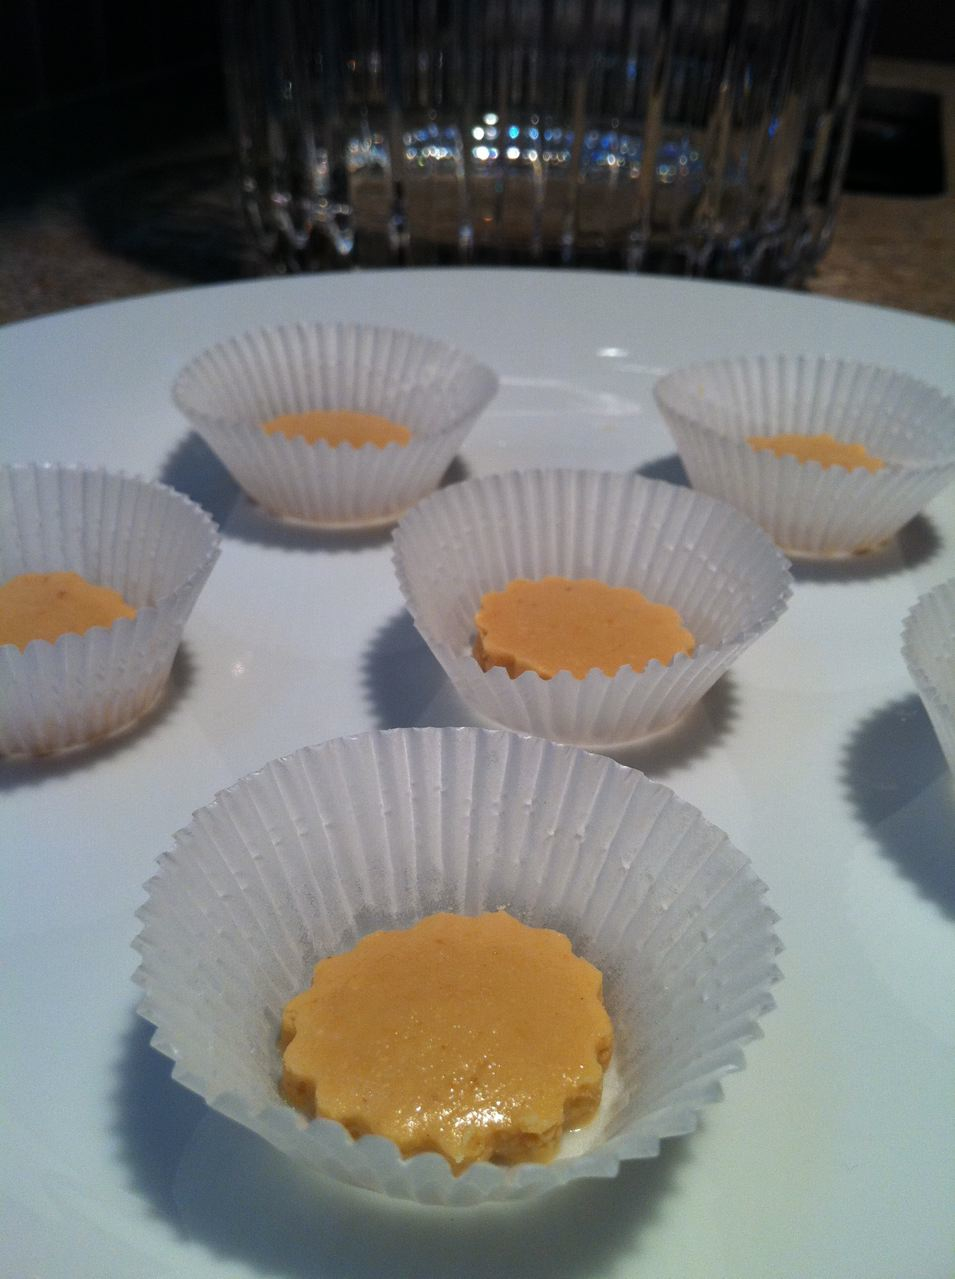
 Made this for lunch today: Rajas Poblanas, a recipe from Chef Iliana De La Vega of the CIA. Poblano peppers are roasted then deveined, seeded and peeled. White onion slices are lightly sauteed in just a hint of Canola oil. Then both peppers and onions are combined in a hot skillet, adding Crema Mexicana (delicious!) and little cubes of Panela cheese. Served immediately with freshly griddled corn tortillas.